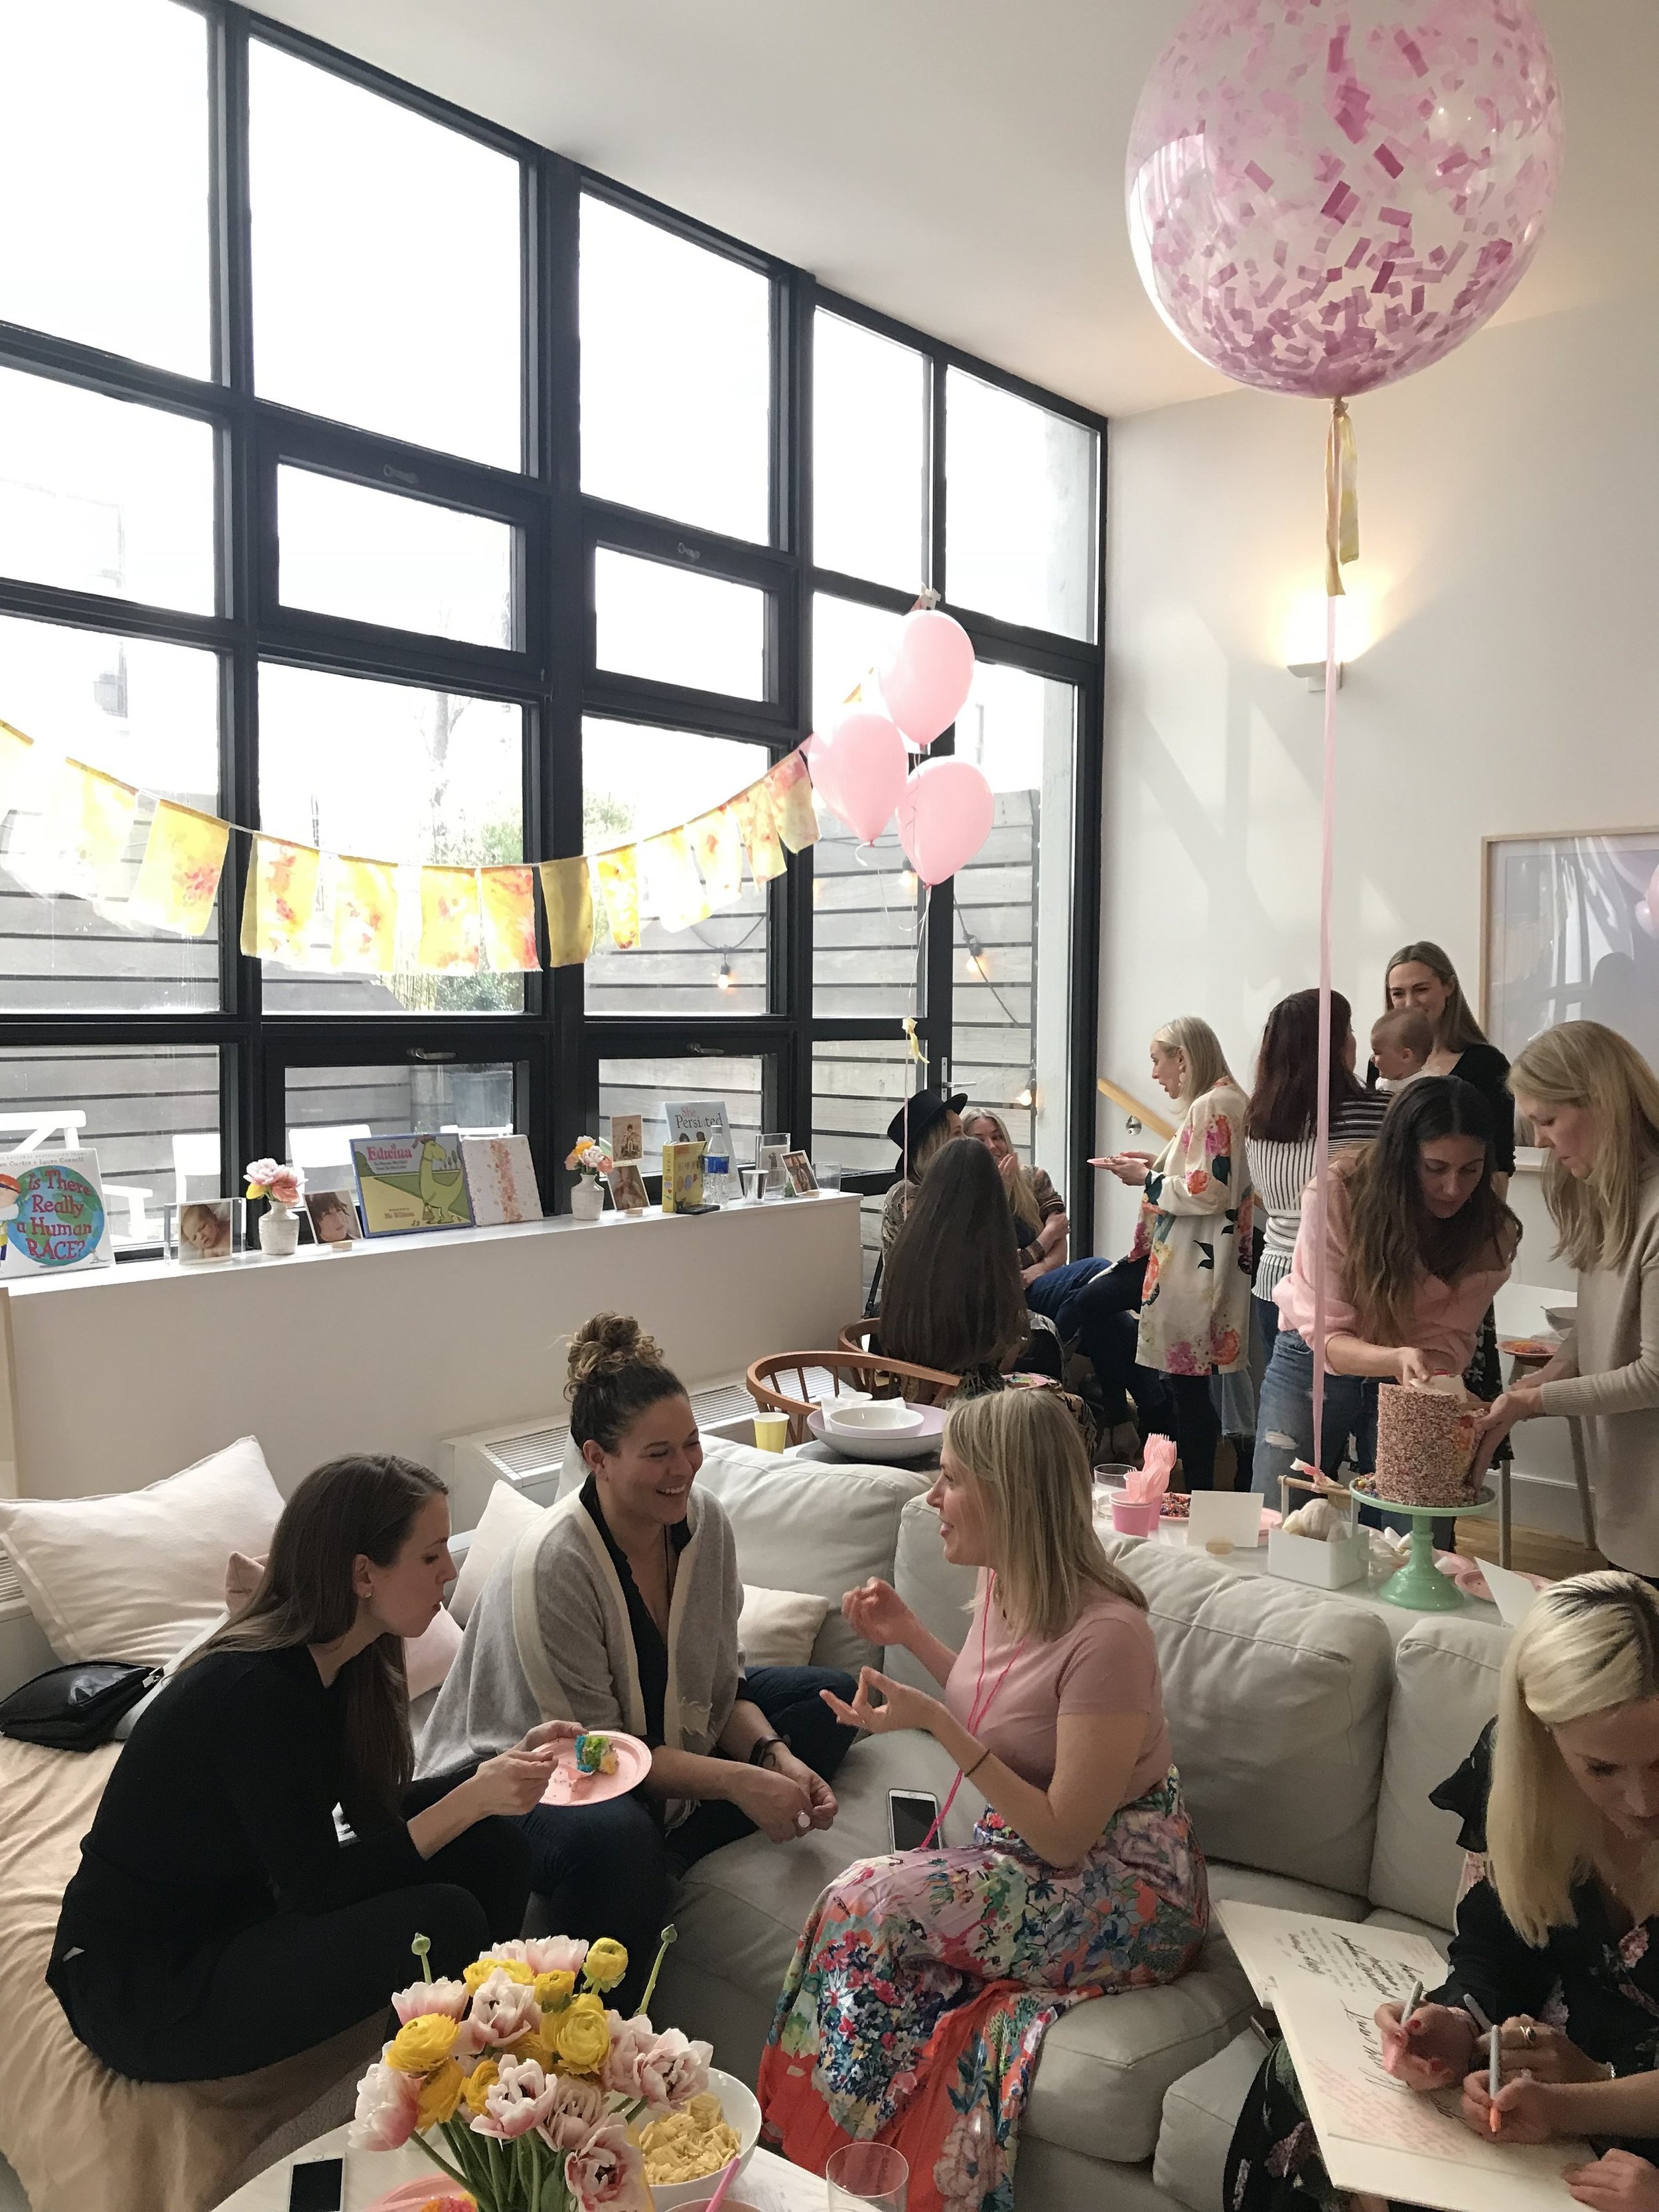
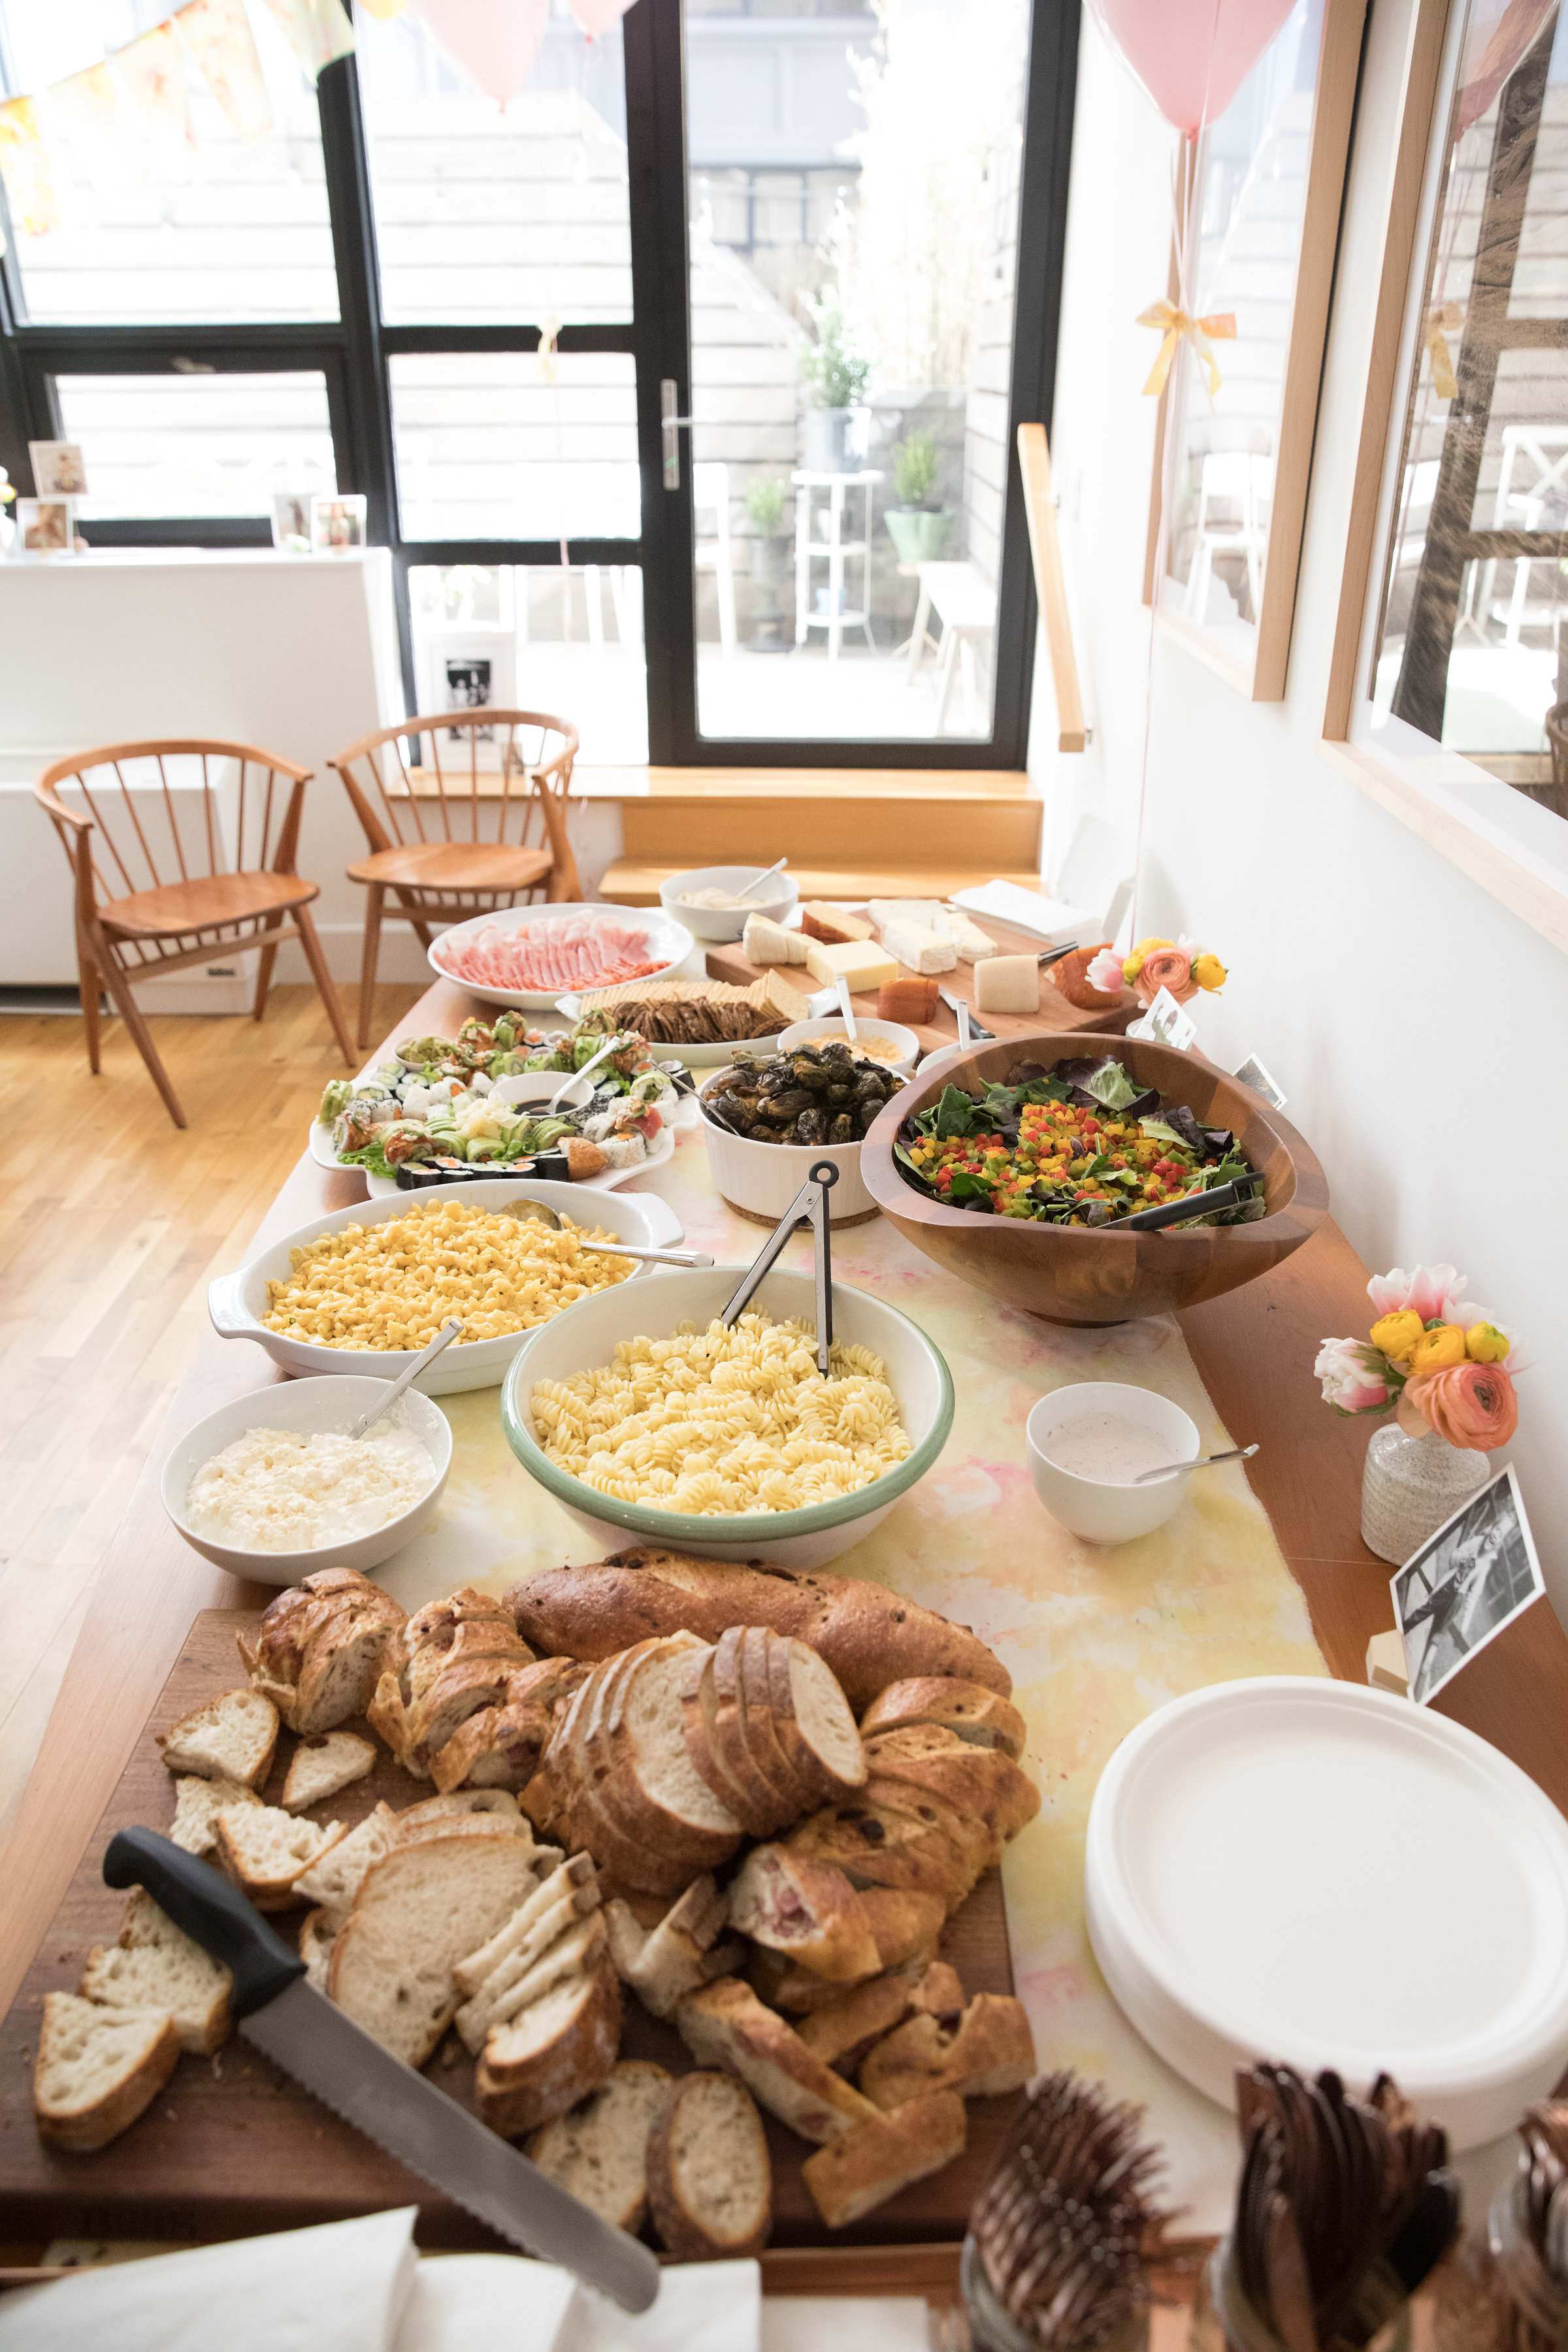
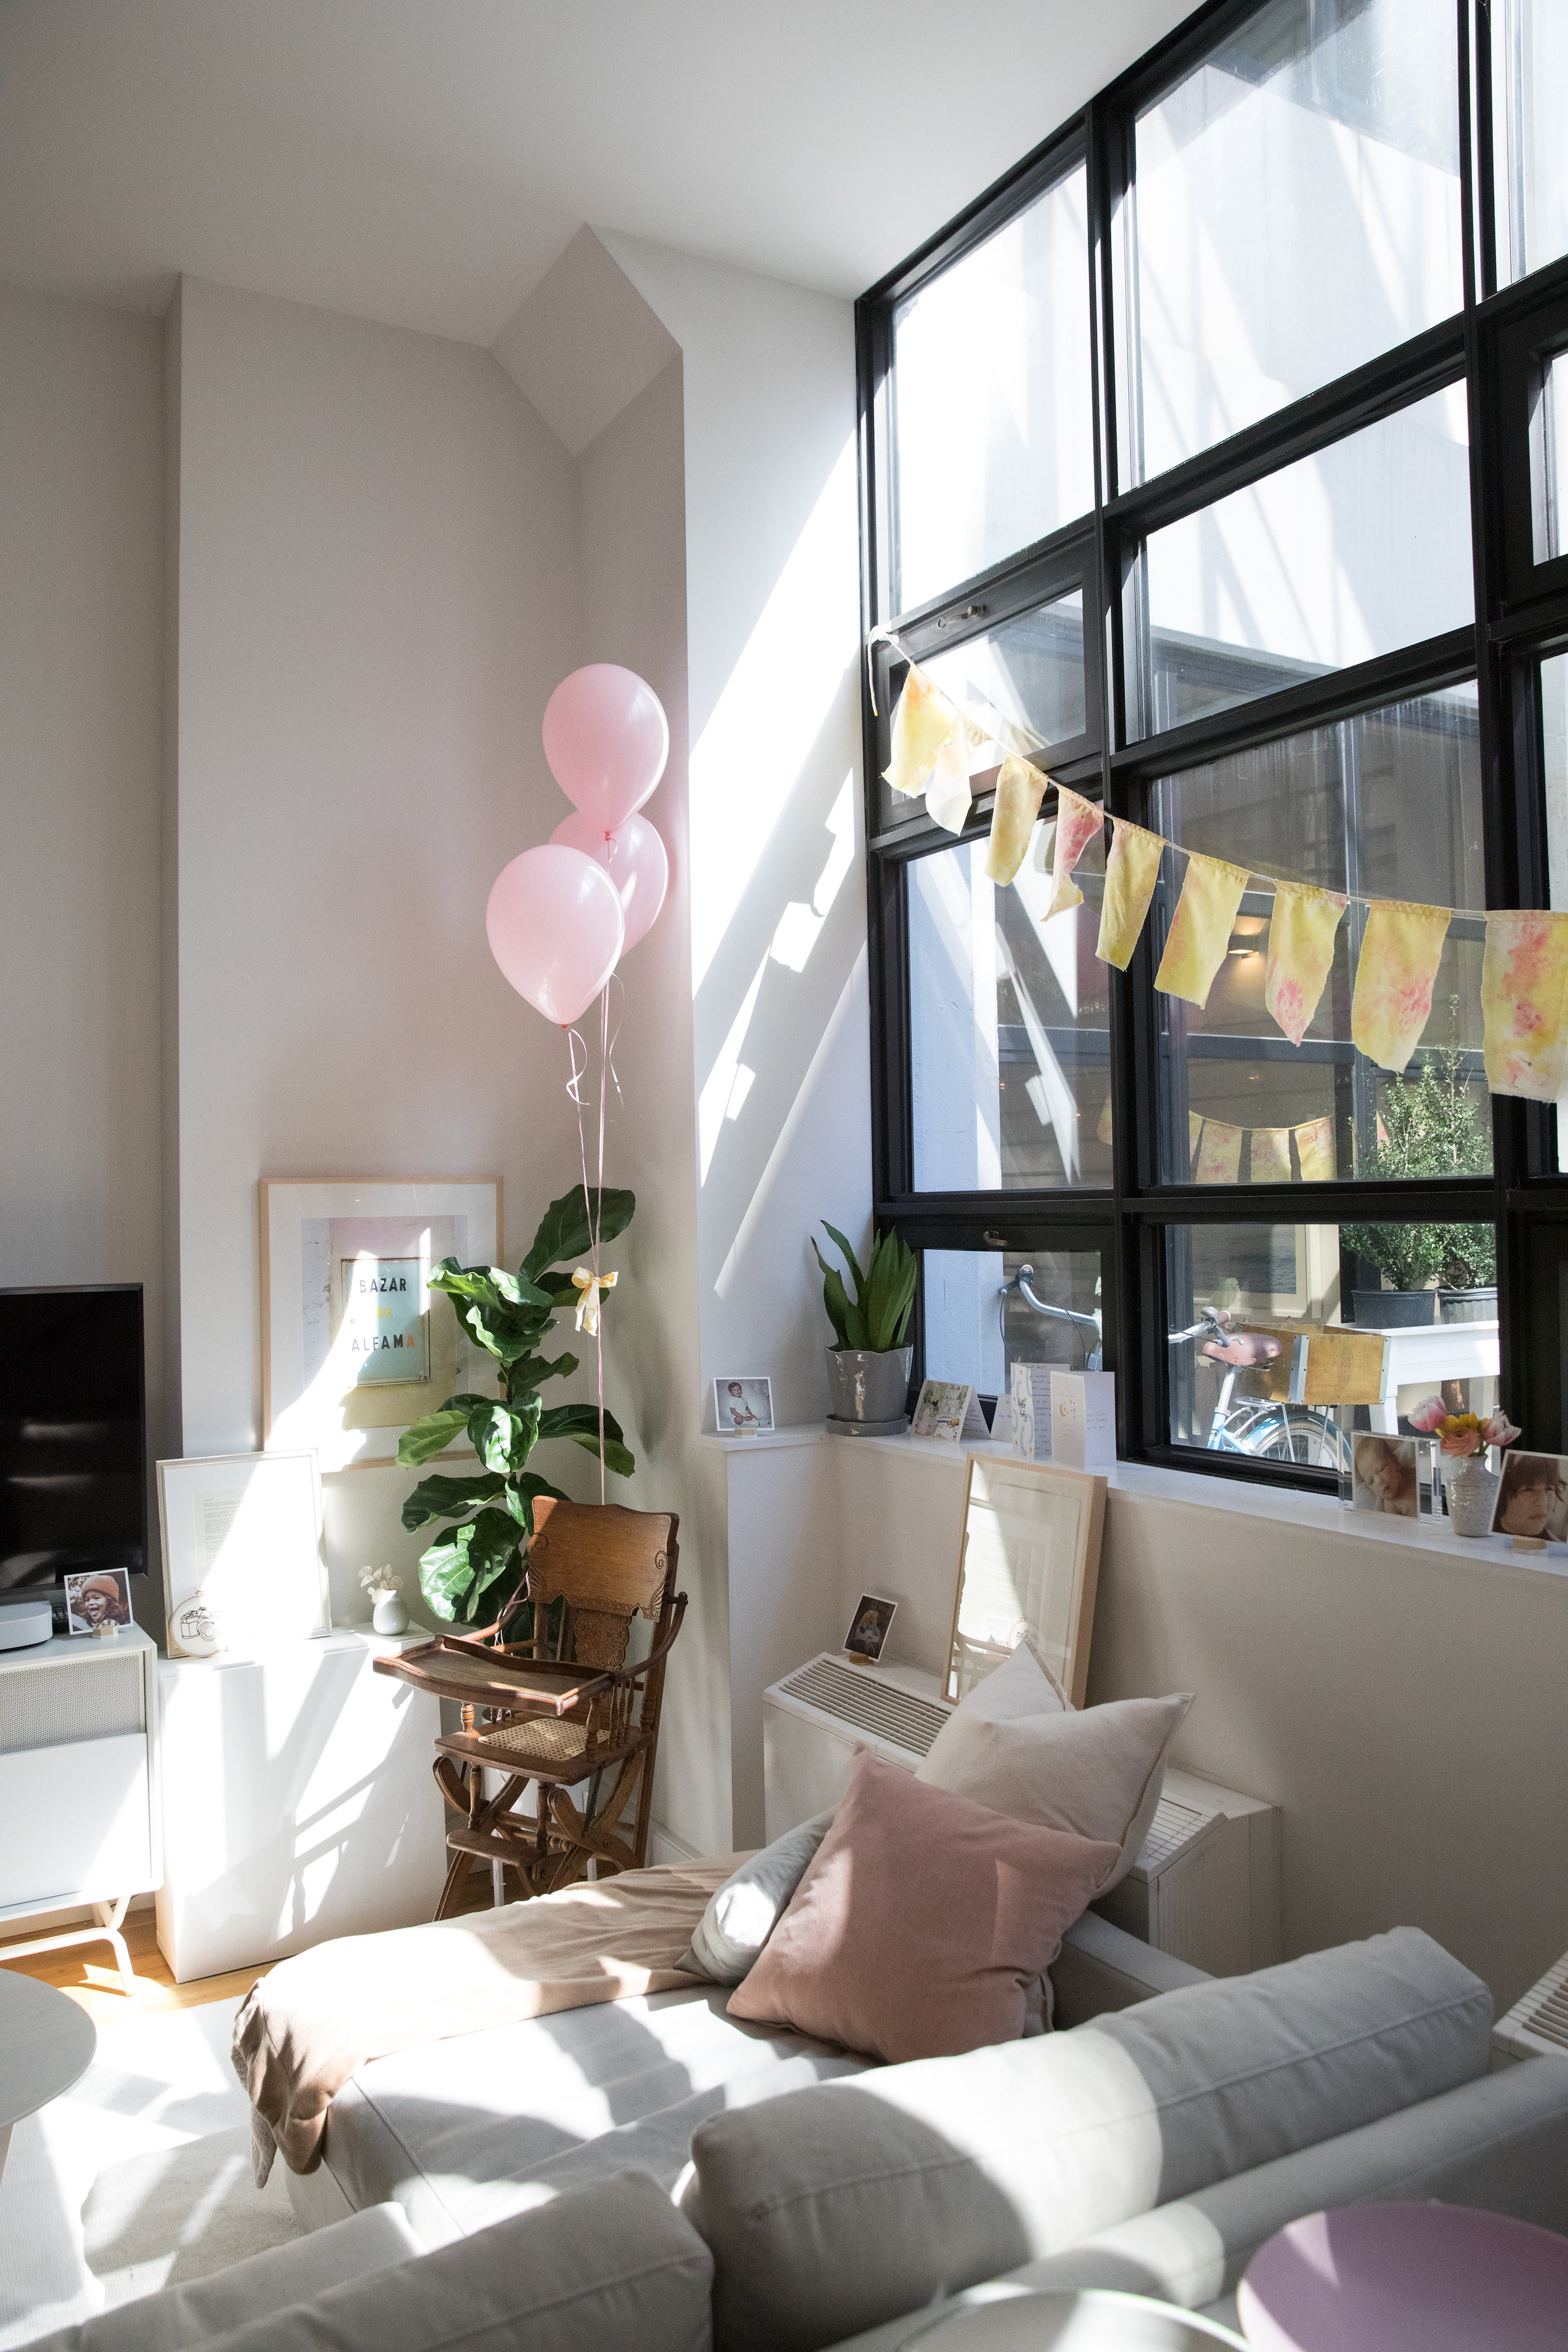
My dear friend and talented photographer, Ana Gambuto, recently had a baby girl named Colette Starling and I was so happy to help decorate her shower. She has an amazing group of lady friends who helped organize the event to make it such a smash. I was in charge of bringing in some decor although as you'll see her apartment is so gorgeous it doesn't really need anything.
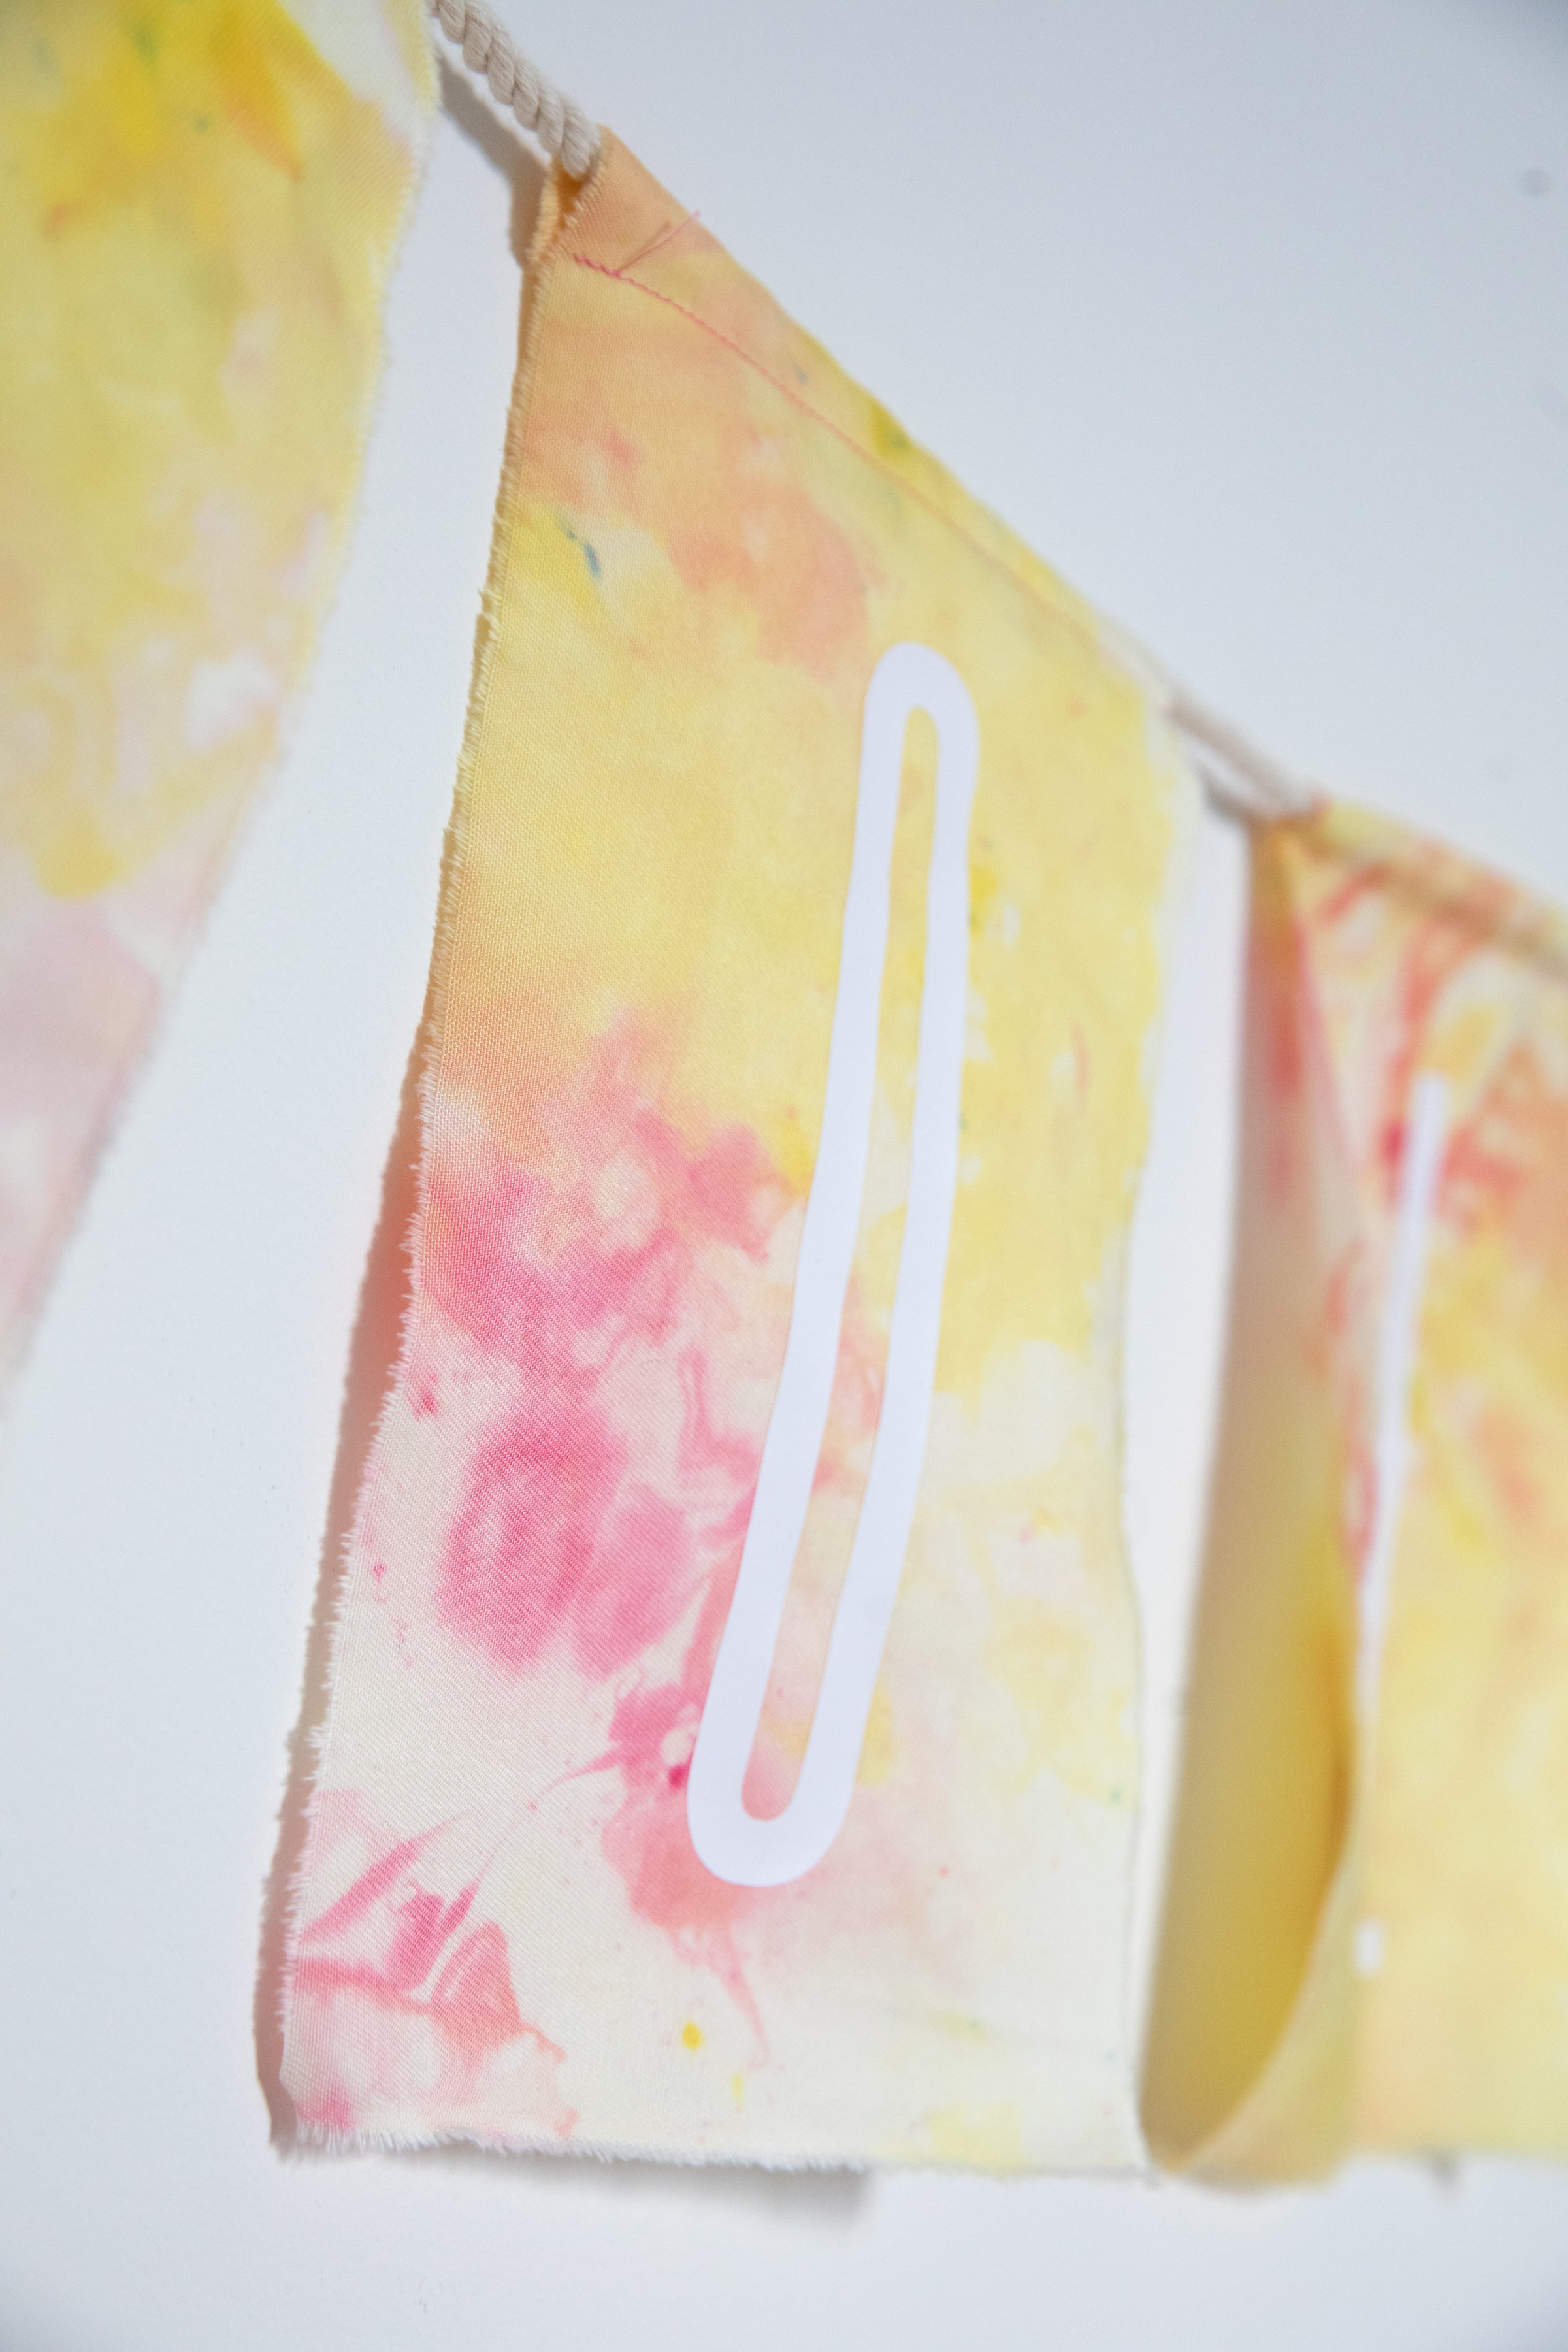
To make the shower decorations, I created a textile using an ice dye technique. It's super simple and very satisfying to do.
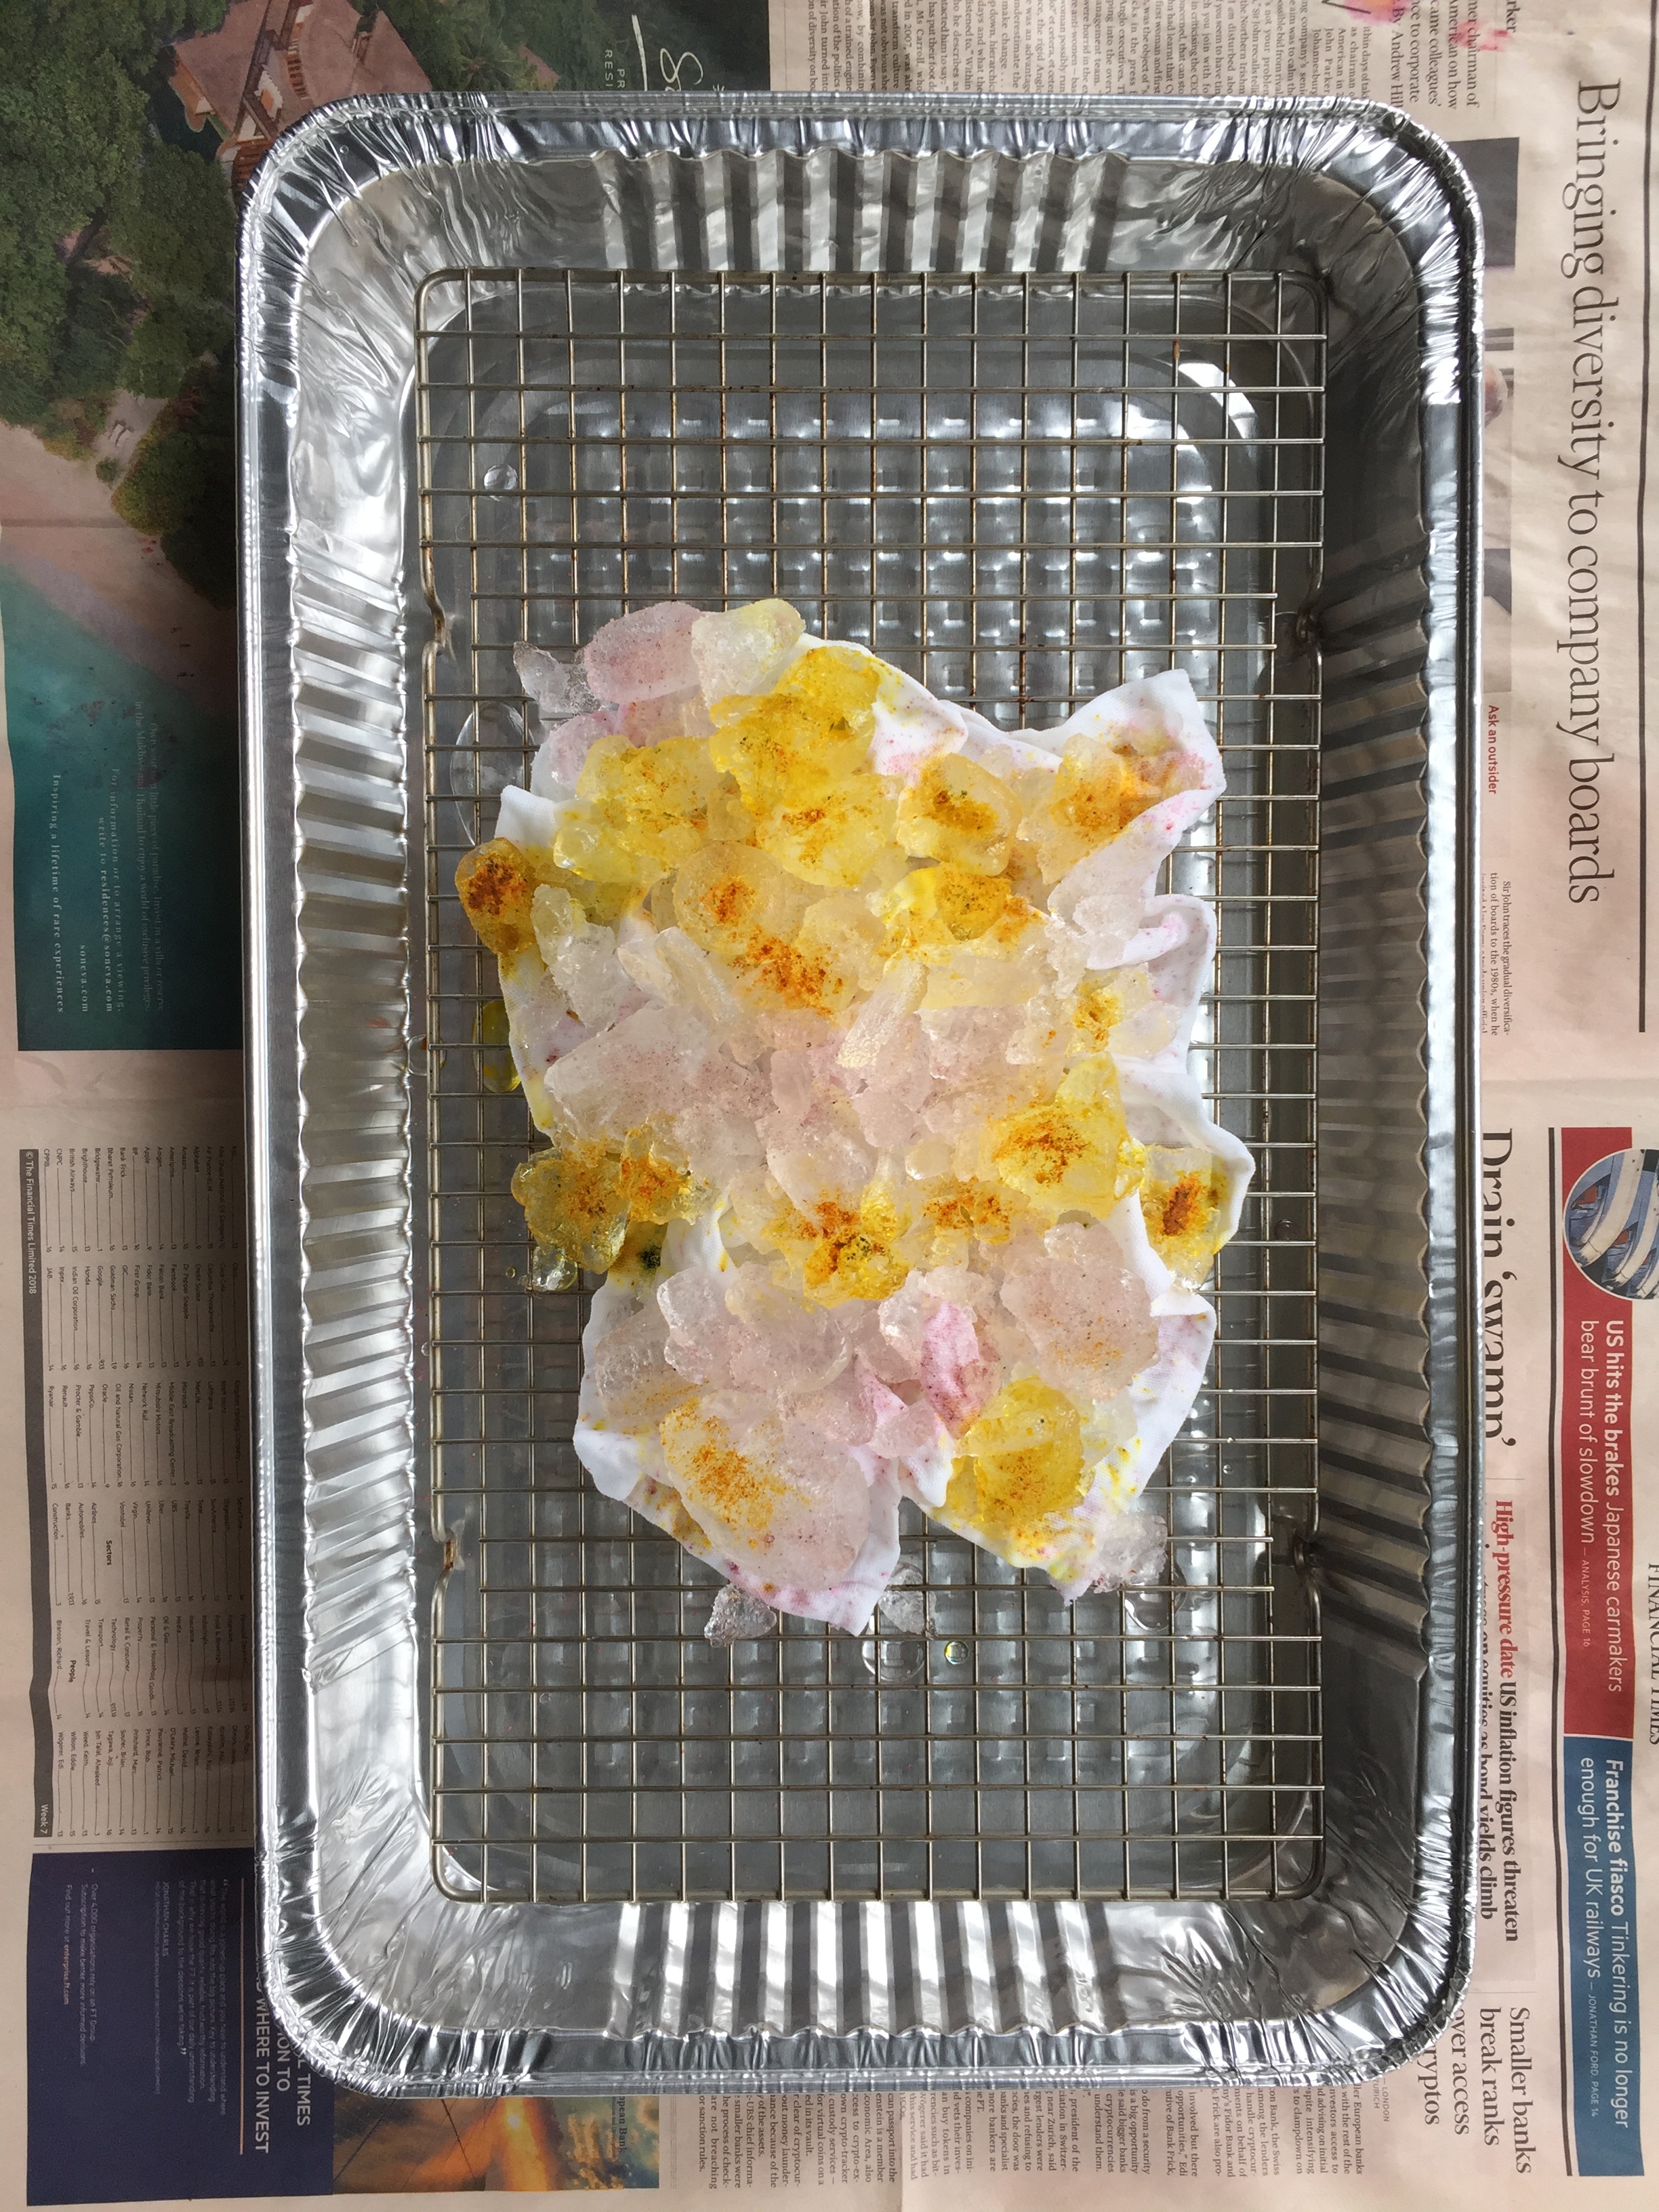
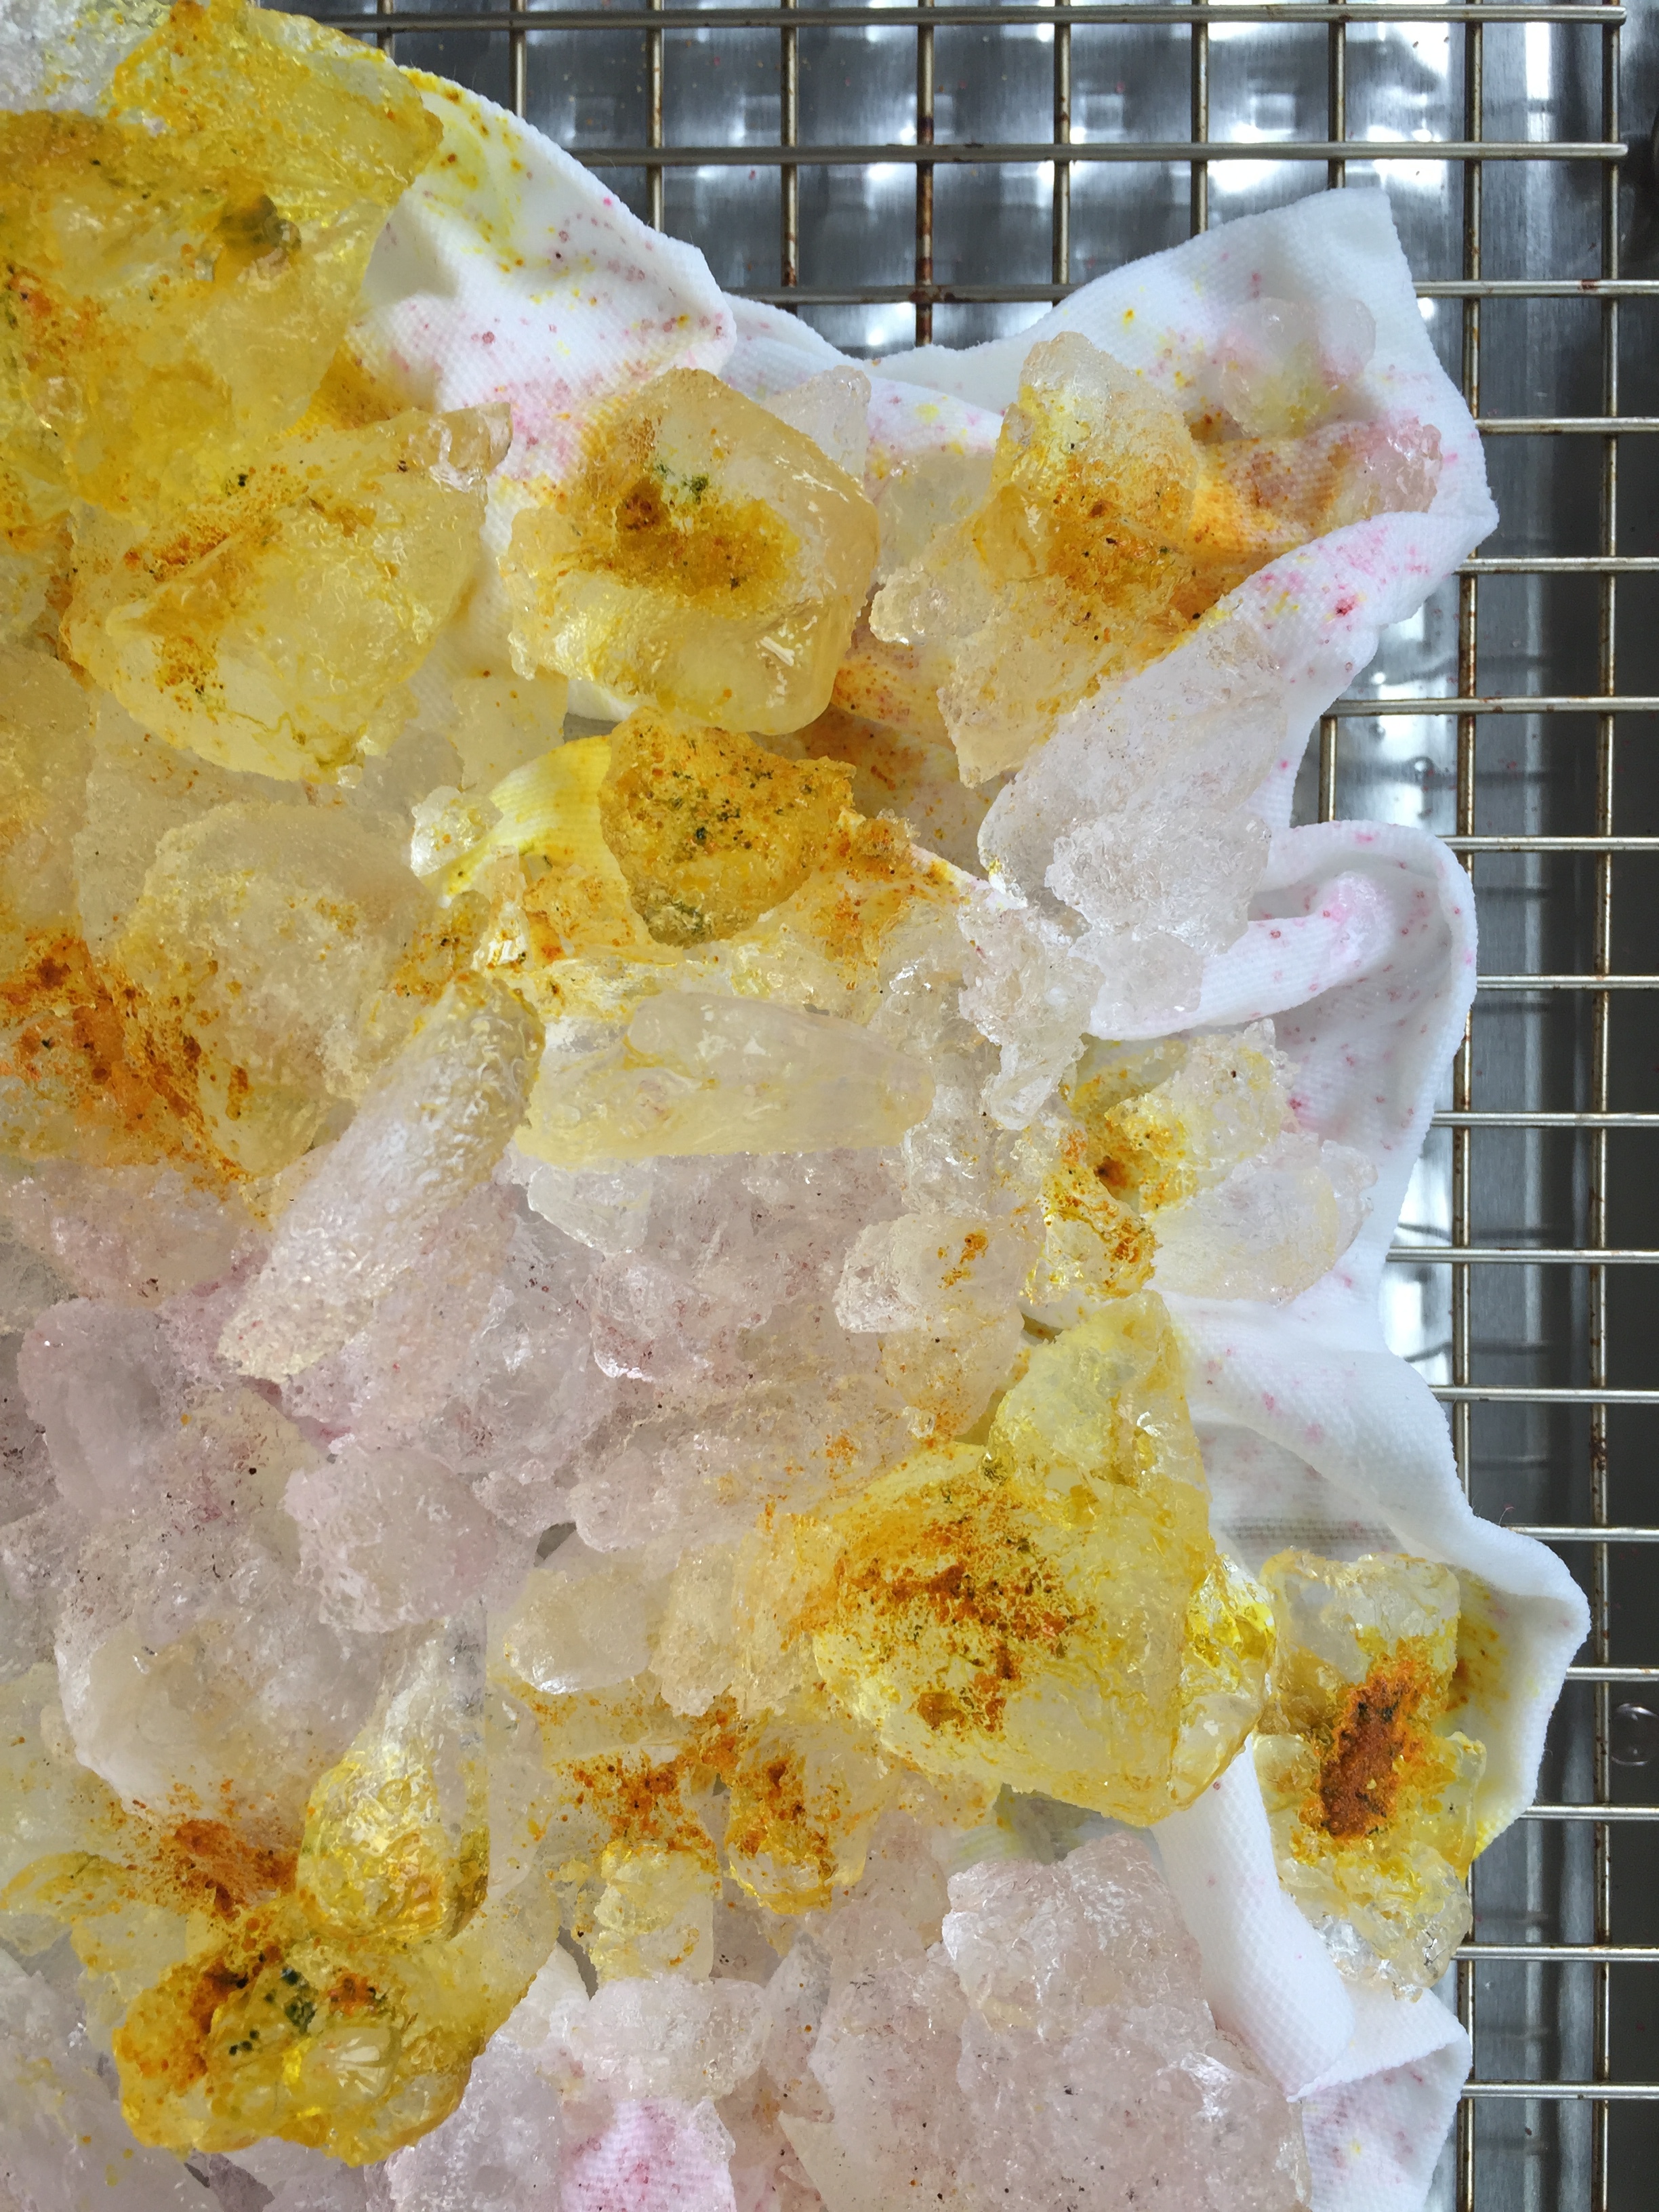
To ice dye fabric you just need powdered dye, ice, and a container for holding the fabric as the ice melts. You can probably use items you already have in your kitchen. That's pretty much it! Here's what I did:
1. Soak fabric in water. I used this french twill because it's made to dye well. Any all natural fabric such as cotton or silk should work.
2. Place a wire cooling rack inside a tray big enough to catch the melting ice. I used a disposable tray that fit the size of a cooling rack I already had.
3. Put the wet fabric on the cooling rack, scrunching it here and there so it fits in the space.
4. Cover the fabric with ice.
5. Sprinkle the ice lightly with powdered dye. I used RIT Petal Pink and iDye Bright Yellow. A little bit goes a long way! Pretend like you're just sprinkling salt here and there over a finished dish.
6. Let the ice completely melt, creating soft swirly patterns in the dye.
7. Rinse the fabric until the water runs clear and use to make tons of shower decorations!
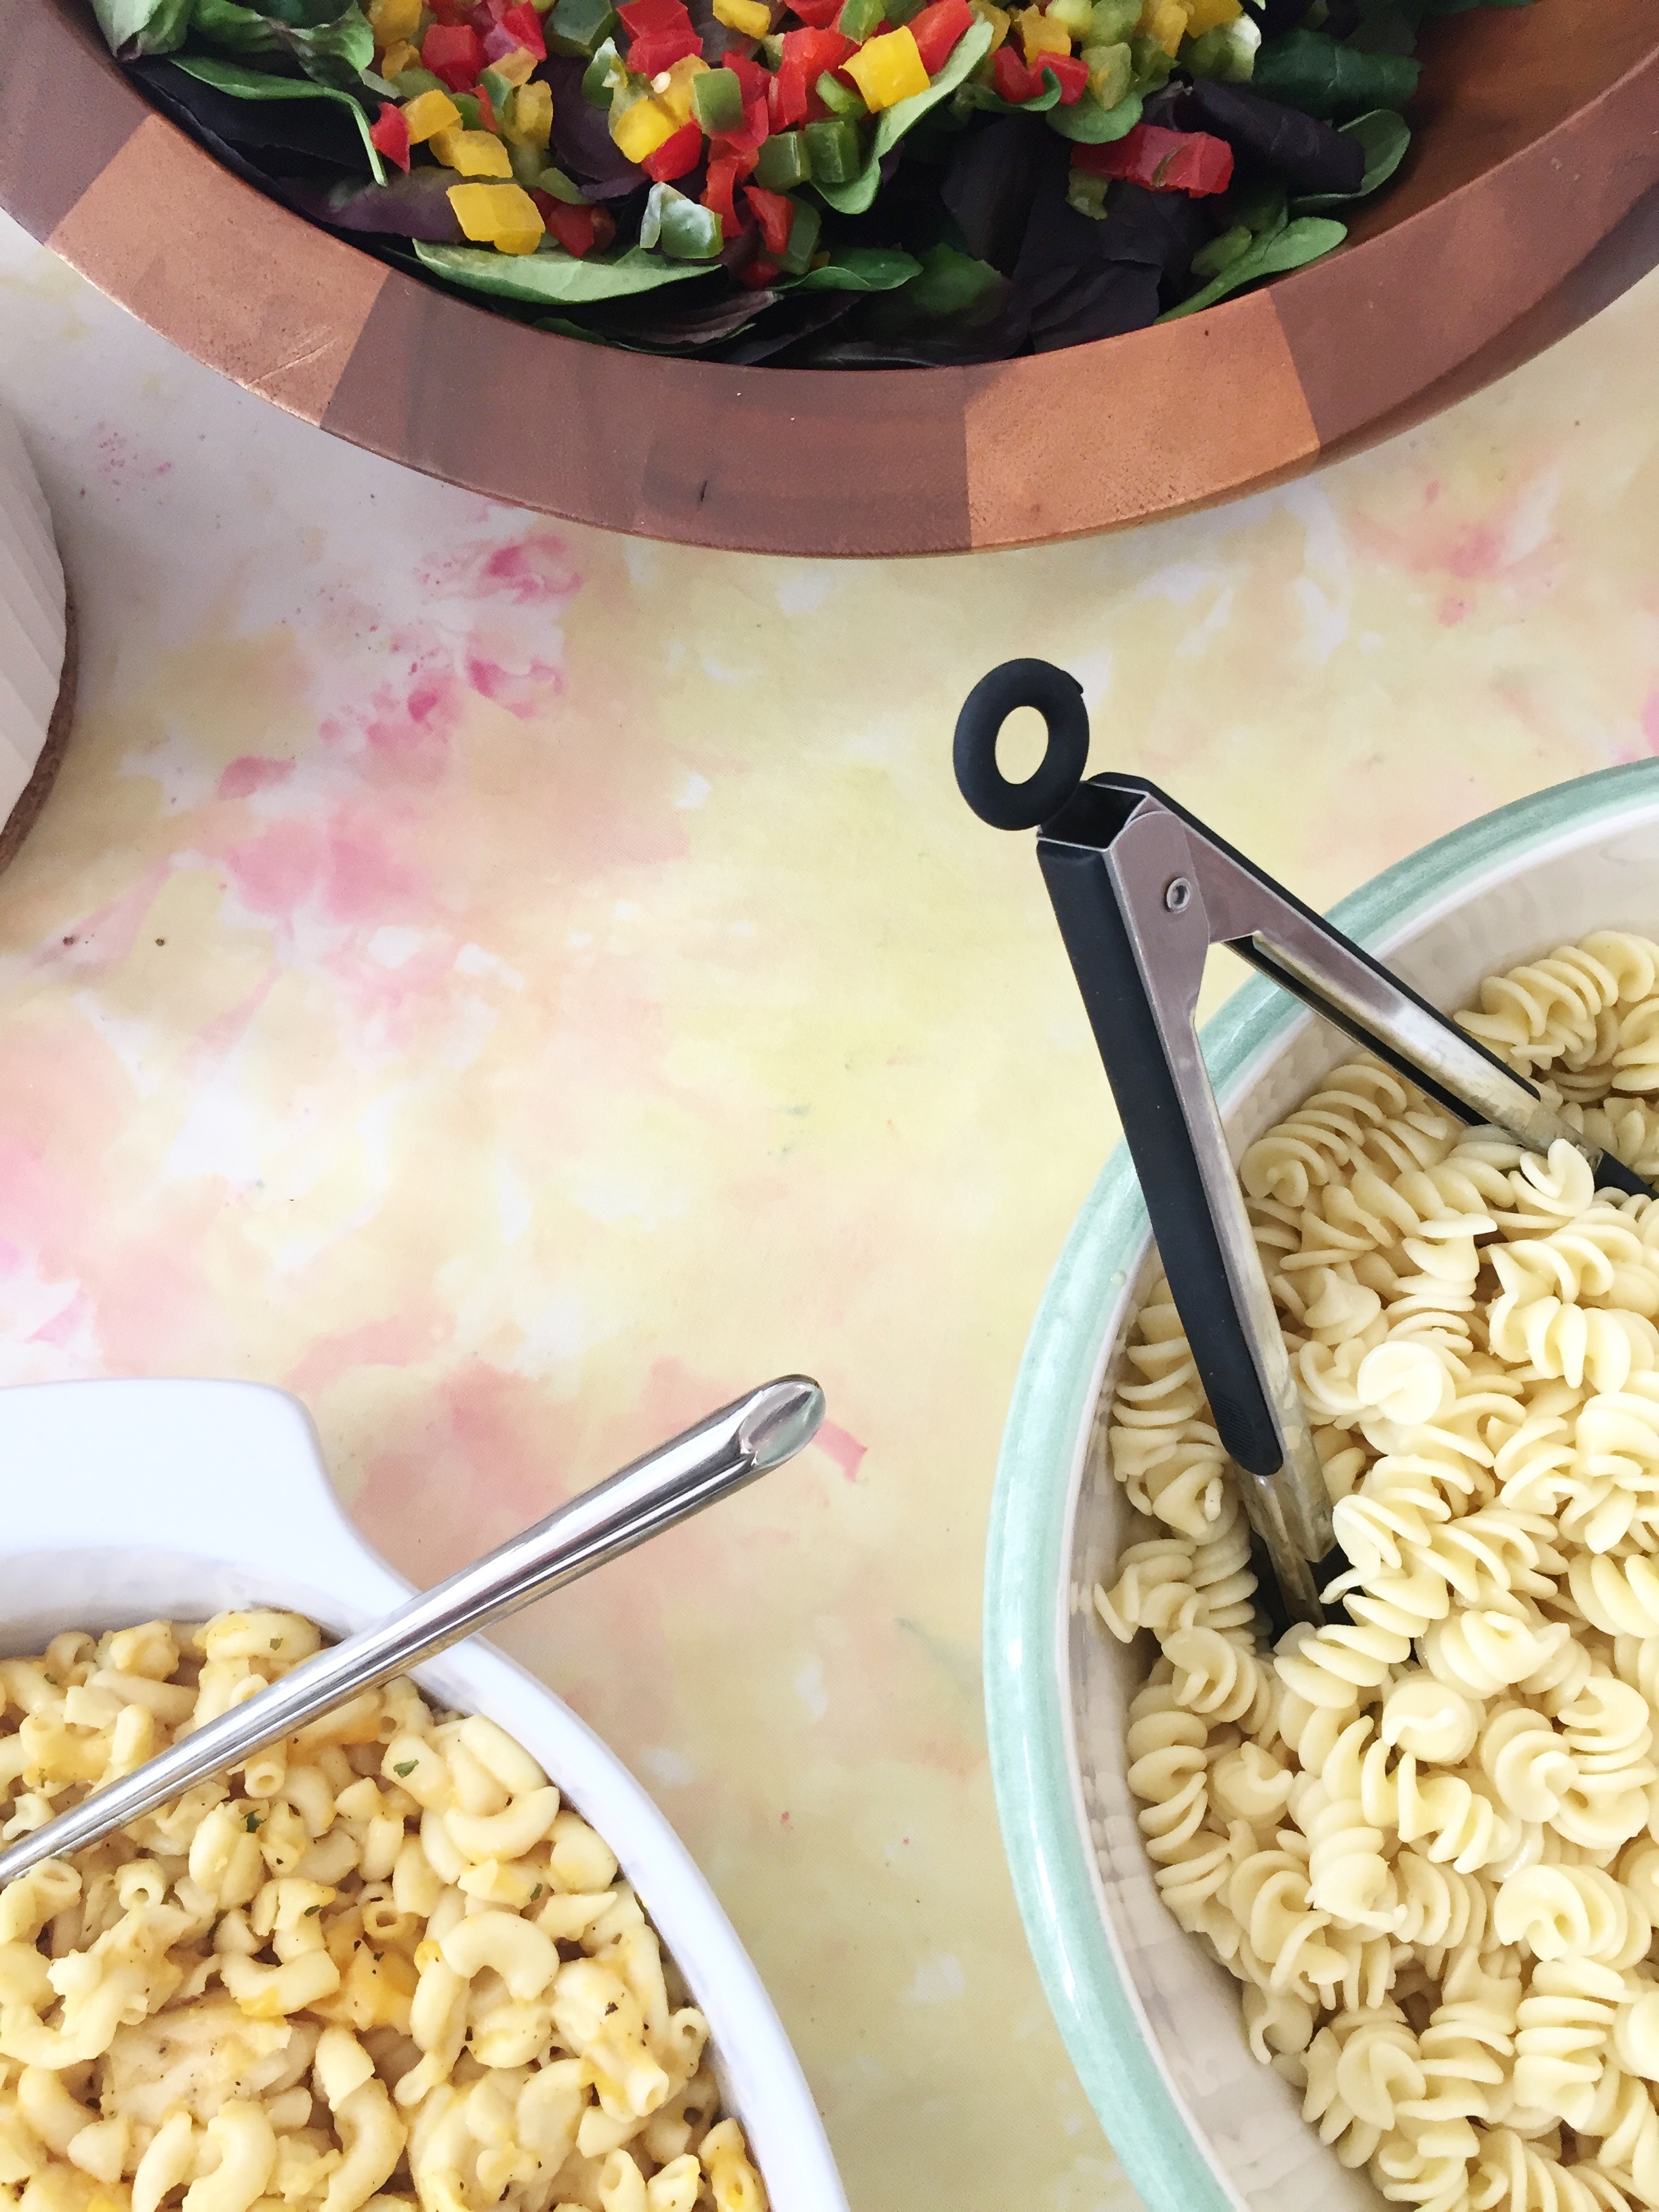
I dyed a couple of yards this way so I had plenty to use. One piece I left large to use as a runner for the table. I just ripped the fabric and didn't hem the edges; the raw edge was inspired by fabric installation I'd seen at ABC Carpet & Home (and also very easy).
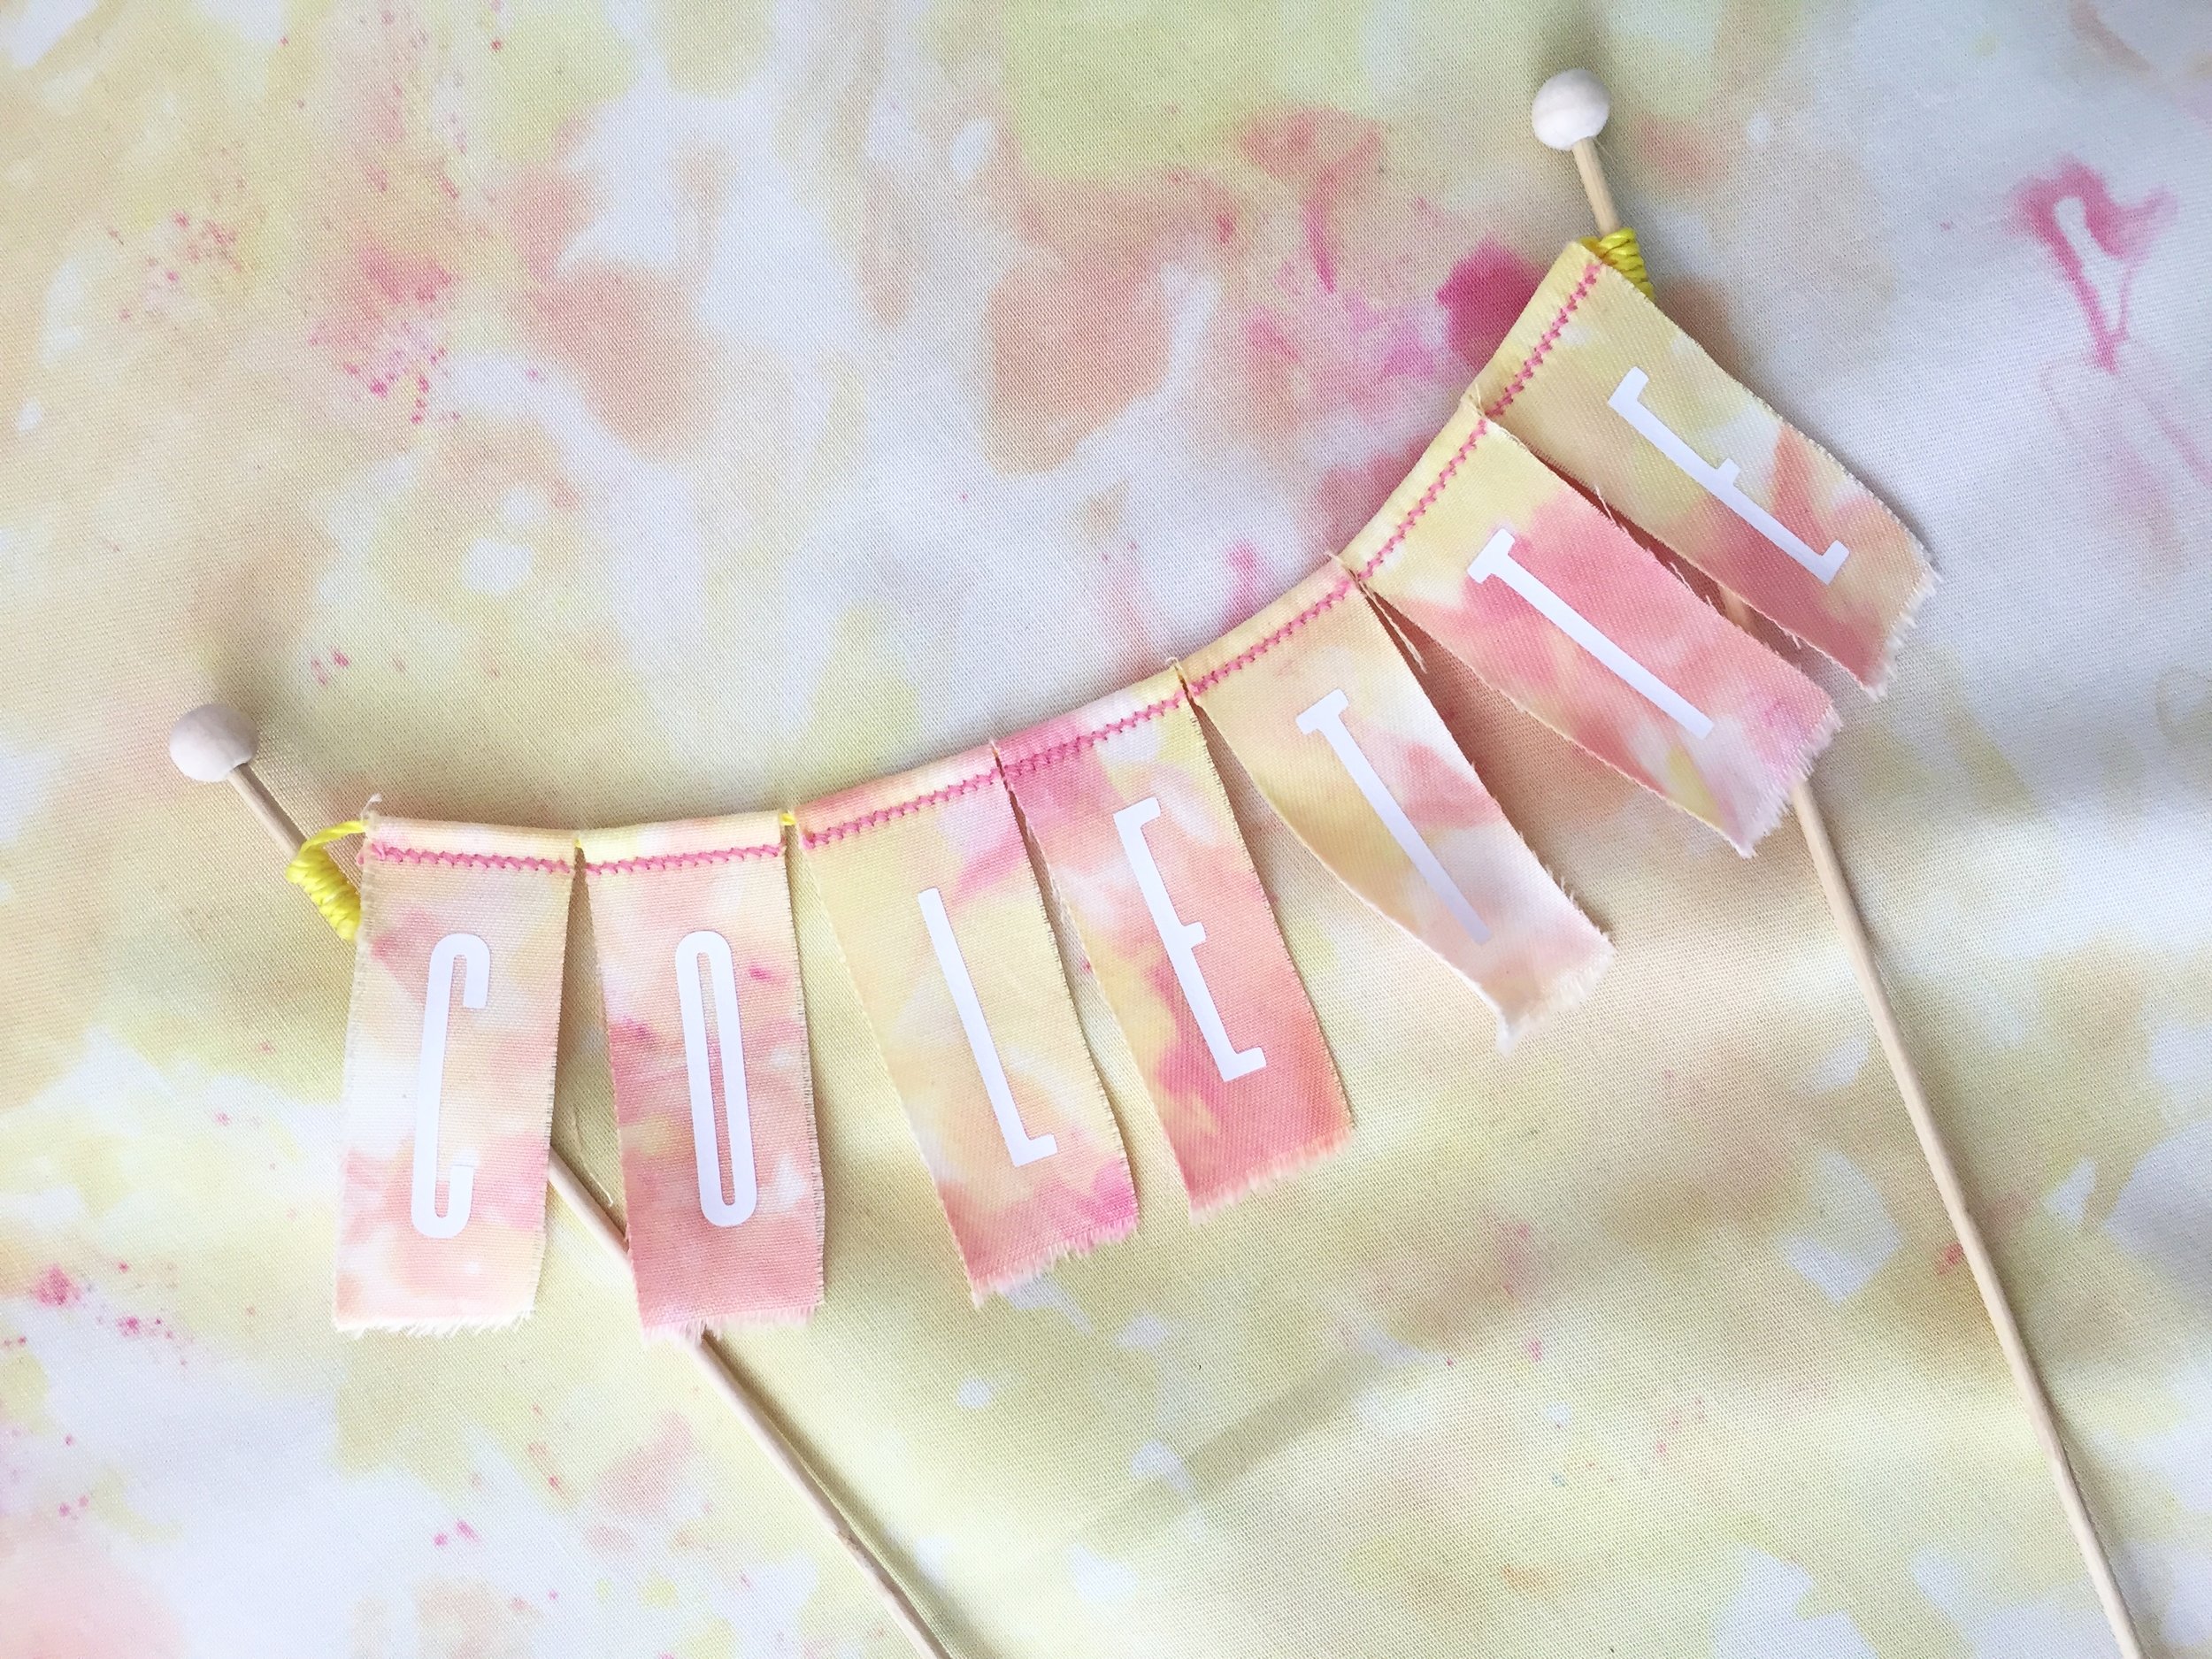
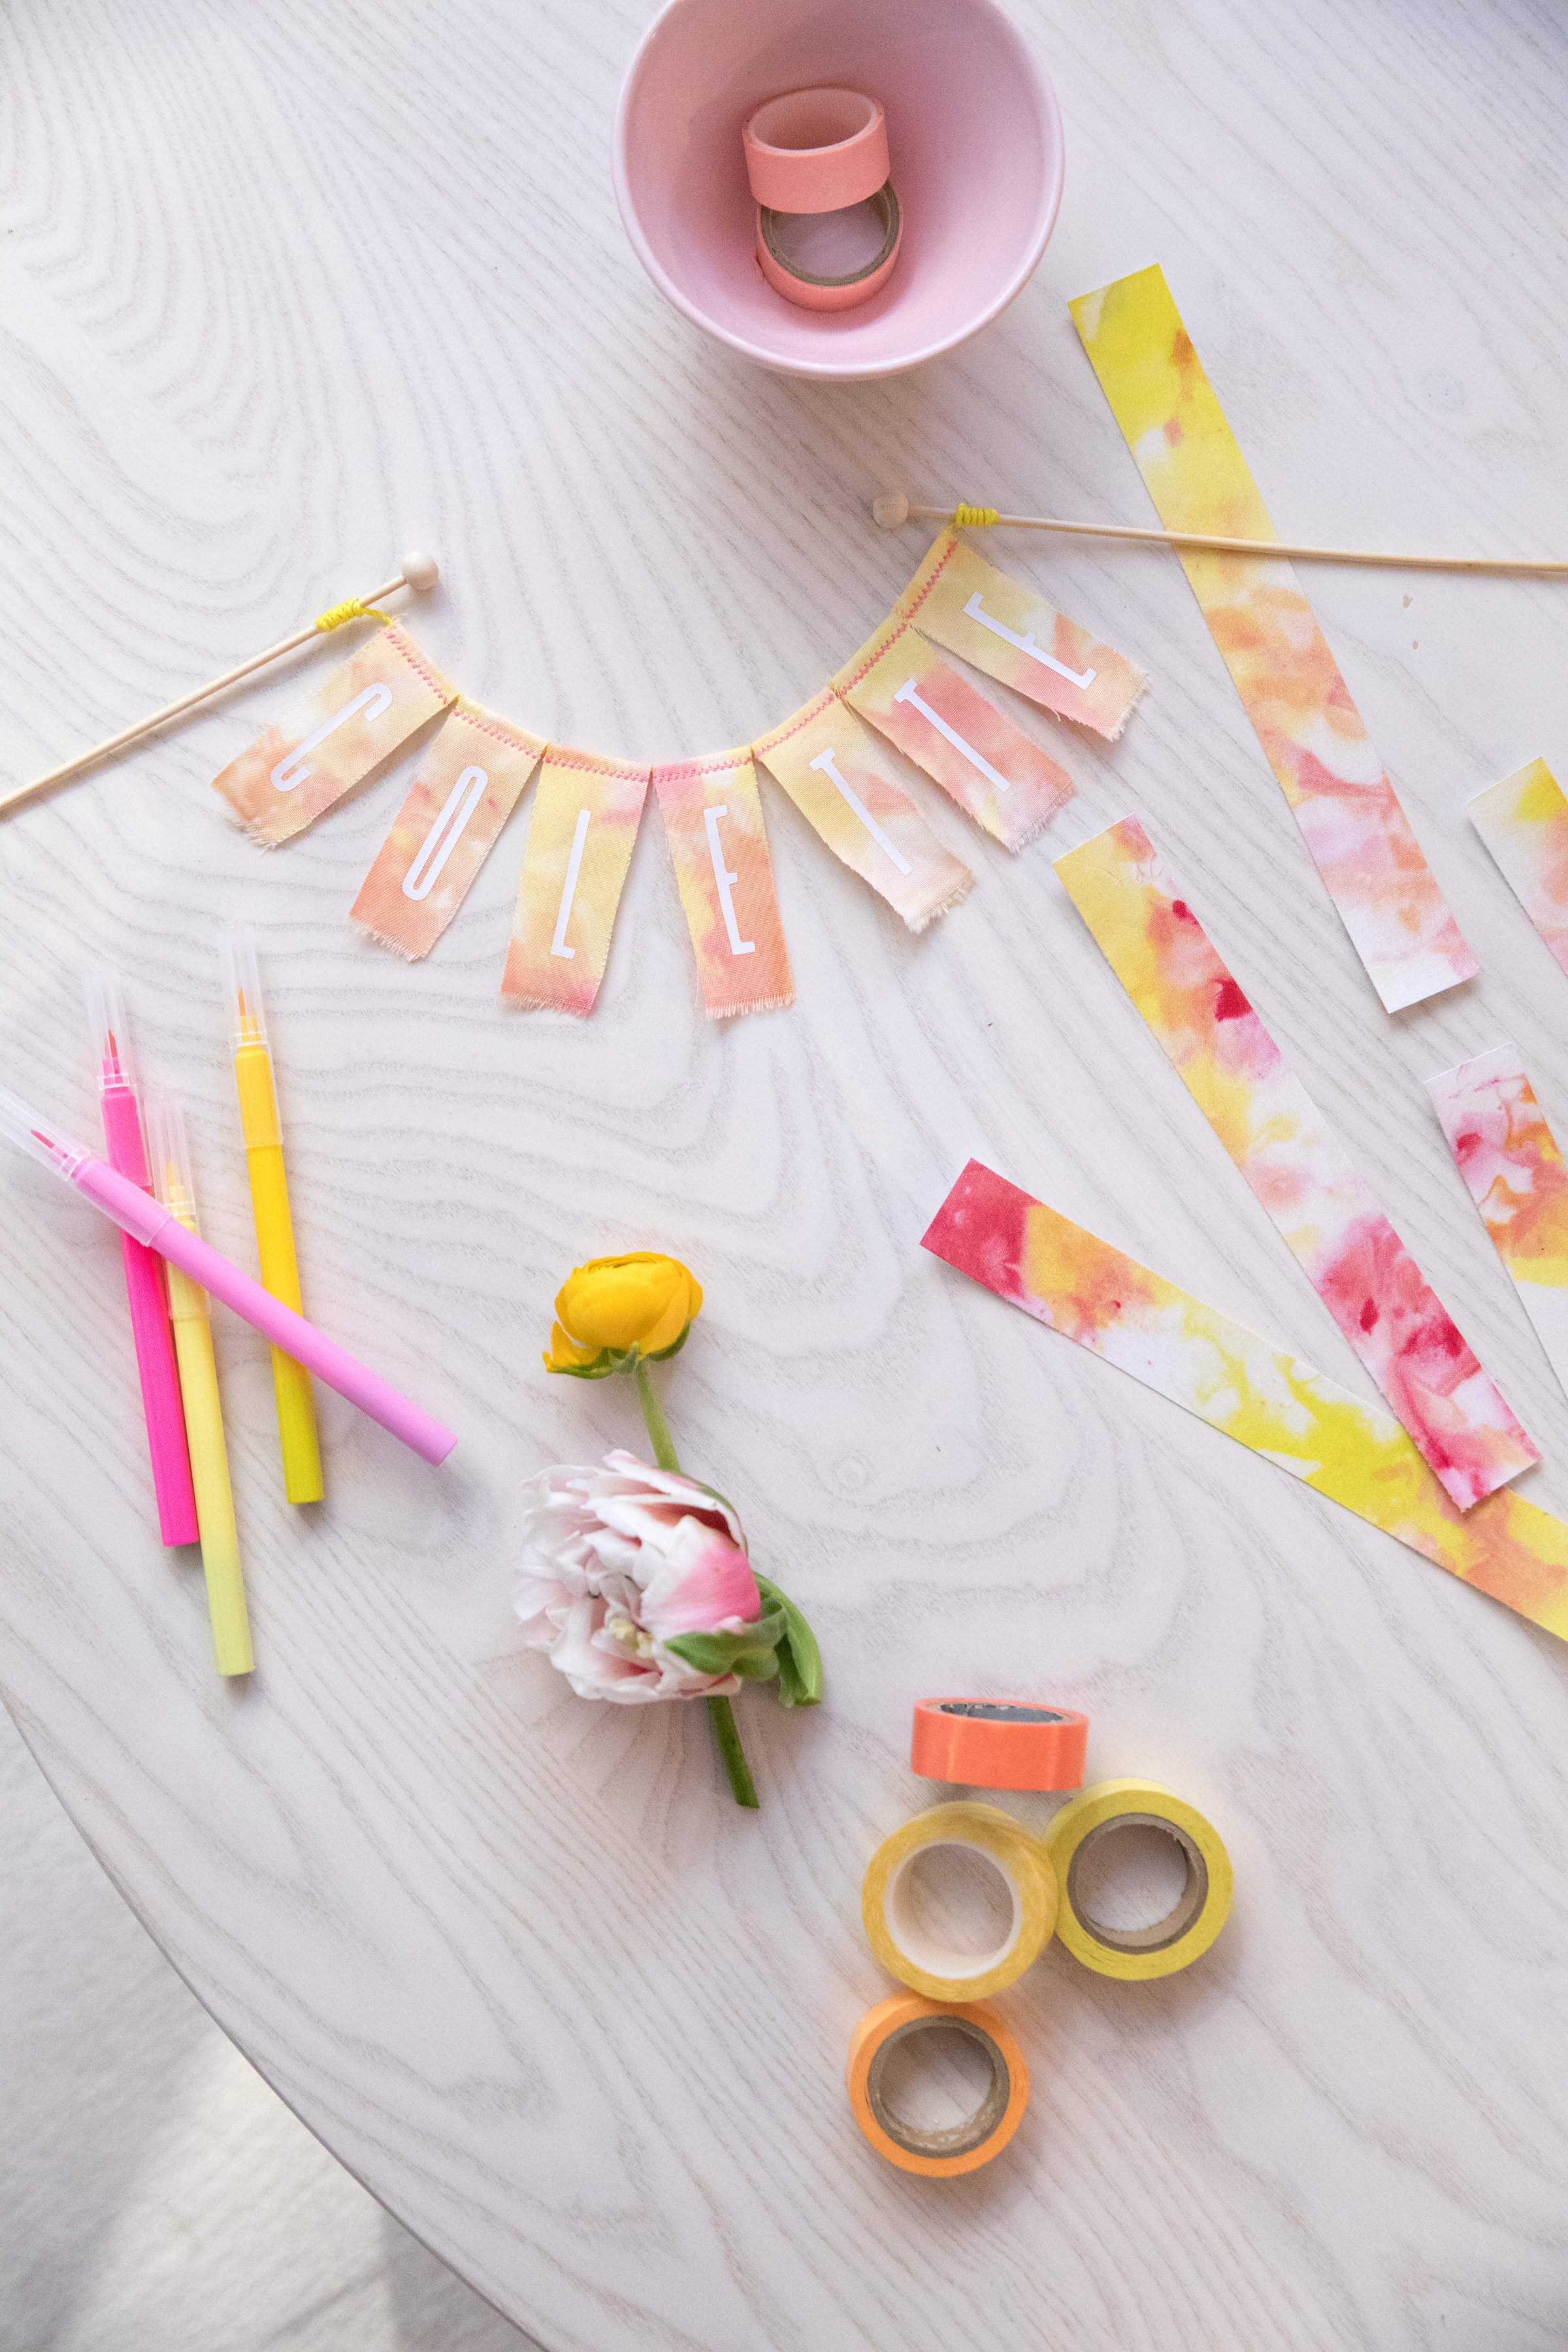
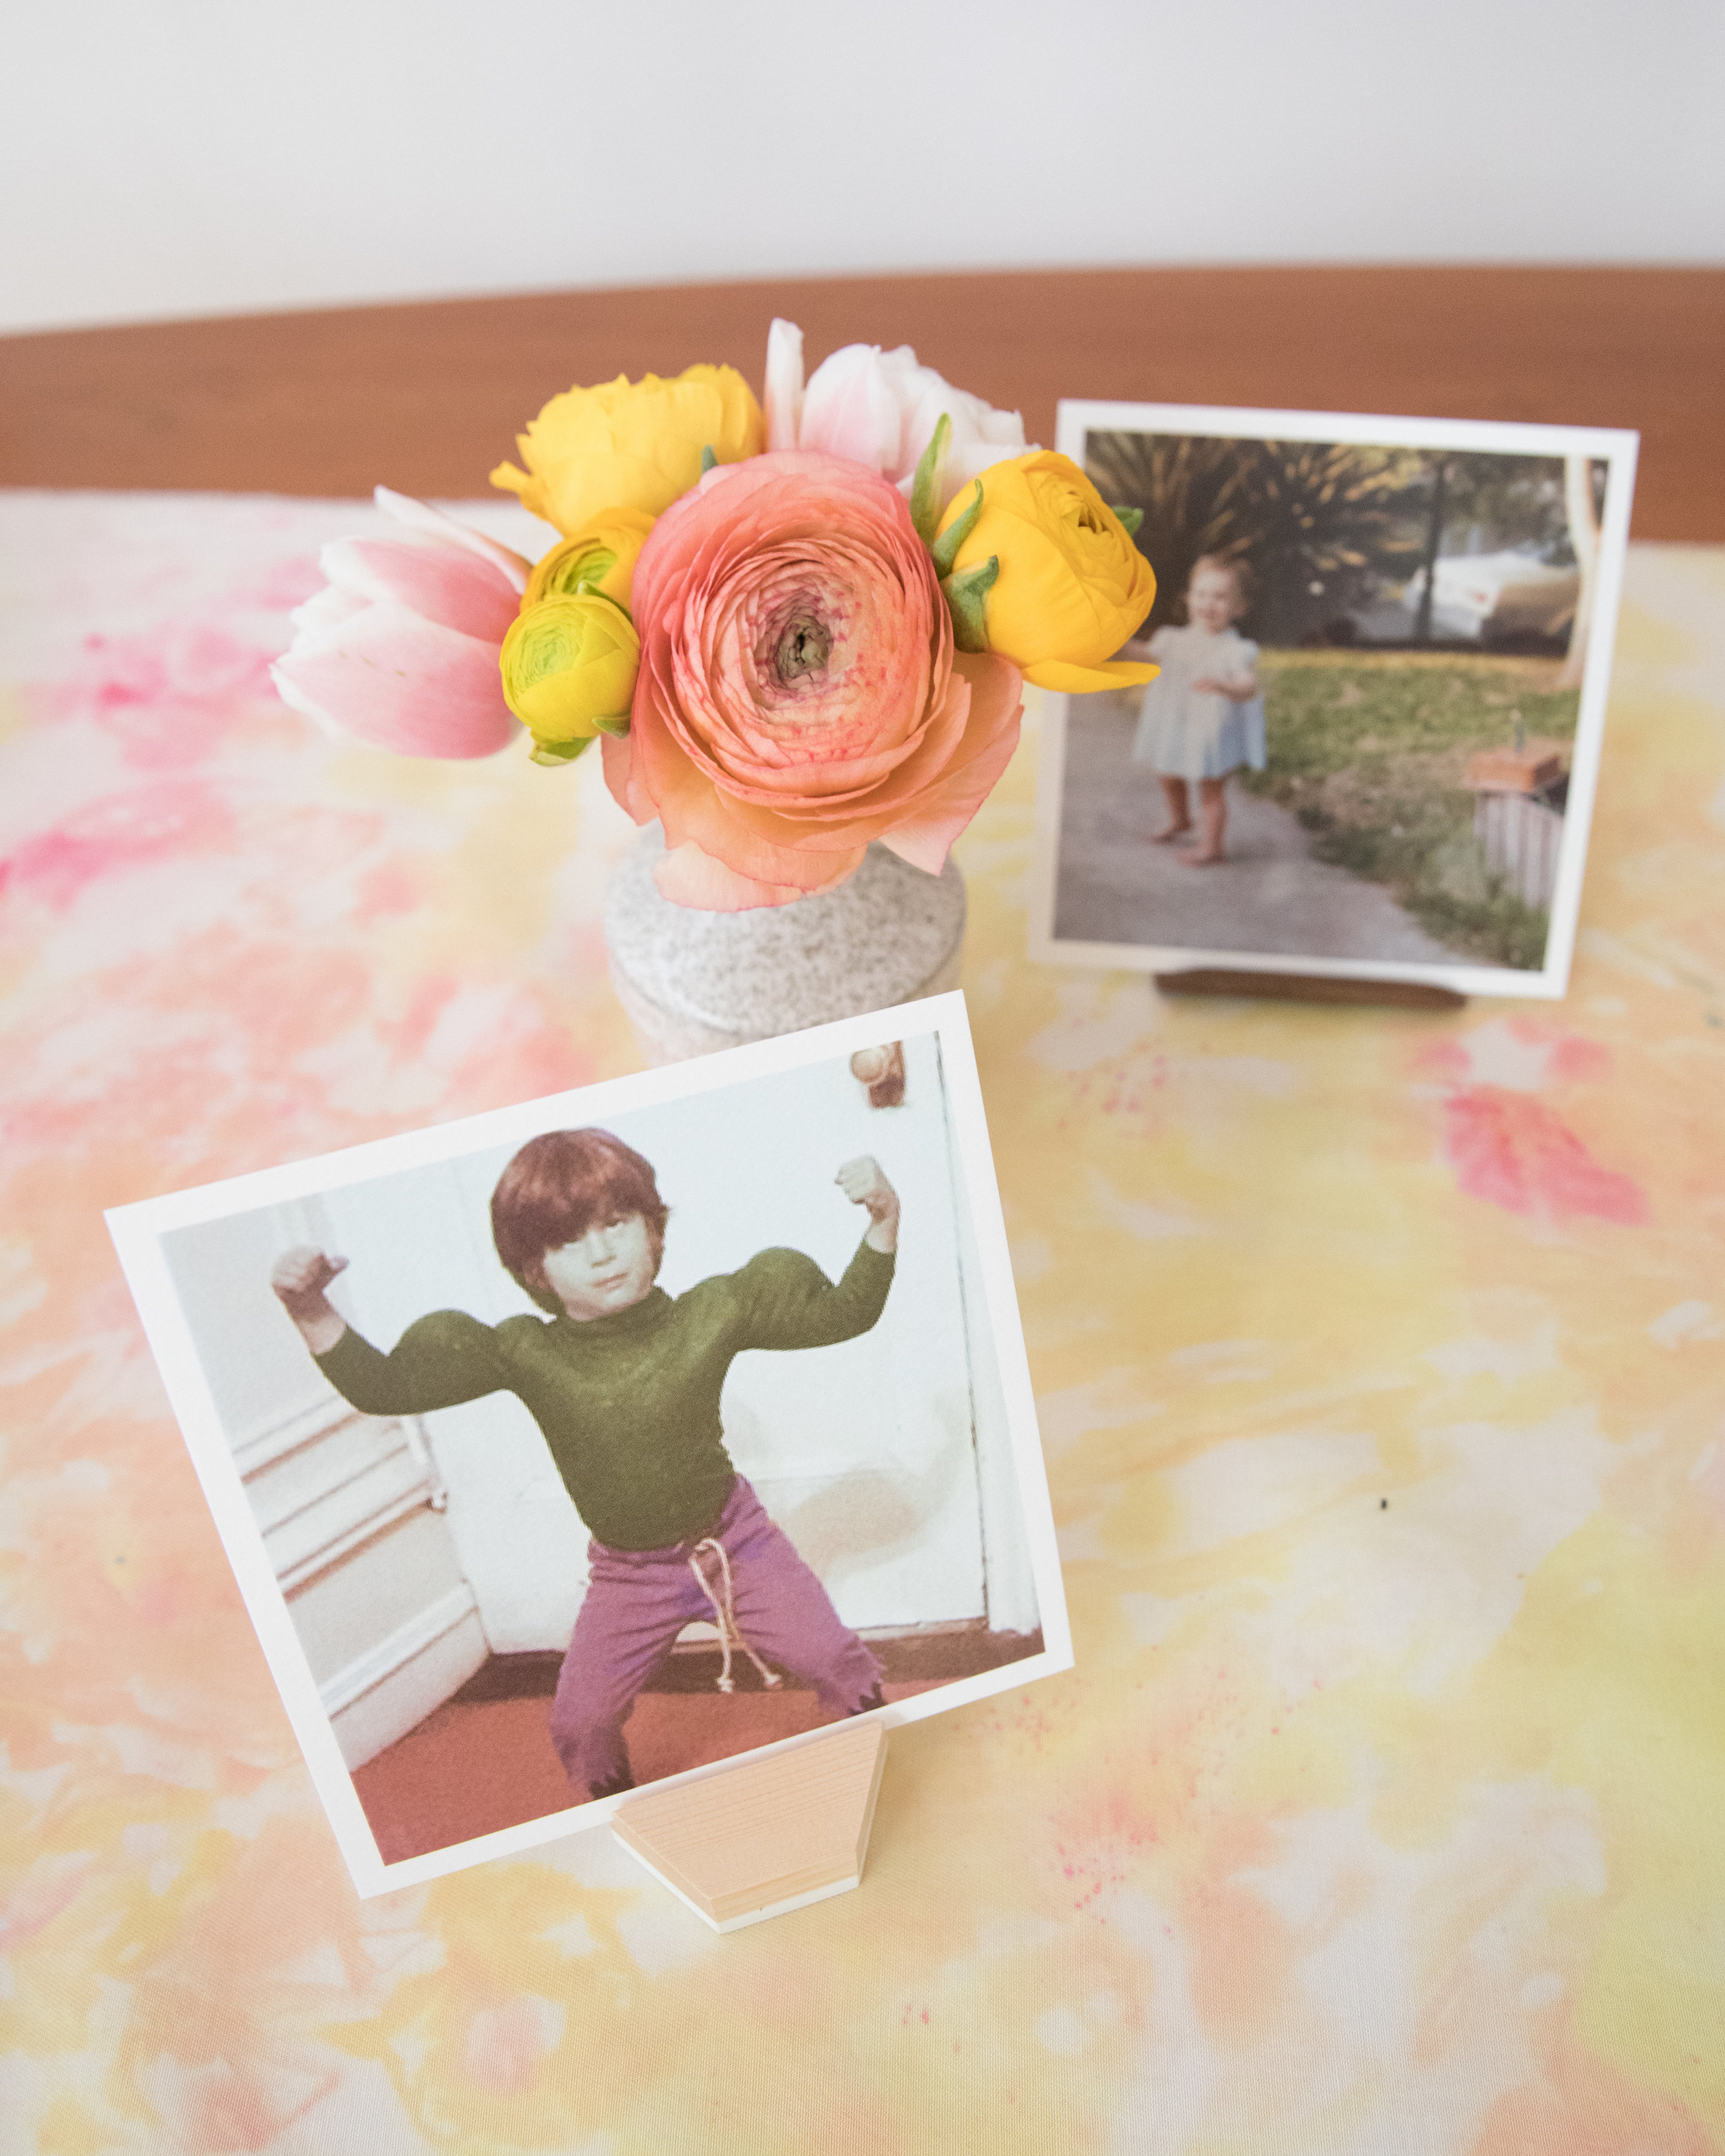
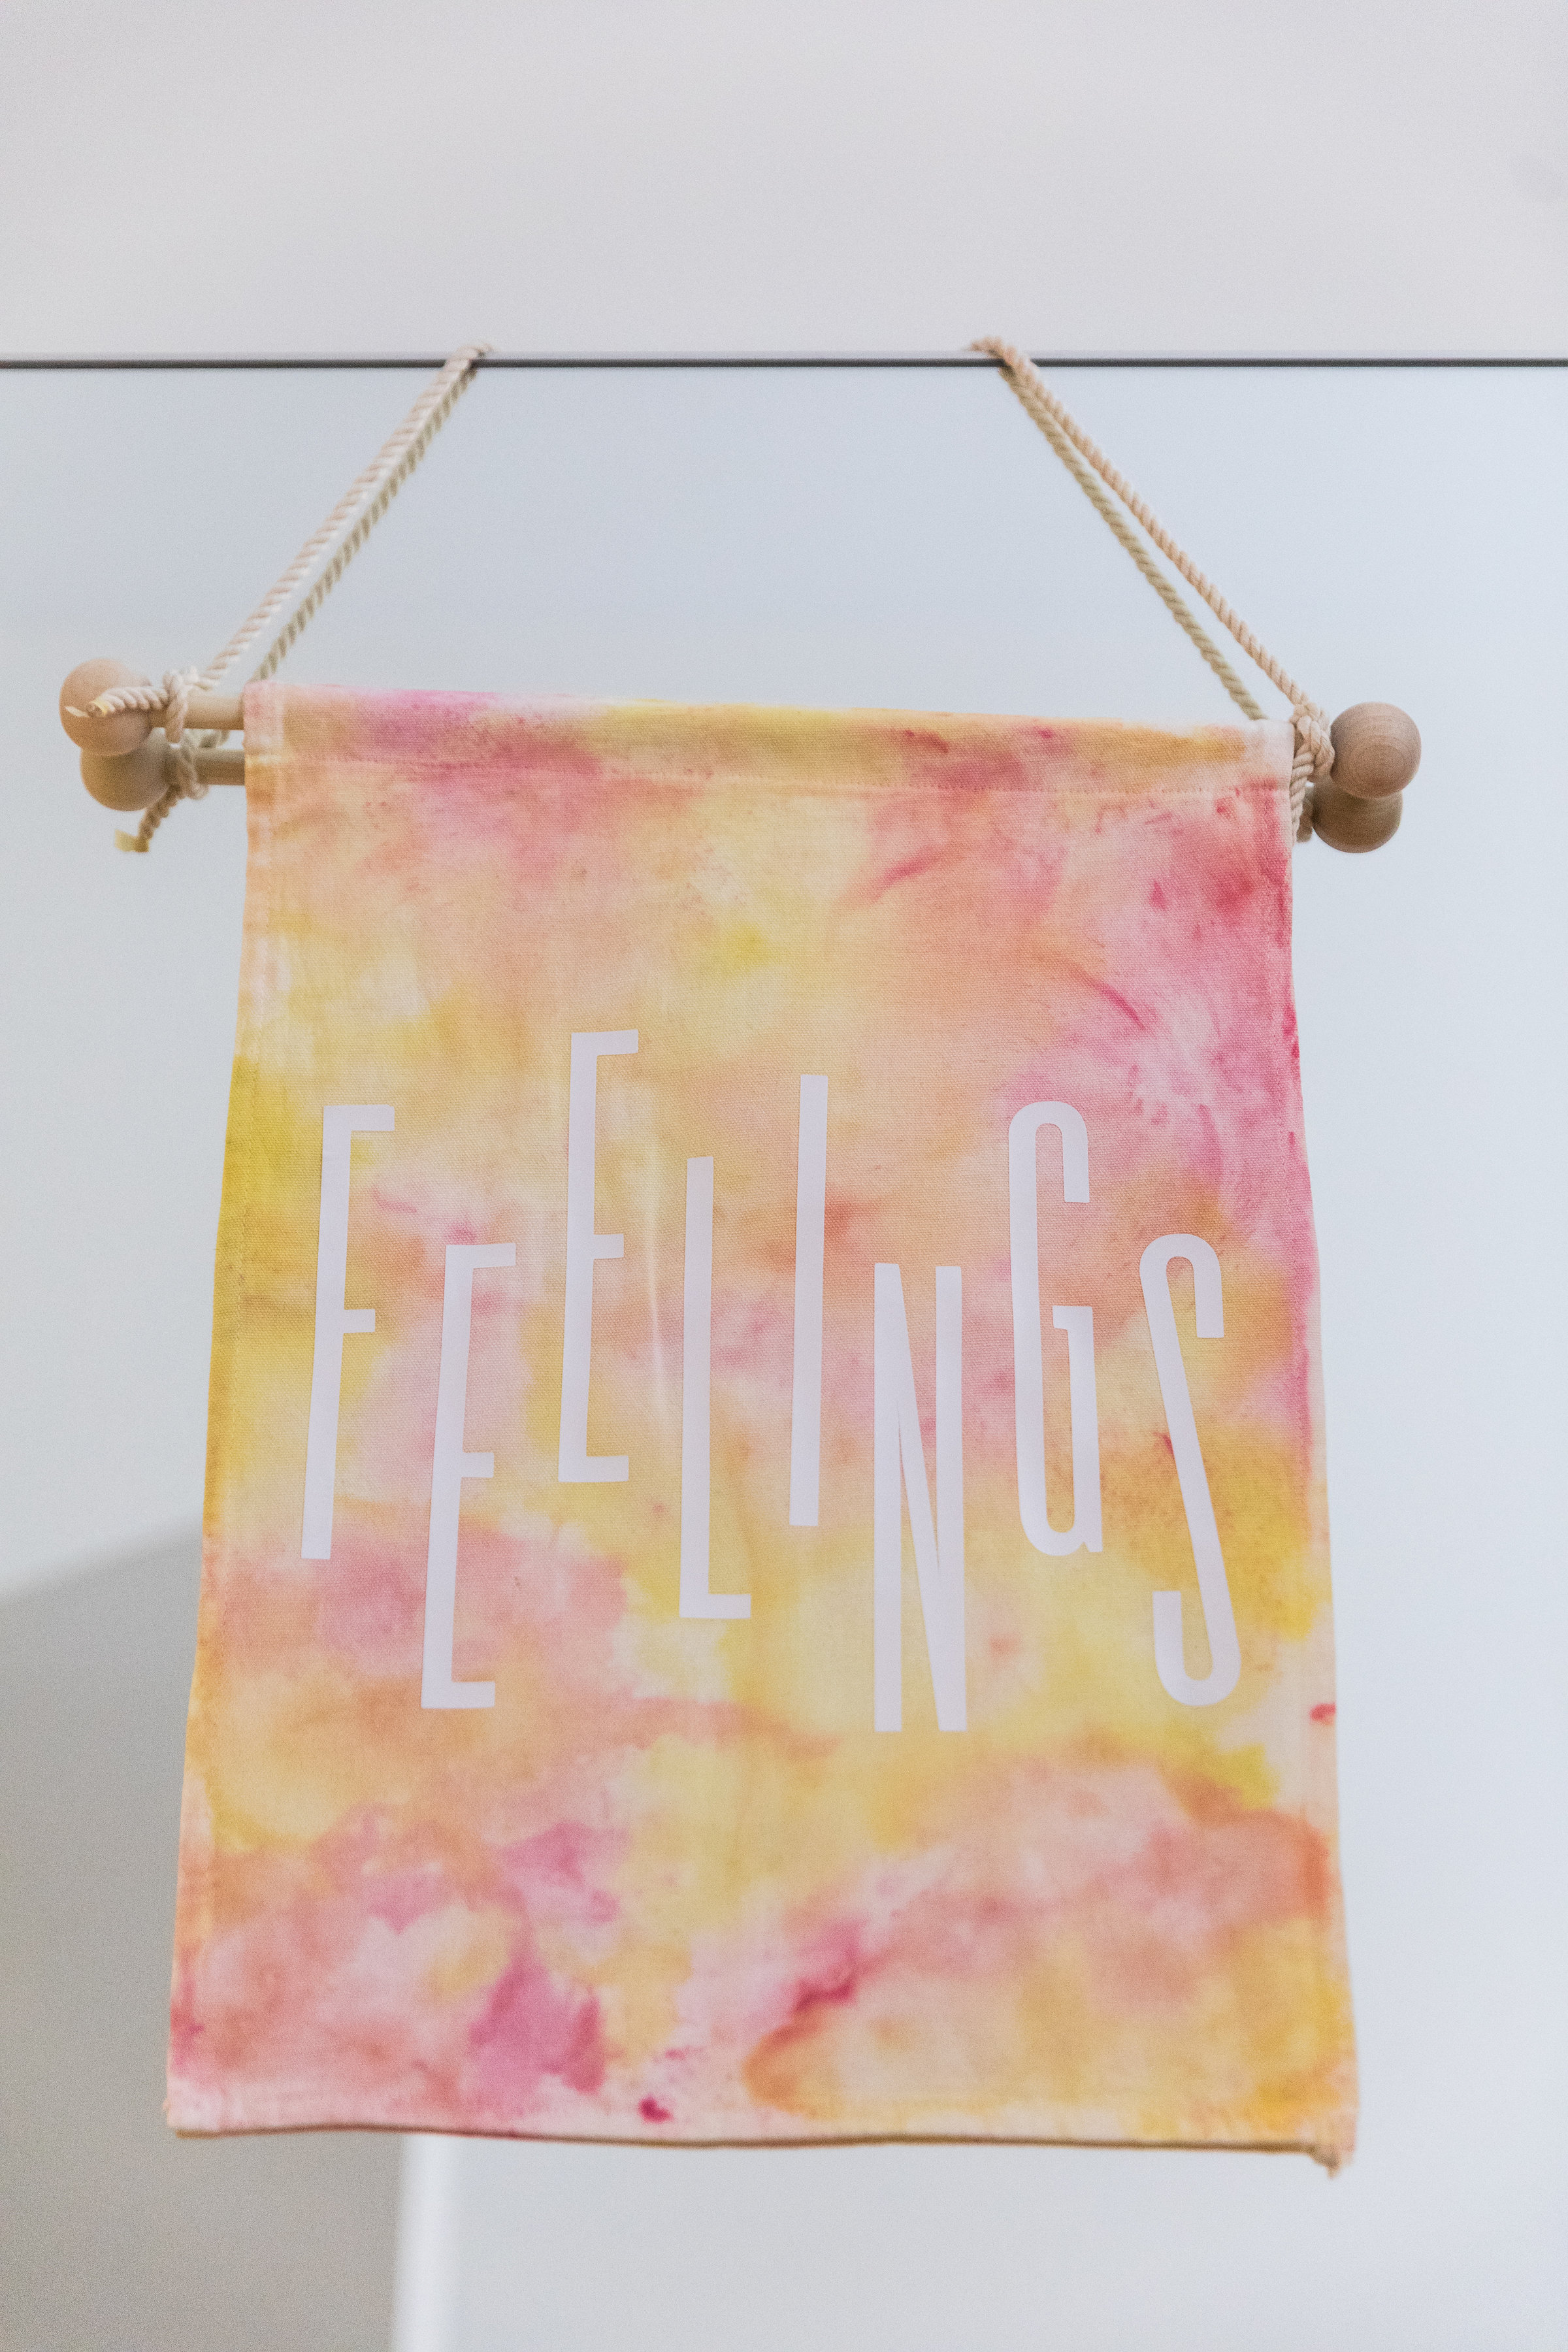
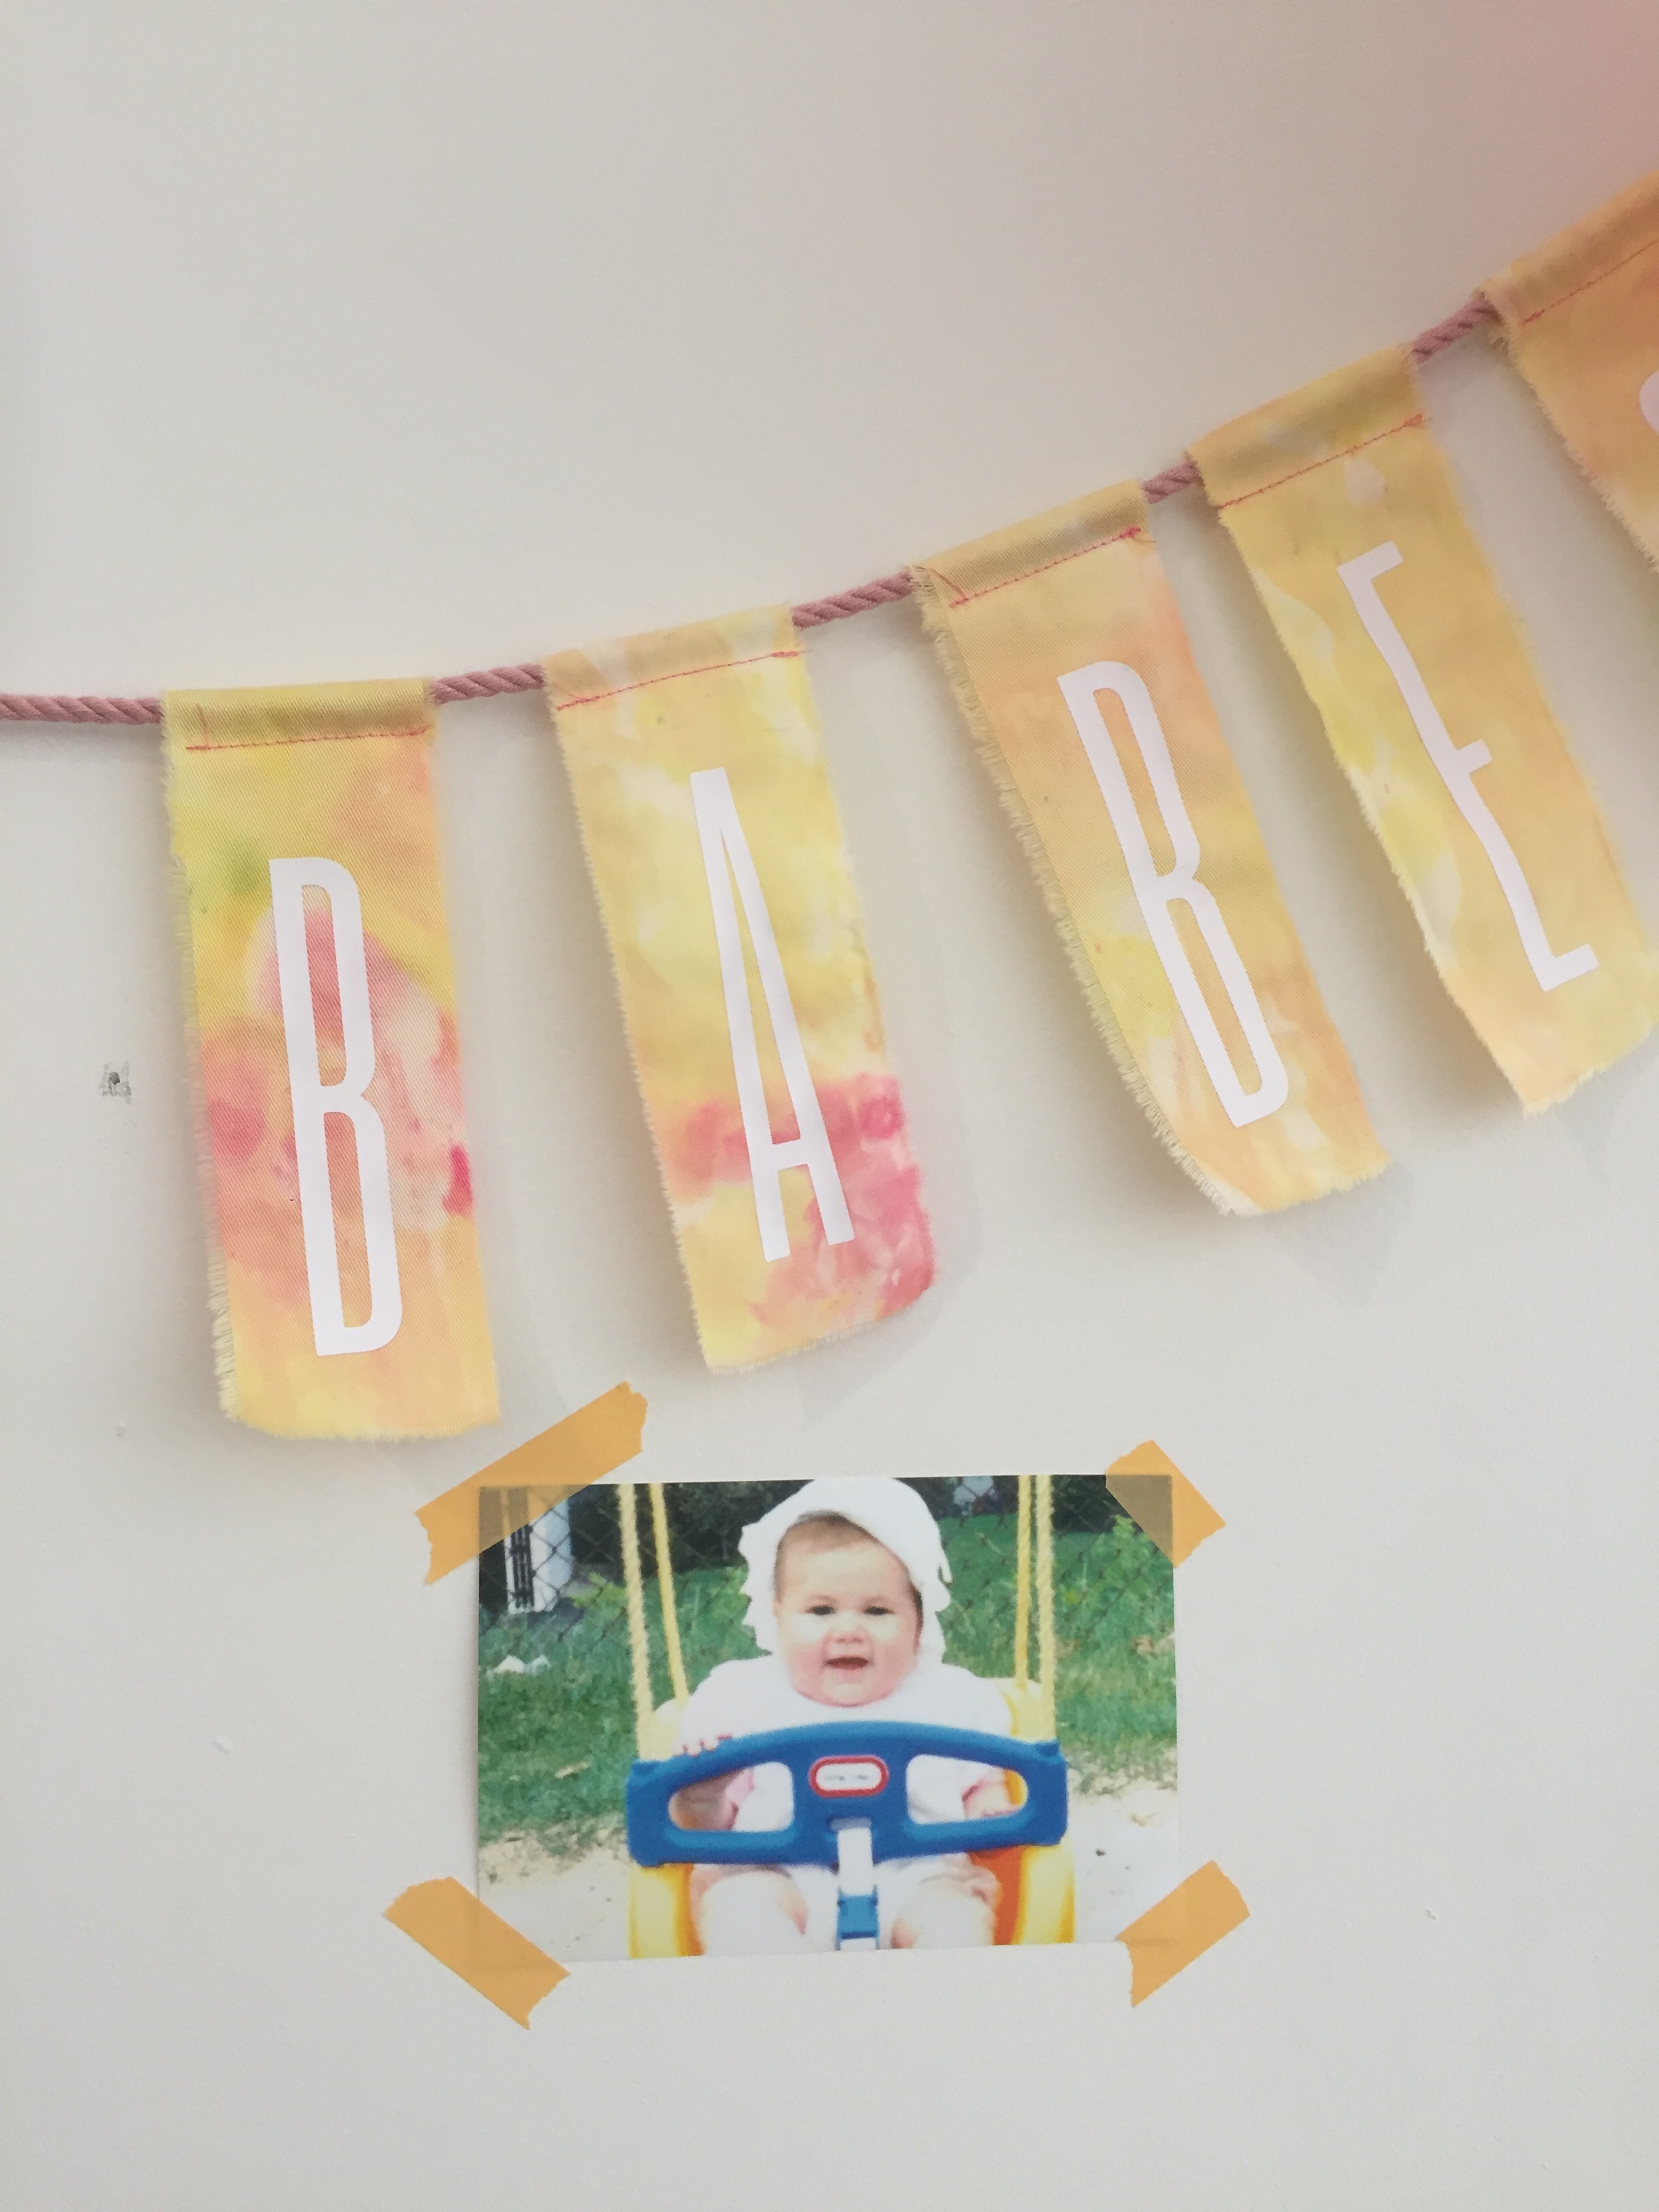
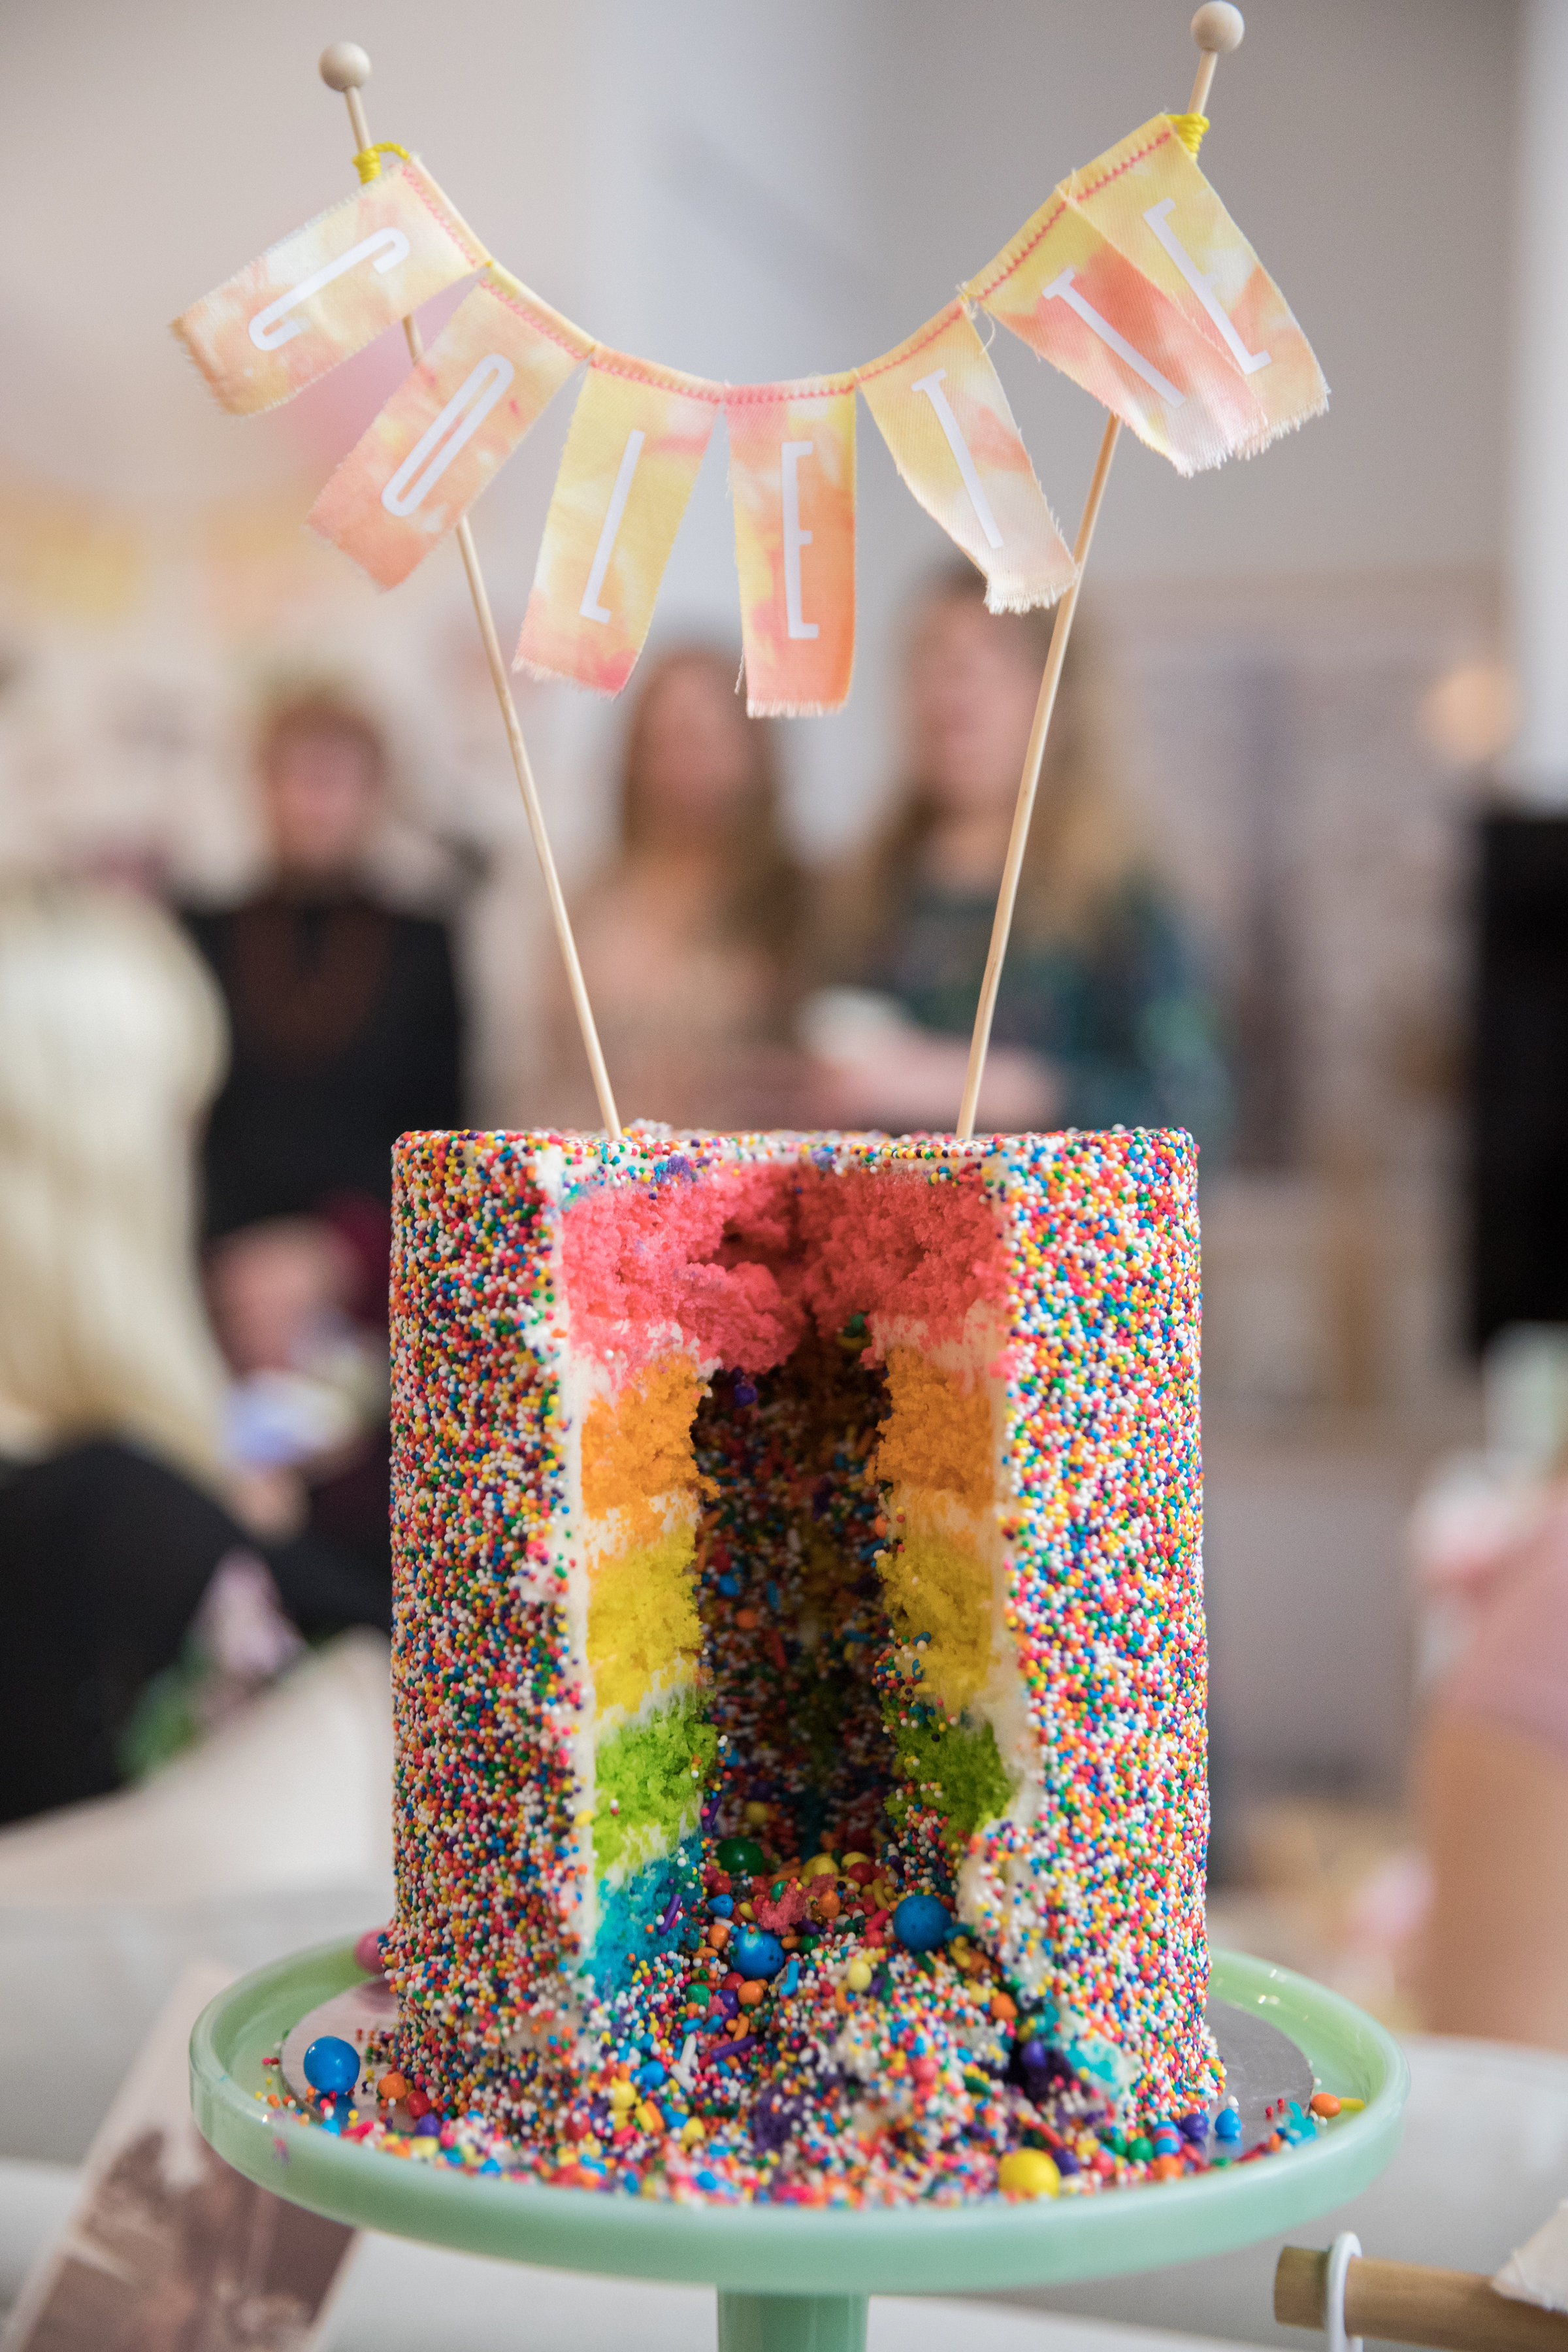
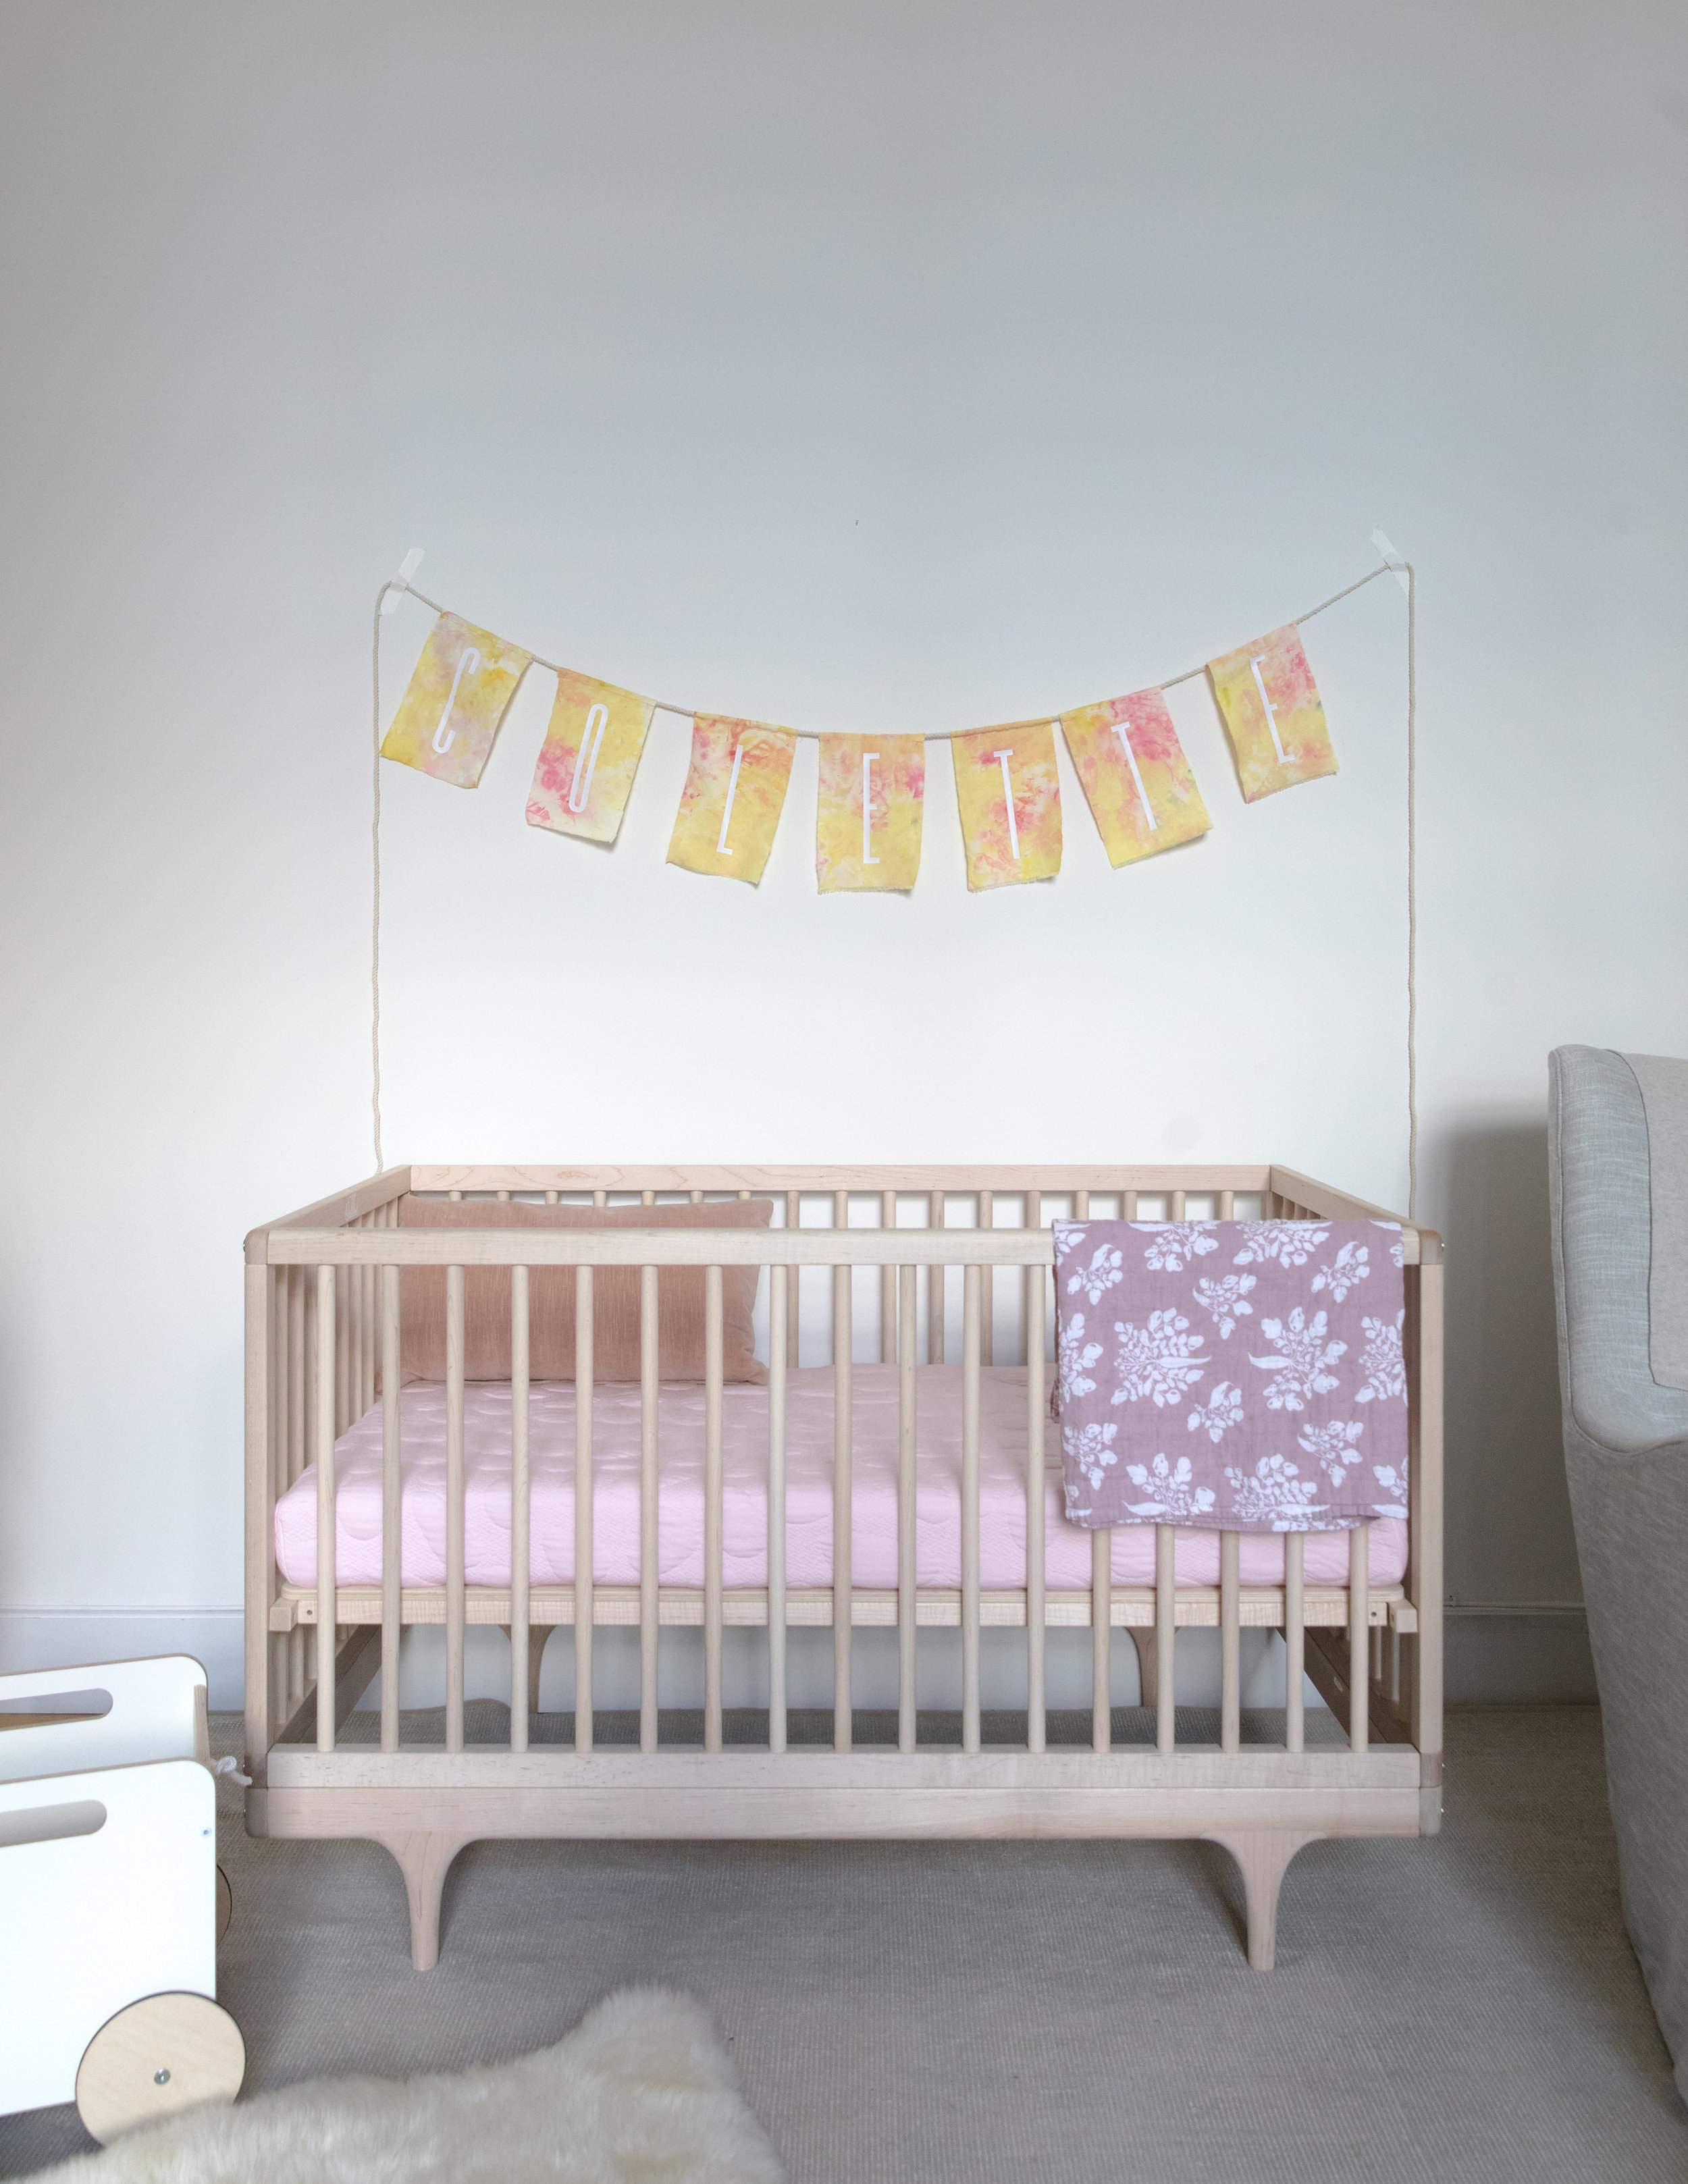
I also used the dyed fabric to make a bunch of garlands and banners: for the cake, for Colette's nursery, a wall of baby photos, etc. To add text to the banners I cut out letters from iron-on vinyl using my Silhouette Cameo.
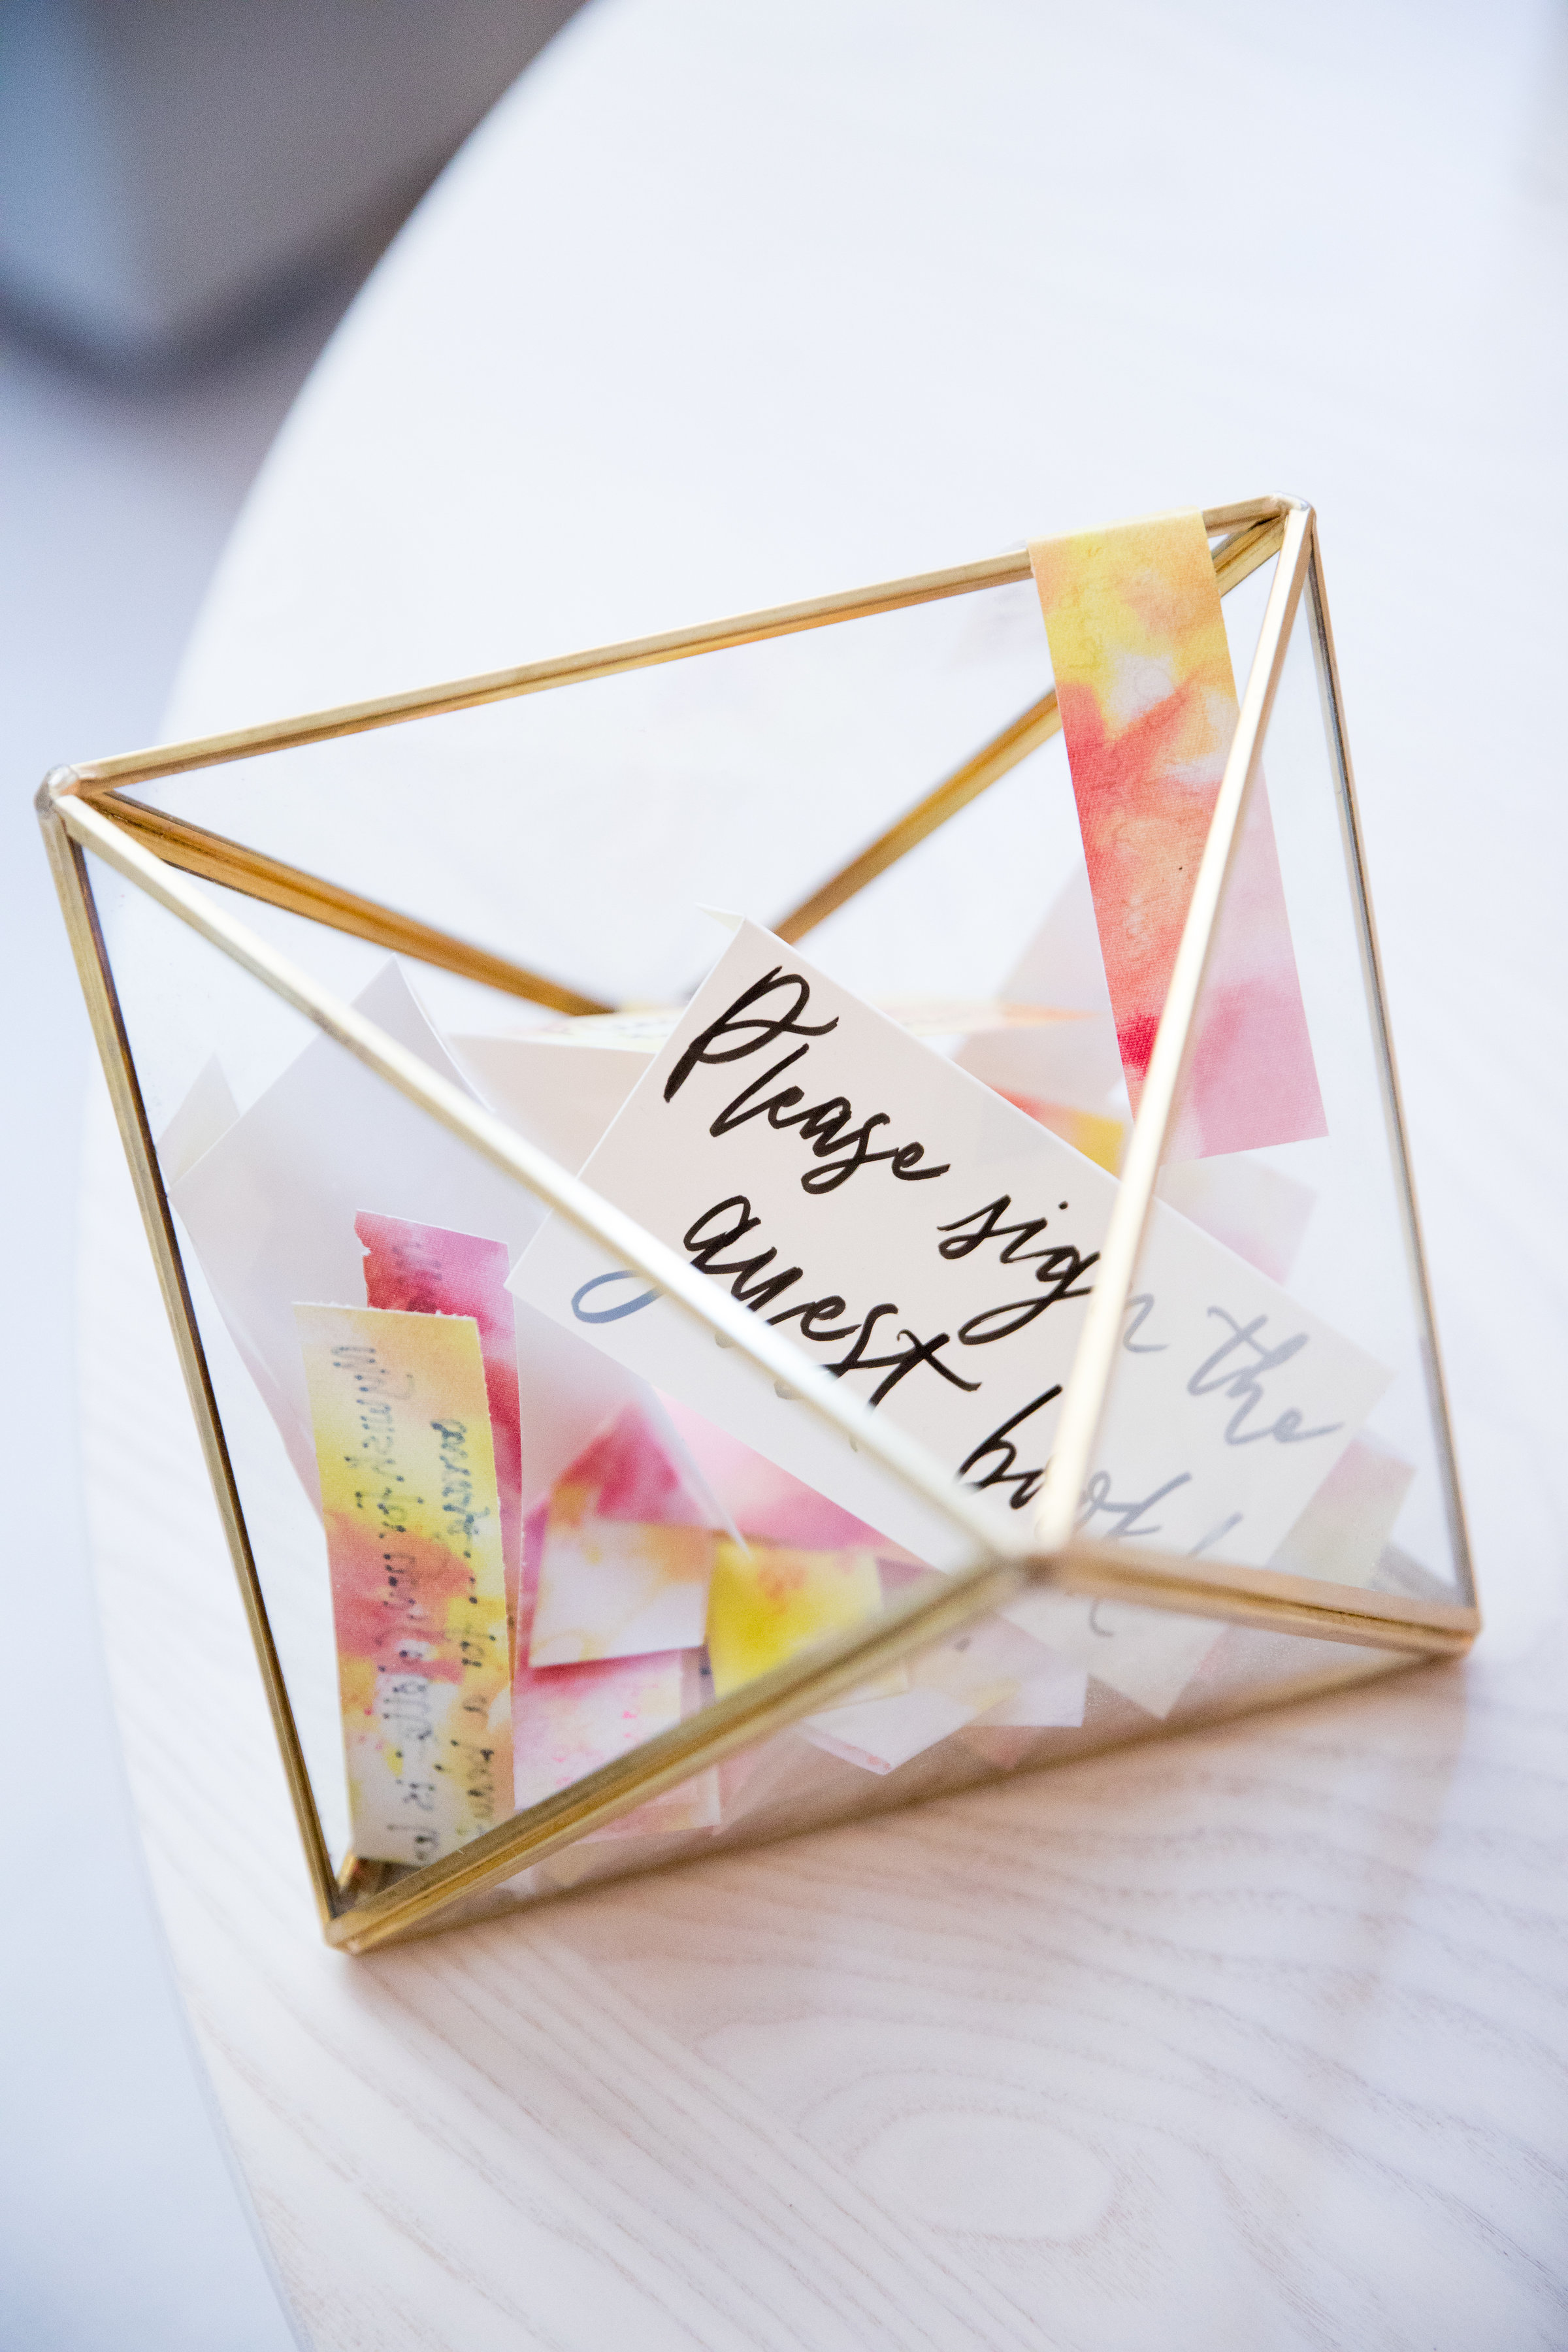
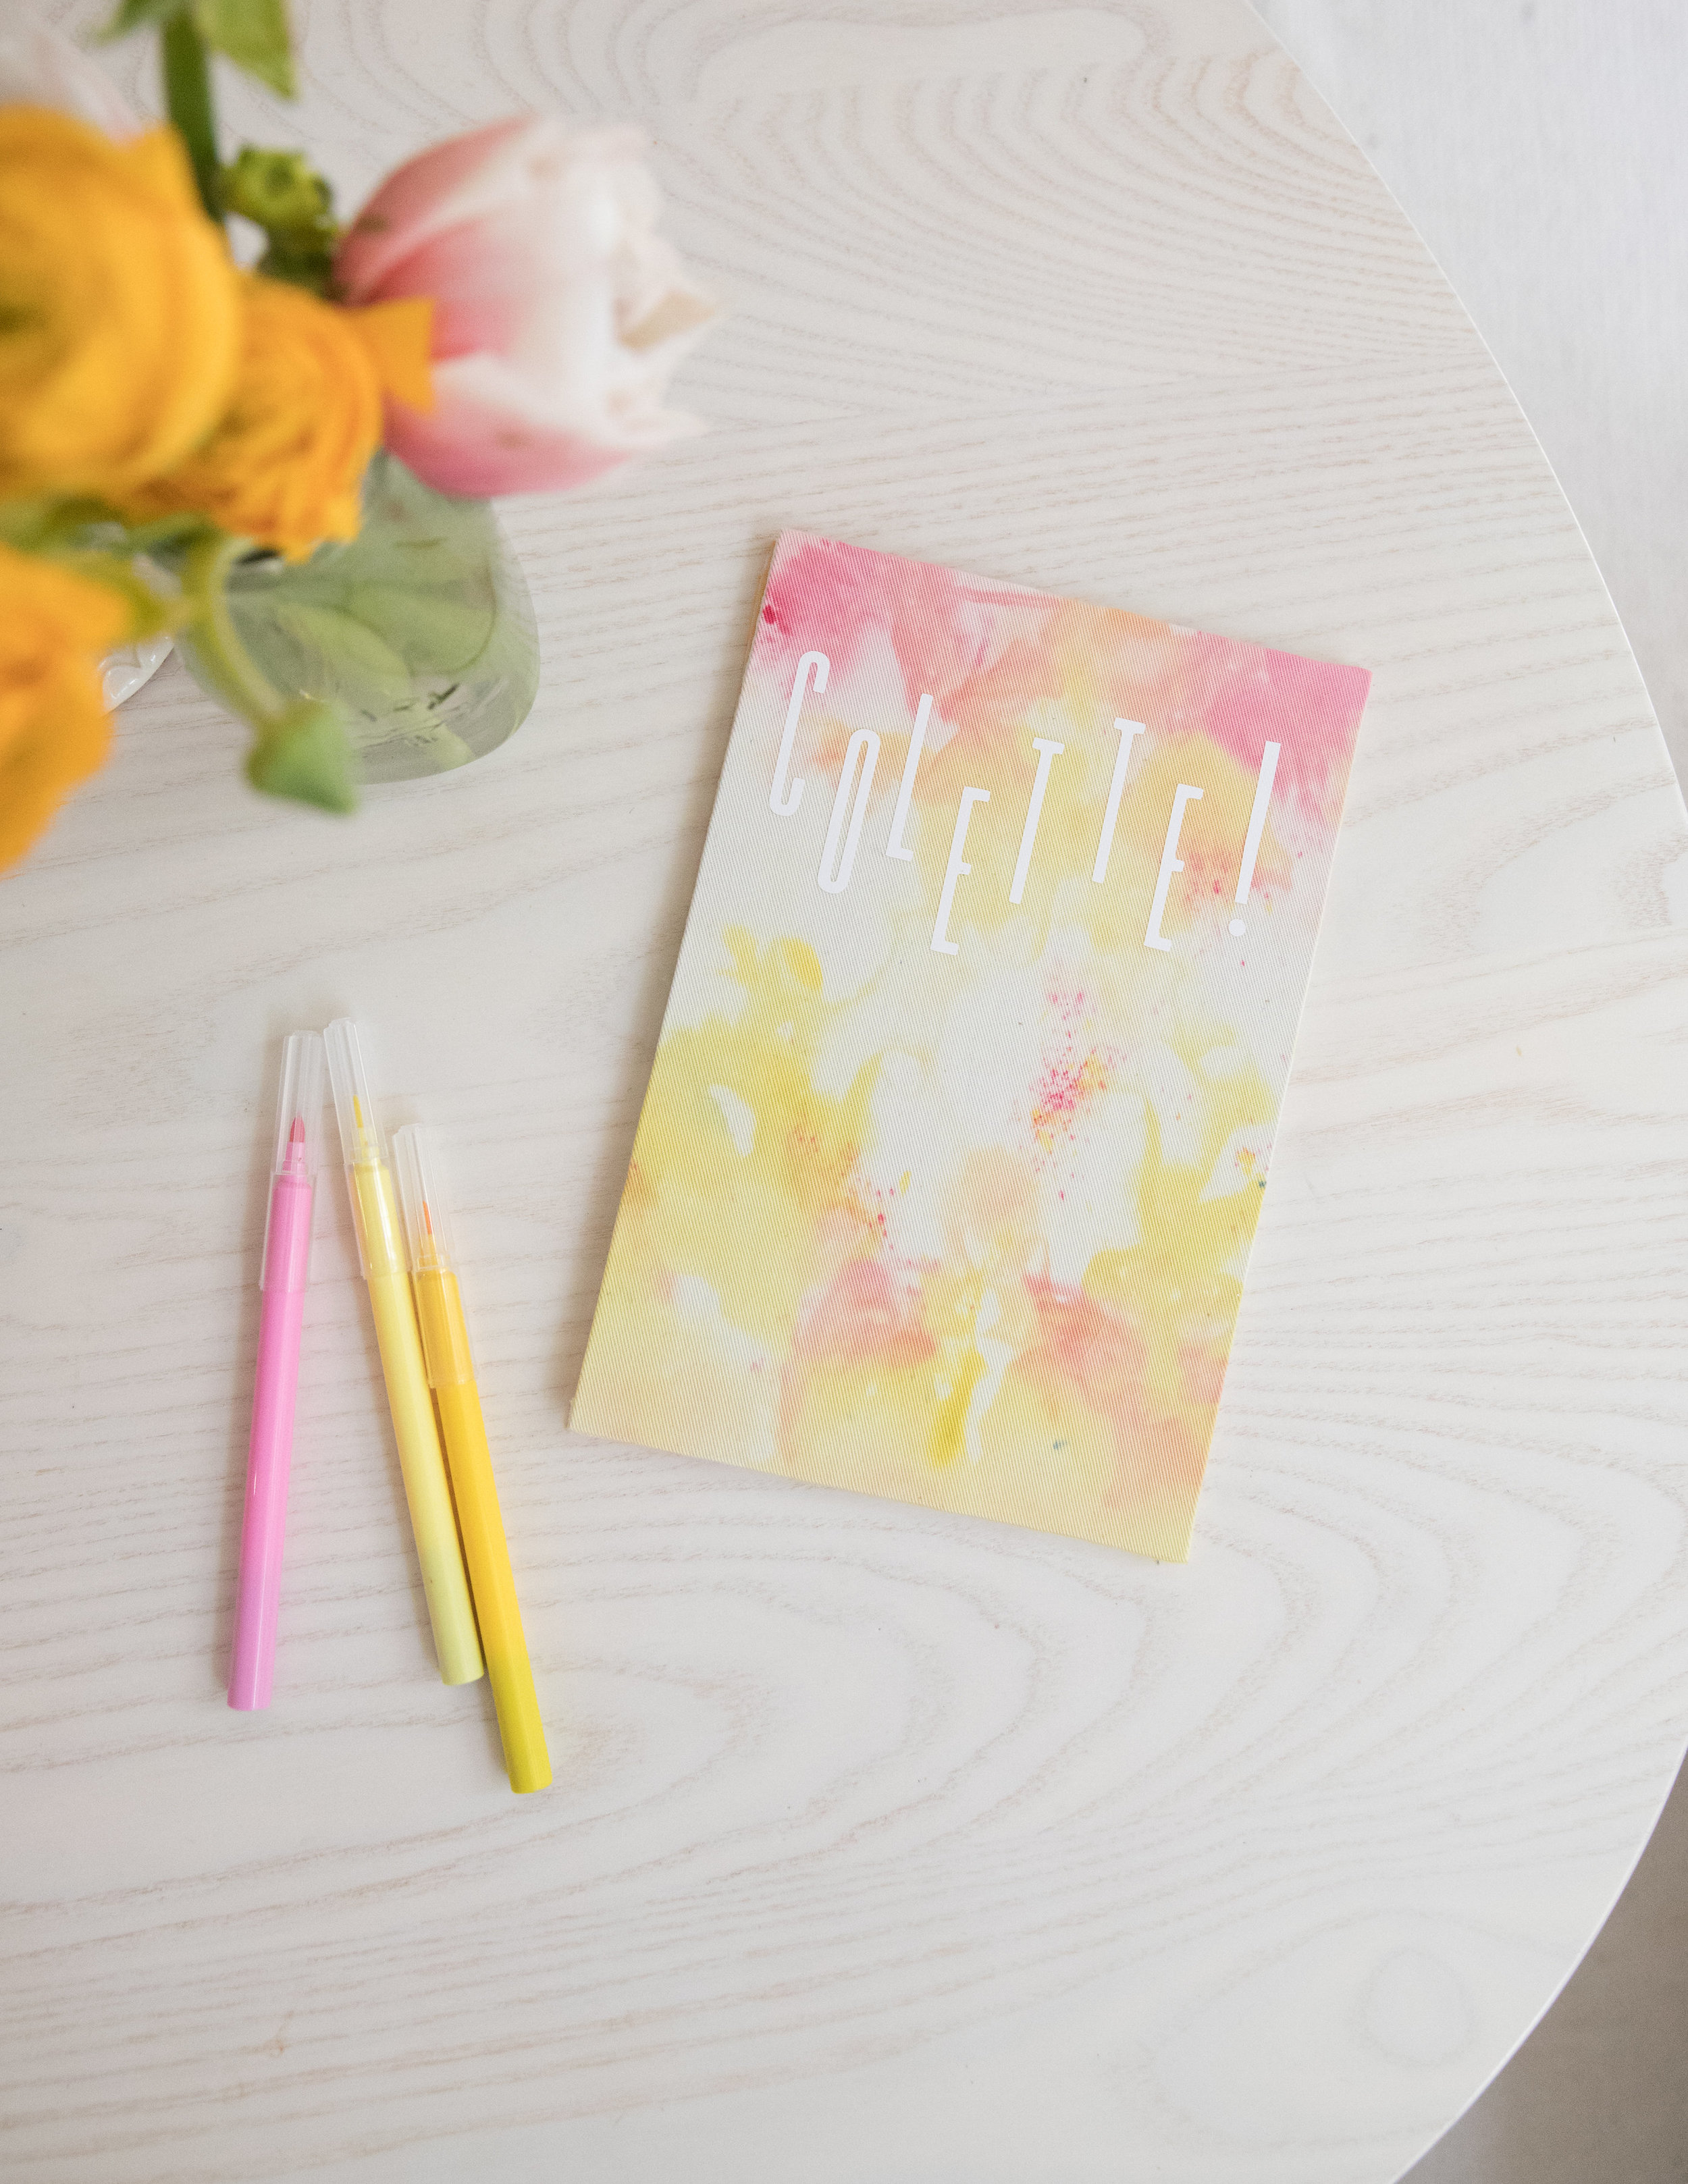
I also made a fabric-bound guest book/card and scanned the fabric in to print the pattern on paper. Guest wrote their wishes for Colette on strips of the patterned paper.
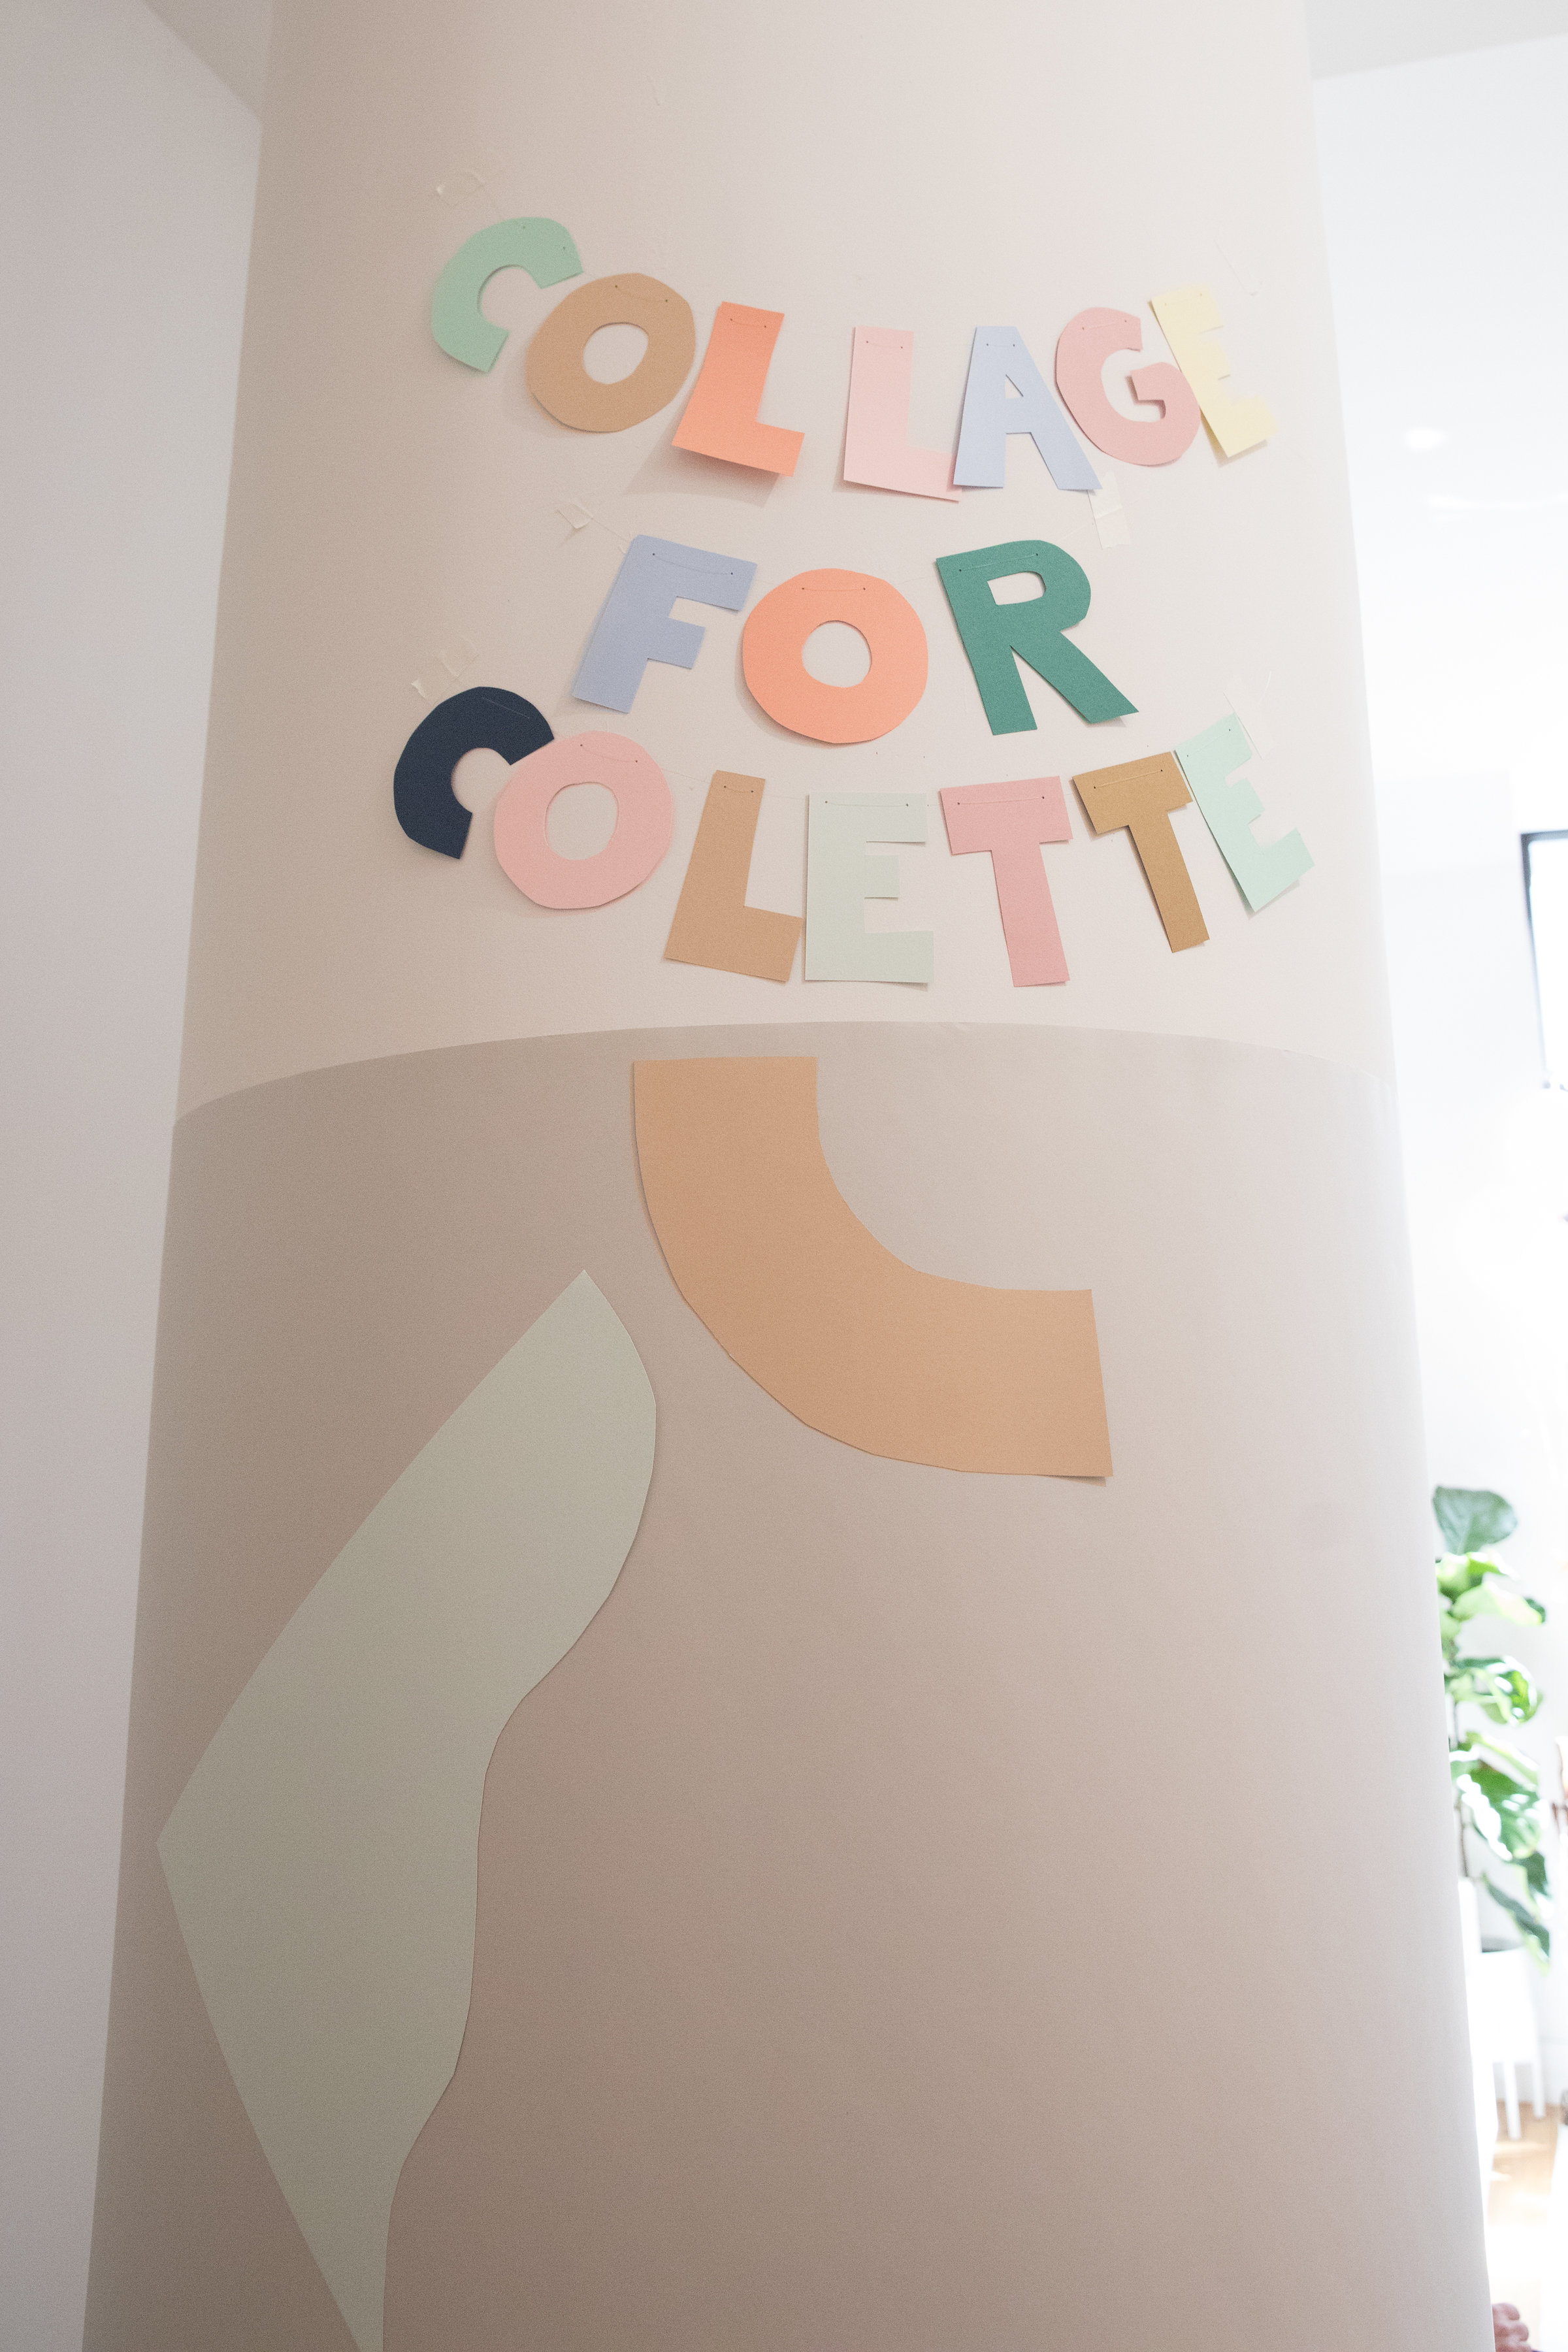
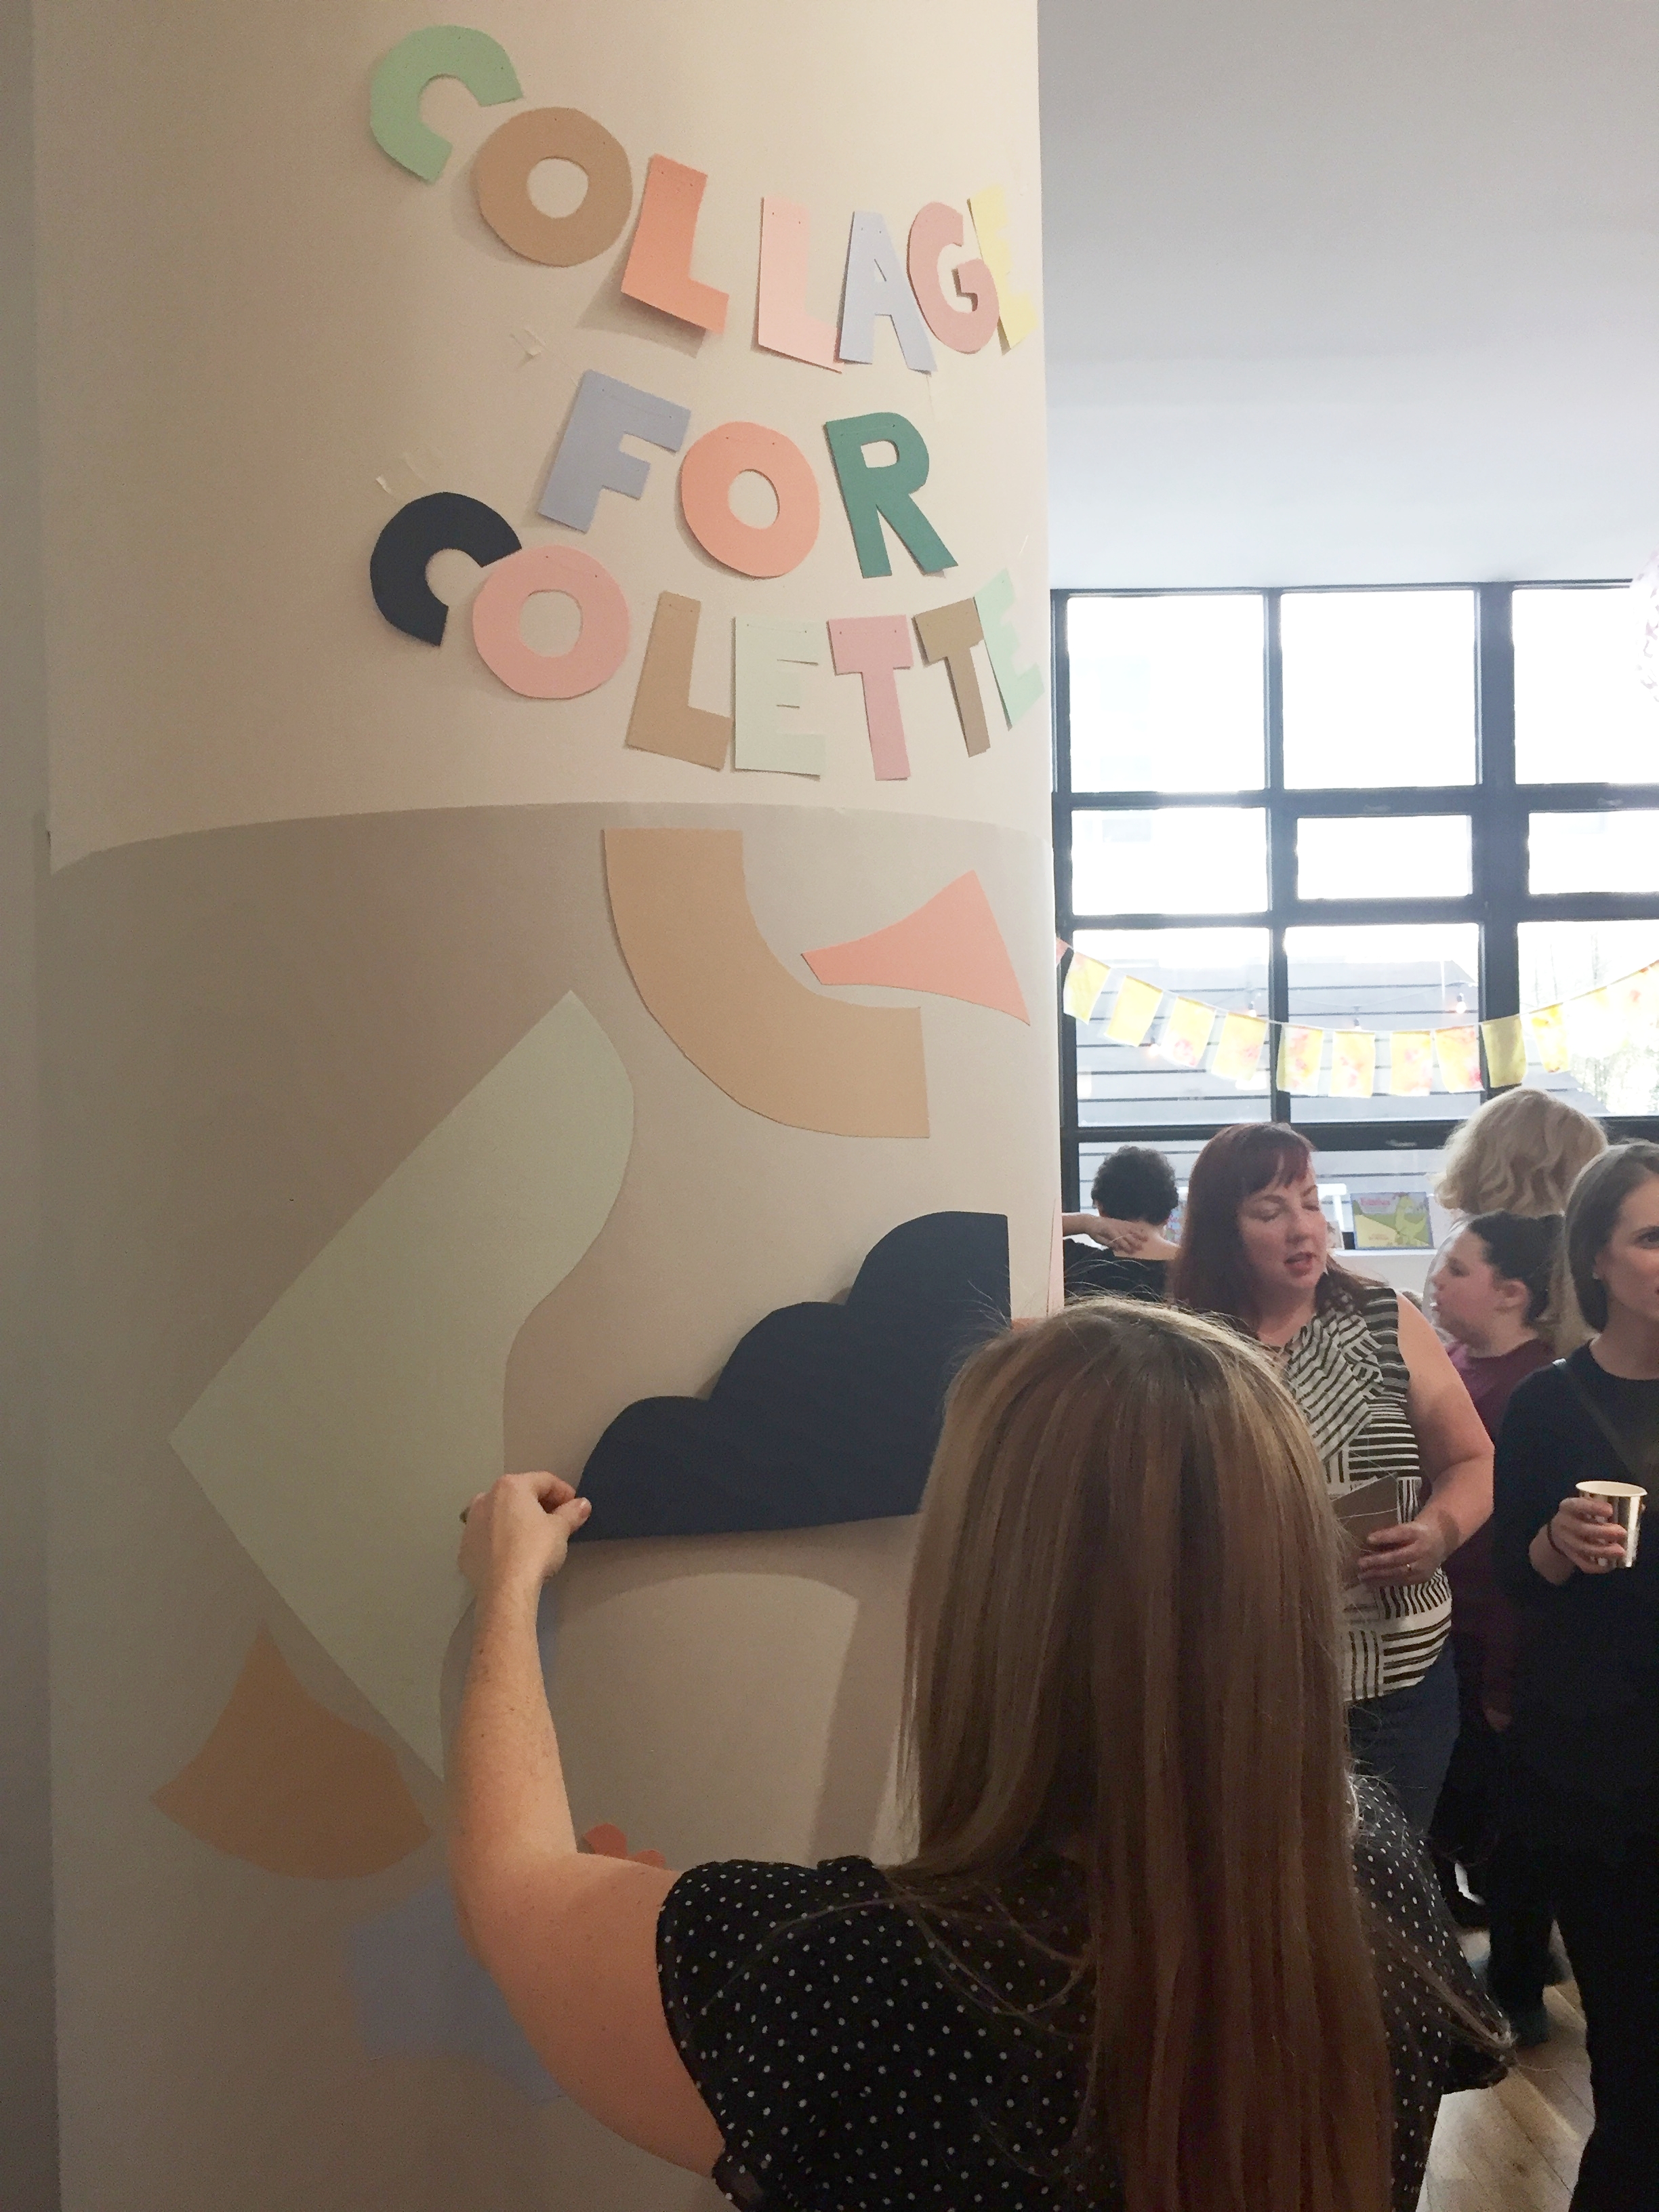
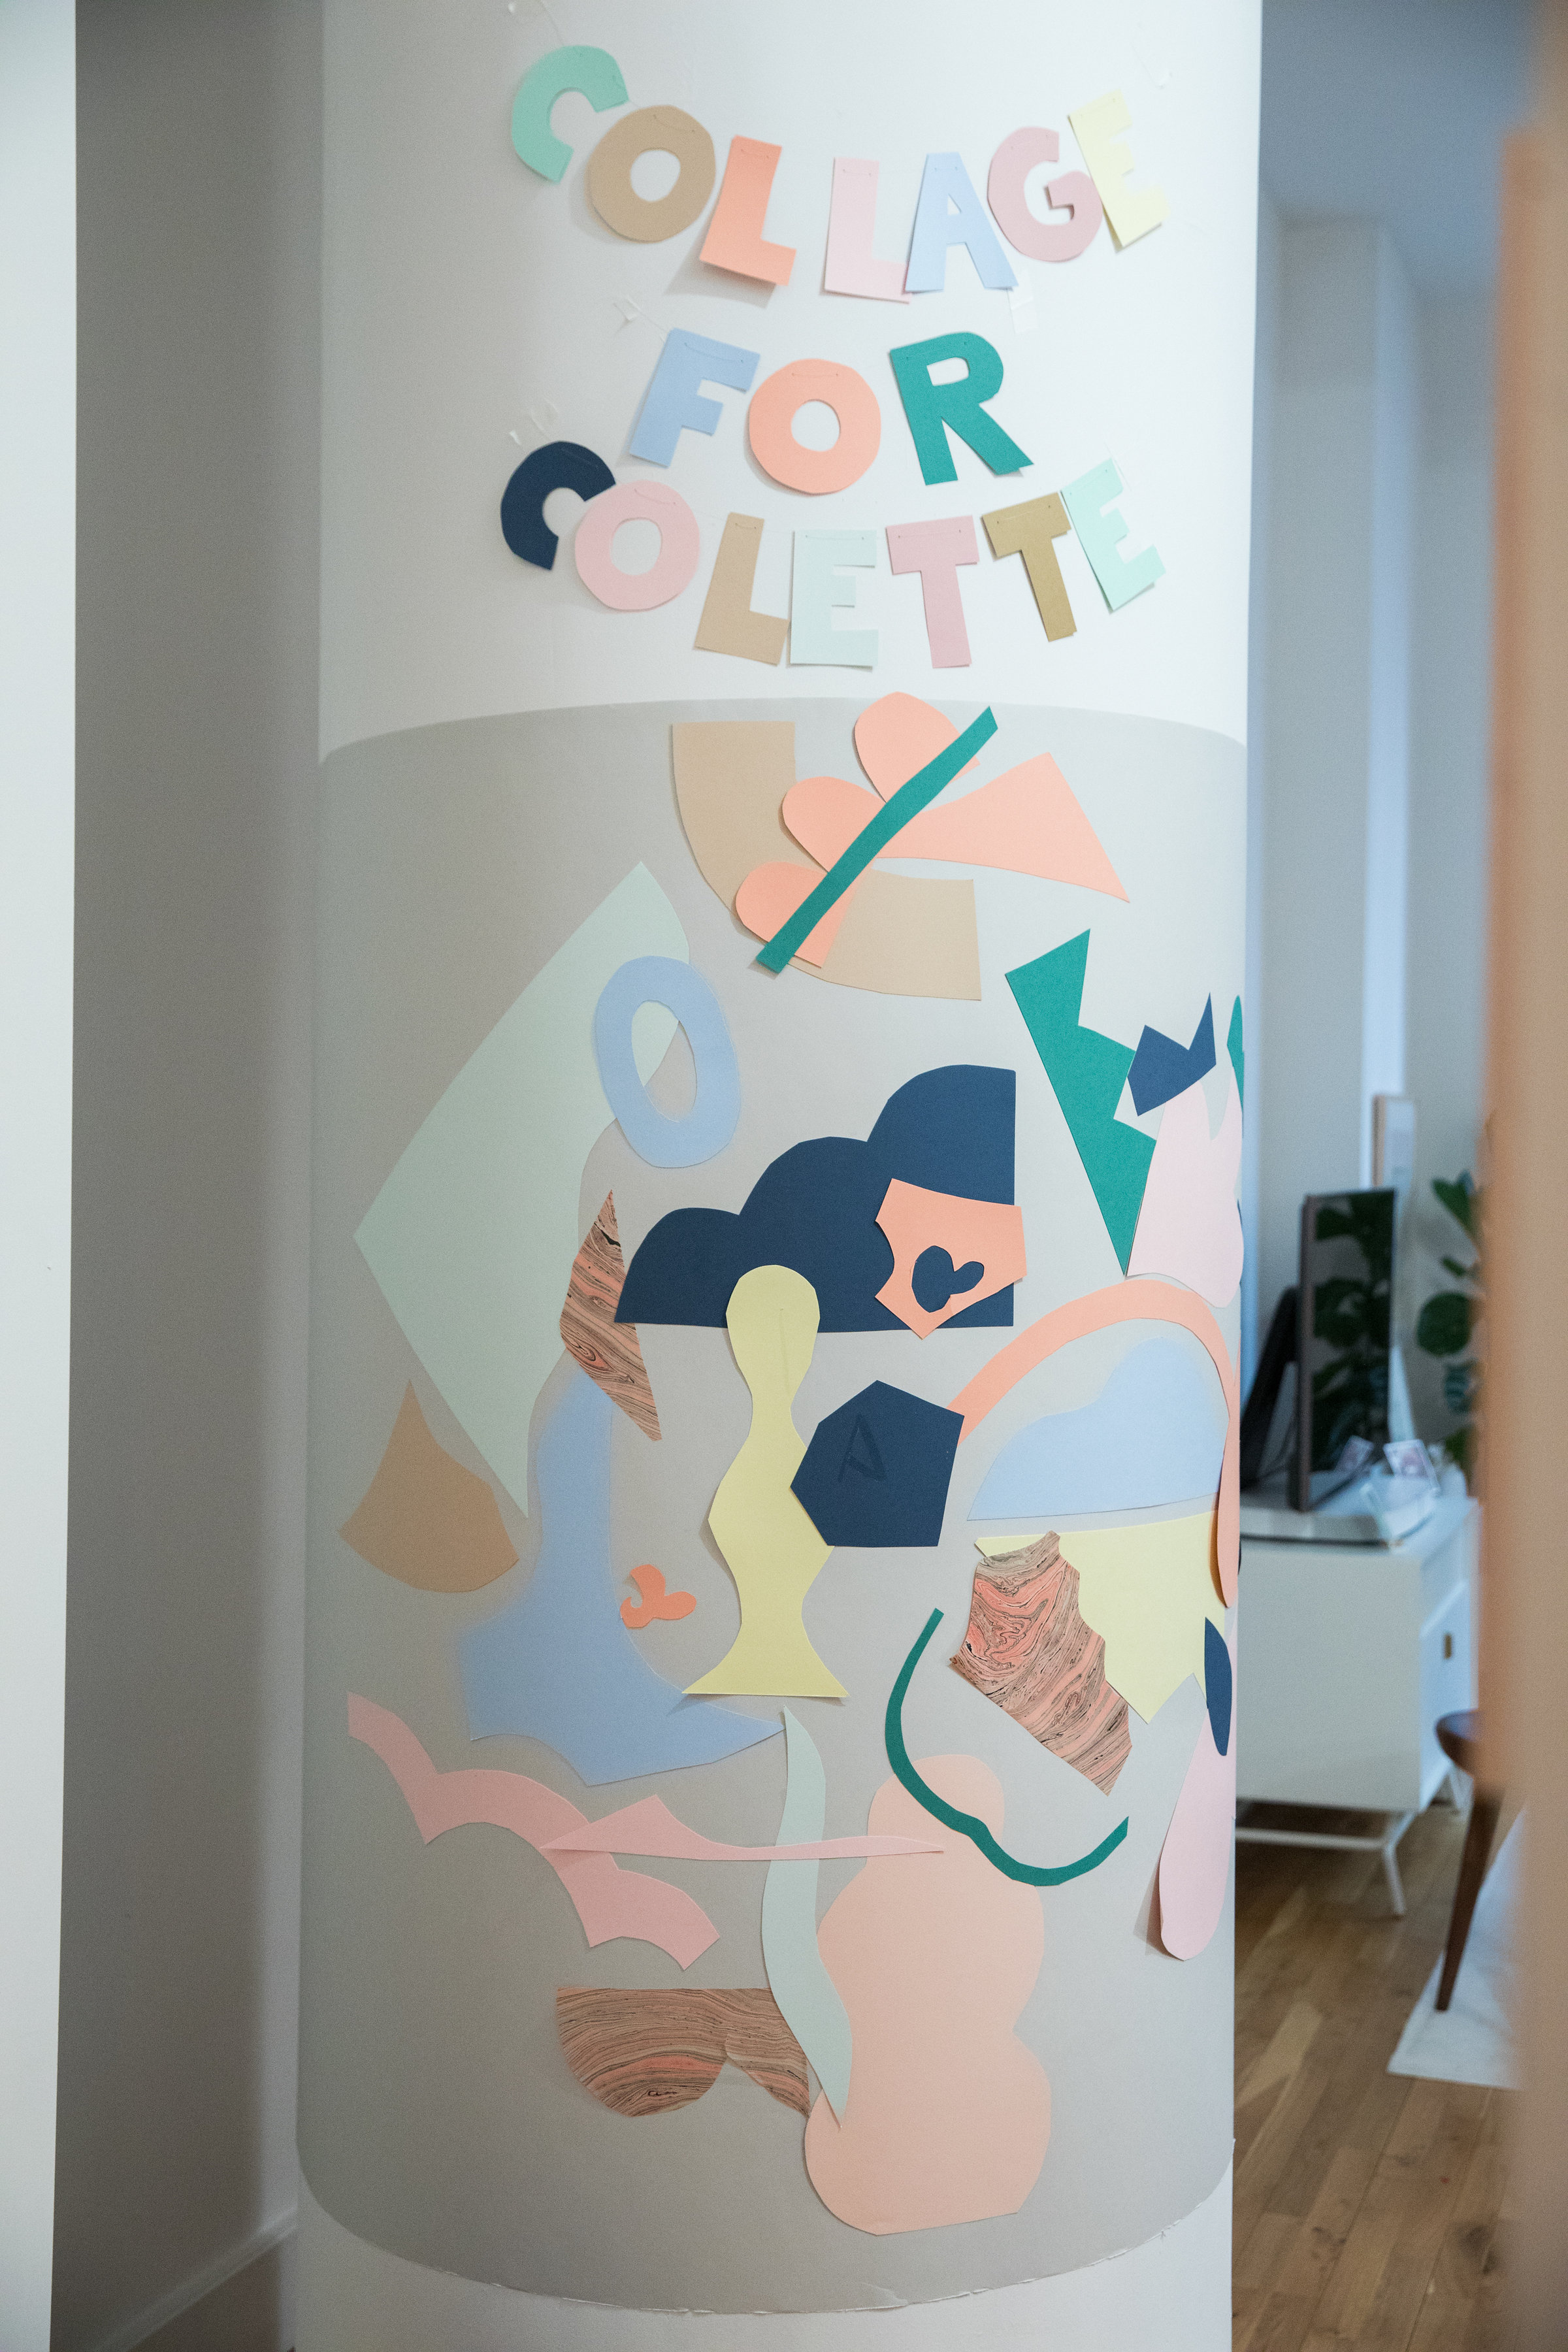
We also installed an interactive collage wall on a column - guests took pieces of paper I cut into abstract shapes (in a select palette) and taped them to the mural. The base is a piece of gray set paper. Ana was able to photograph a flattened version of the finished product even though it wrapped around a column in her apartment. Here it is as guests added pieces throughout the party...
Here's the finished piece! It's a fun way to create a collaborative art project.
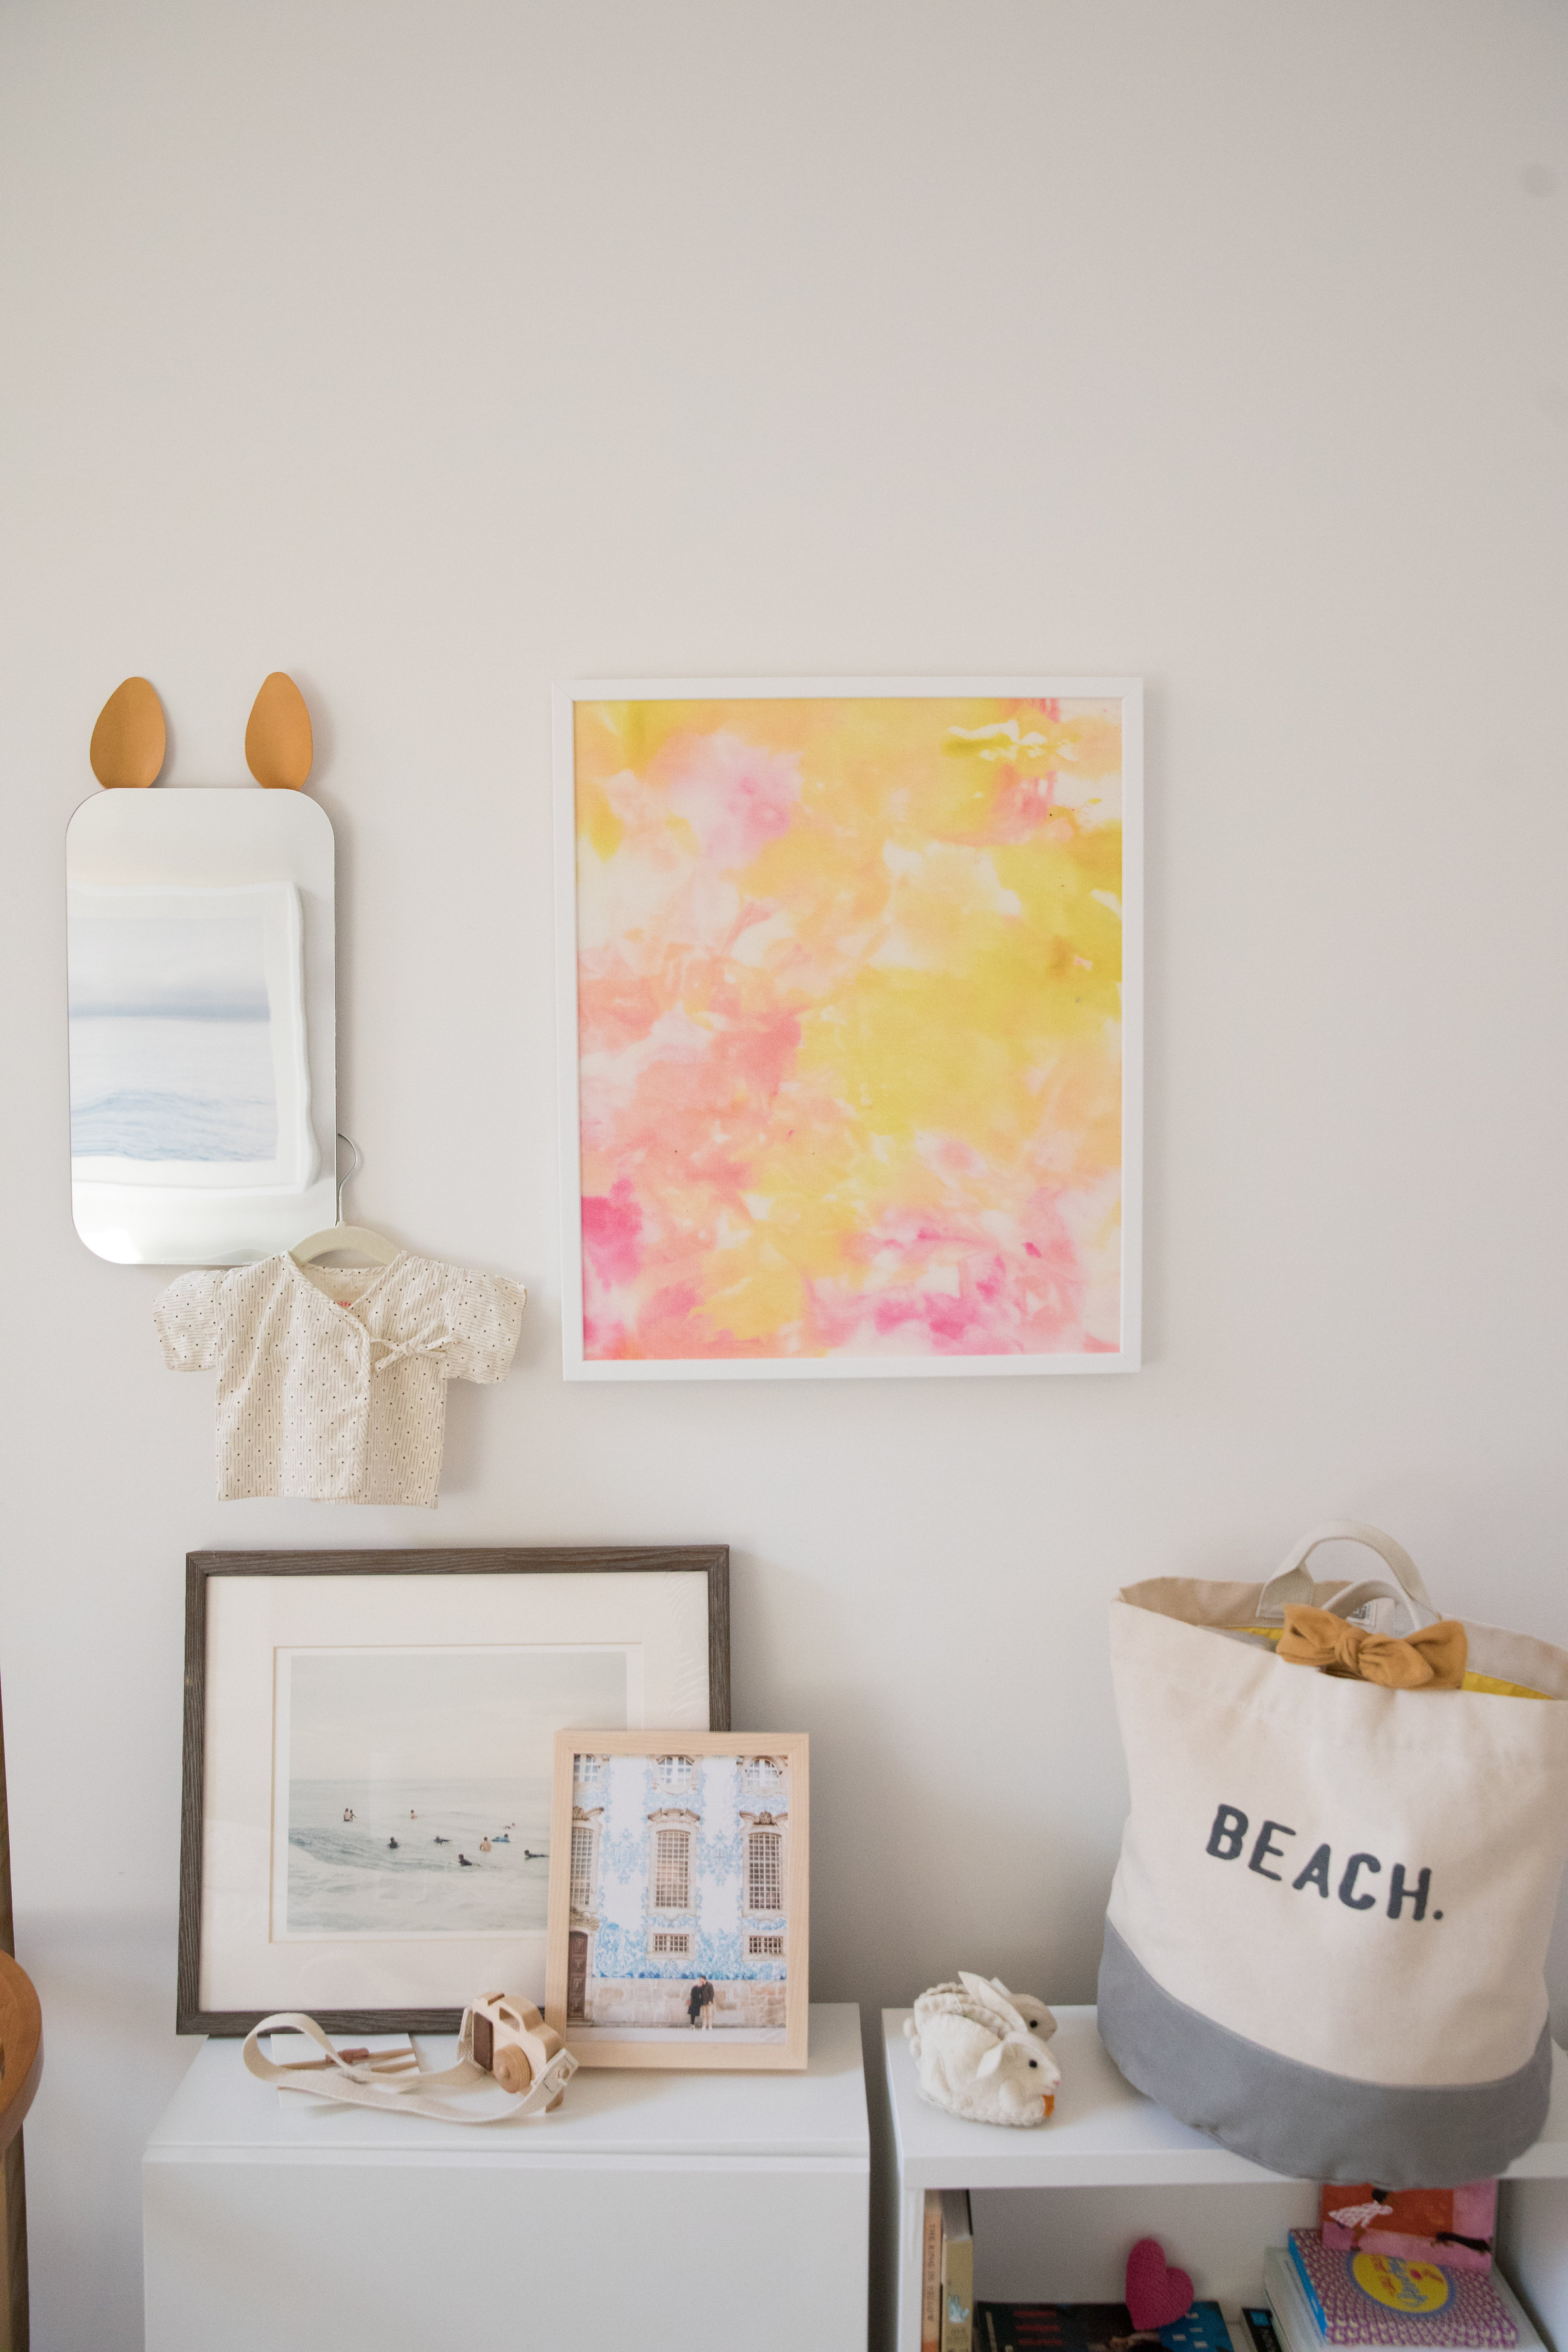
Because Ana is a total wizard, she also made an art piece for Colette's nursery by printing and framing a scan of the fabric. I don't know how she does it! Colette is so lucky to have such a smart, talented, and stylish mama!

