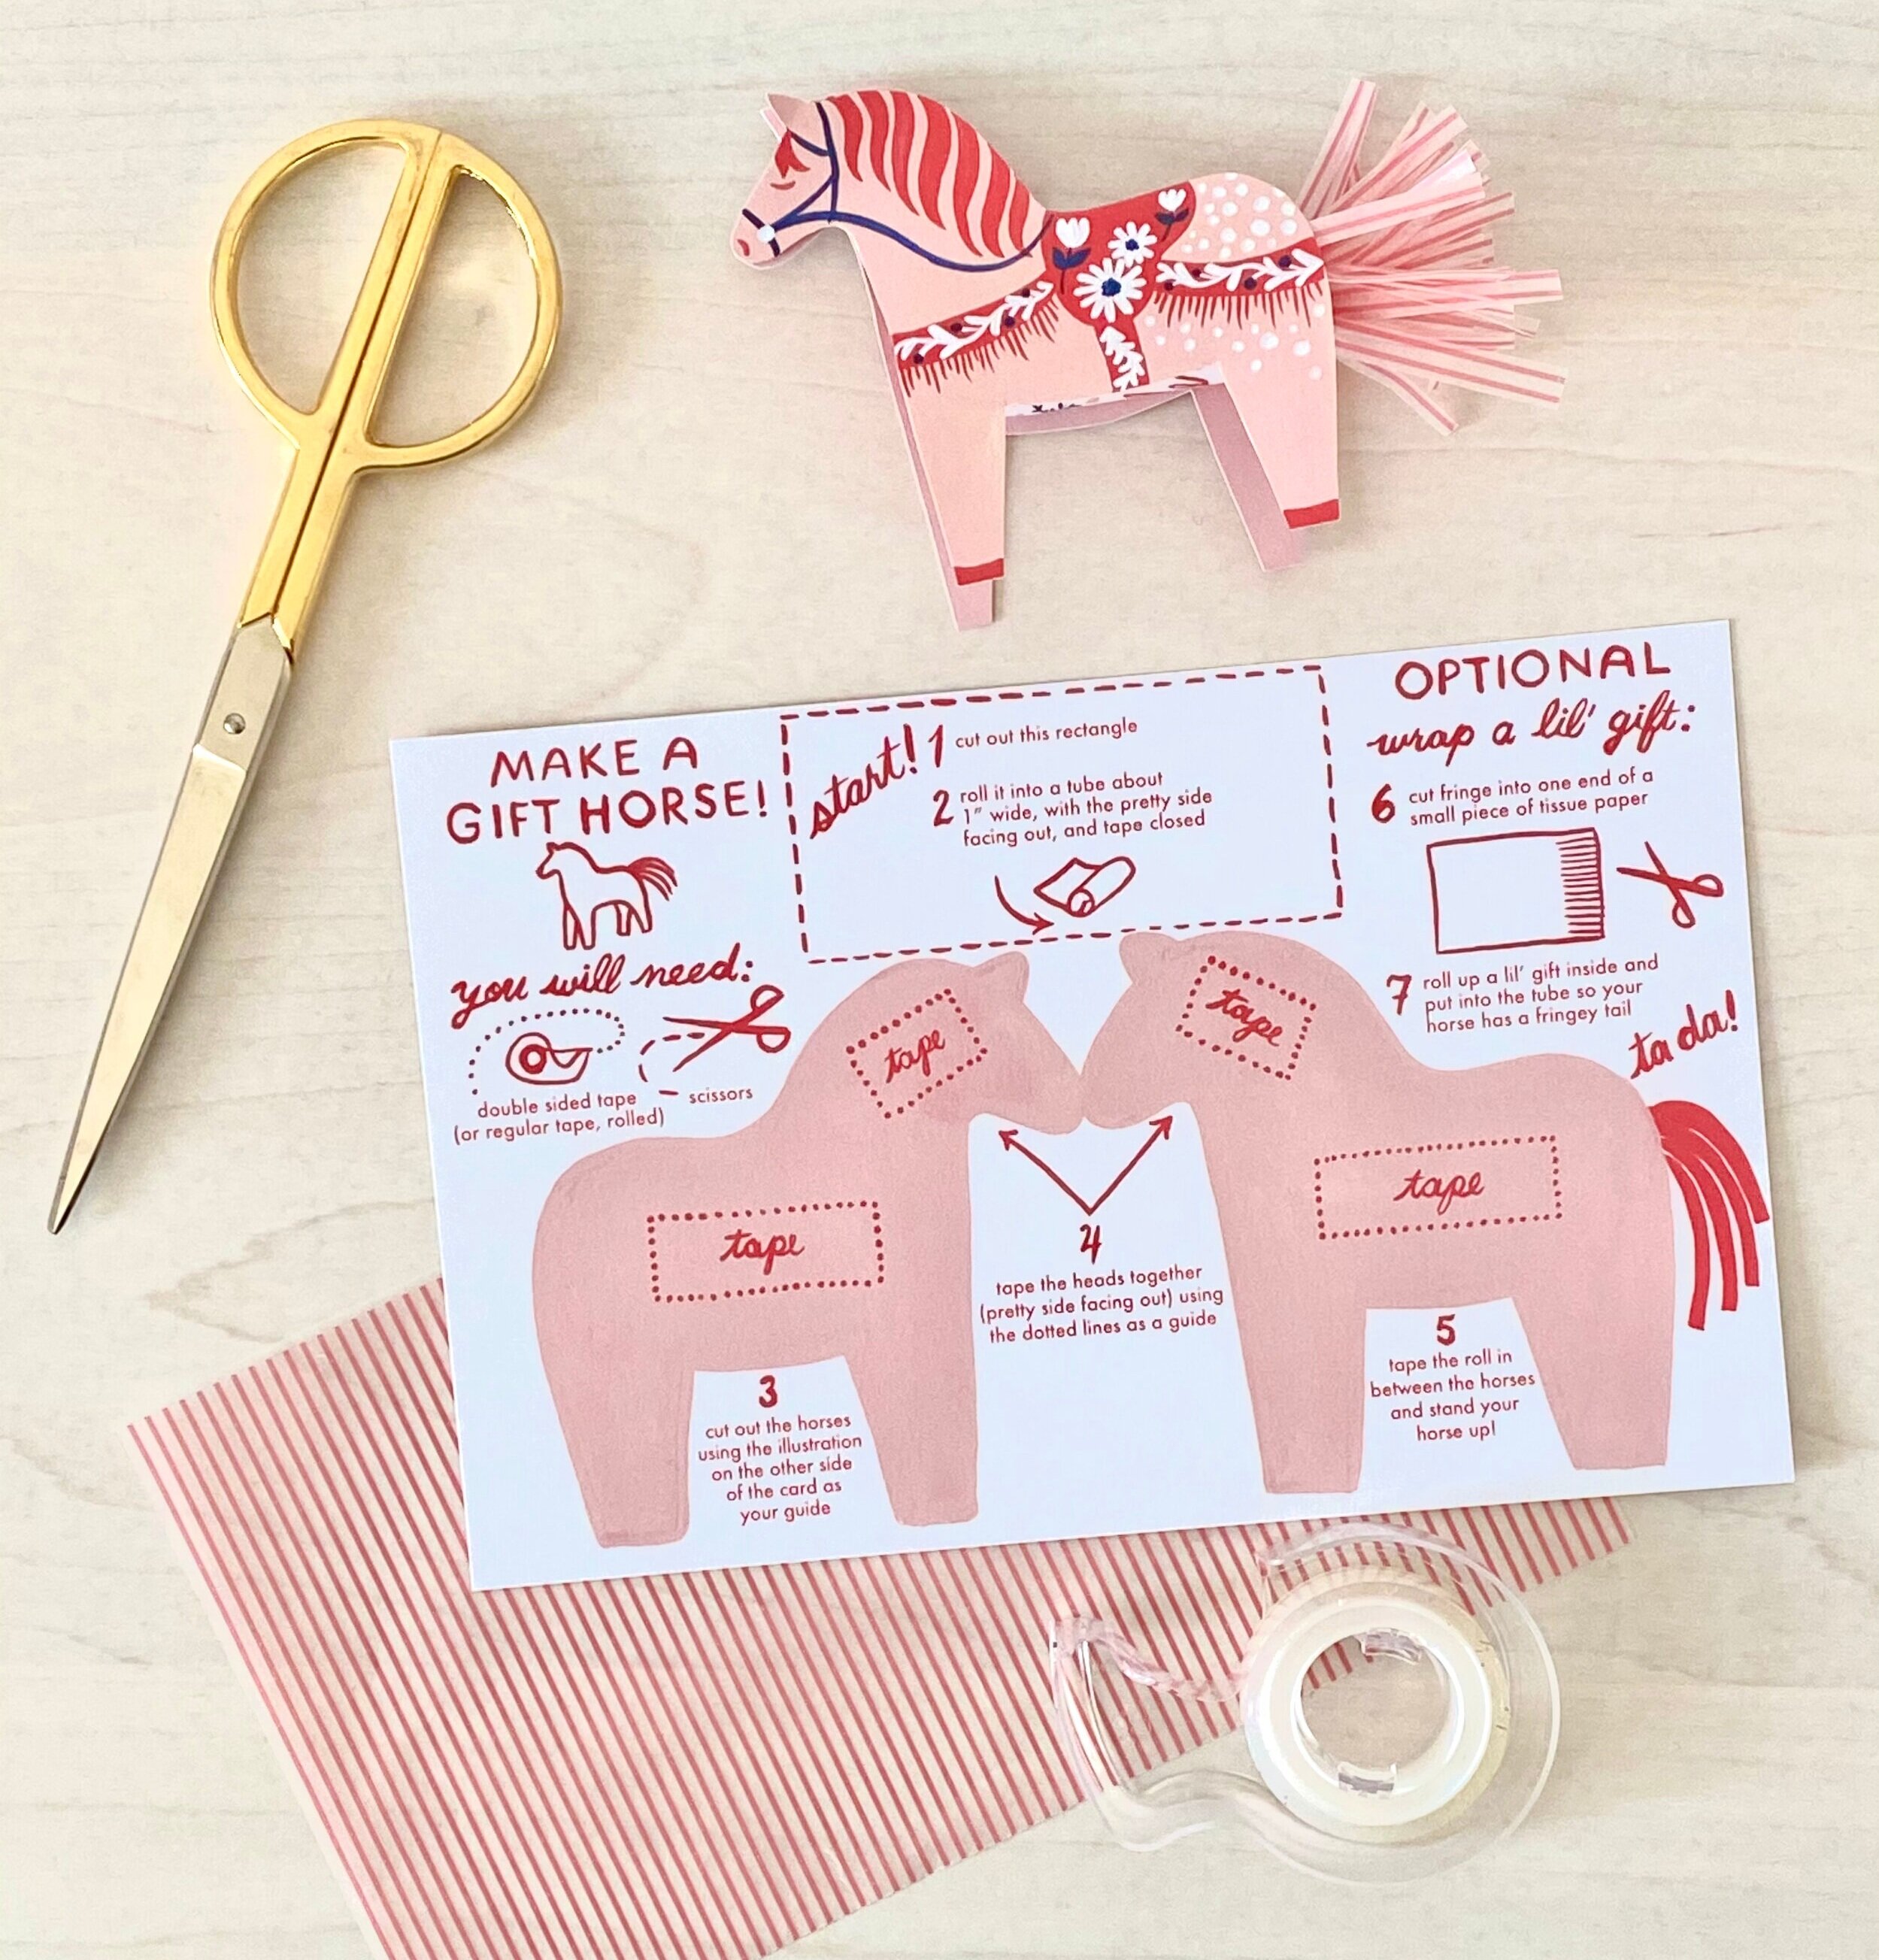
This year, like the past at least four years, I went with a horse theme for our annual valentine. What can I say, once a horse girl, always a horse girl. Since we all have a little extra time this year I wanted the card to be an interactive project and decided to make it a mini version of the gift horse I made for Handmade Charlotte. I’ve also always wanted to try designing a Swedish style dala-inspired horse.
The front of the card shows some dala-esque horses deeply in love and then the back has the instructions on how to make a standing gift horse. I sent the cards with a piece of wax paper so the only materials required are a pair of scissors and double stick tape (or you can use regular tape and make it into double sided rolls). If you’d like to make a gift horse, drop me an email and I’ll mail you a card and wax paper! Or, if you want to make a whole herd, you can download the card here and your own. Please note that in the download I included a full page of pink for printing on the back of the front illustration if you’re having trouble with registration. You can use any tissue paper you have around for the tail (even an actual tissue would work to be honest).
STEP 1: Cut out the rectangle shown on the back of the card.
STEP 2: Roll the rectangle into a tube about 1” wide and tape shut.
STEP 3: Cut out the horses using the front of the card as a guide - don’t cut from the back, as those horses include a bleed area so they’re bigger than the ones on the front.
STEP 4: Apply tape where indicated in the head area of the horses and stick them together. Be careful to line up the two silhouettes.
STEP 5: Now put tape where indicated in the belly of each horse and tape the roll in between them. You want the roll centered between the two horses so it might take a little finagling.
I like to bend the ears apart a bit to give it a little bit more life. Now that the horse can stand, it’s done! This is a perfectly fine little paper horse in a dala style but if you want to get extra credit you can add a tail and even wrap a little gift!
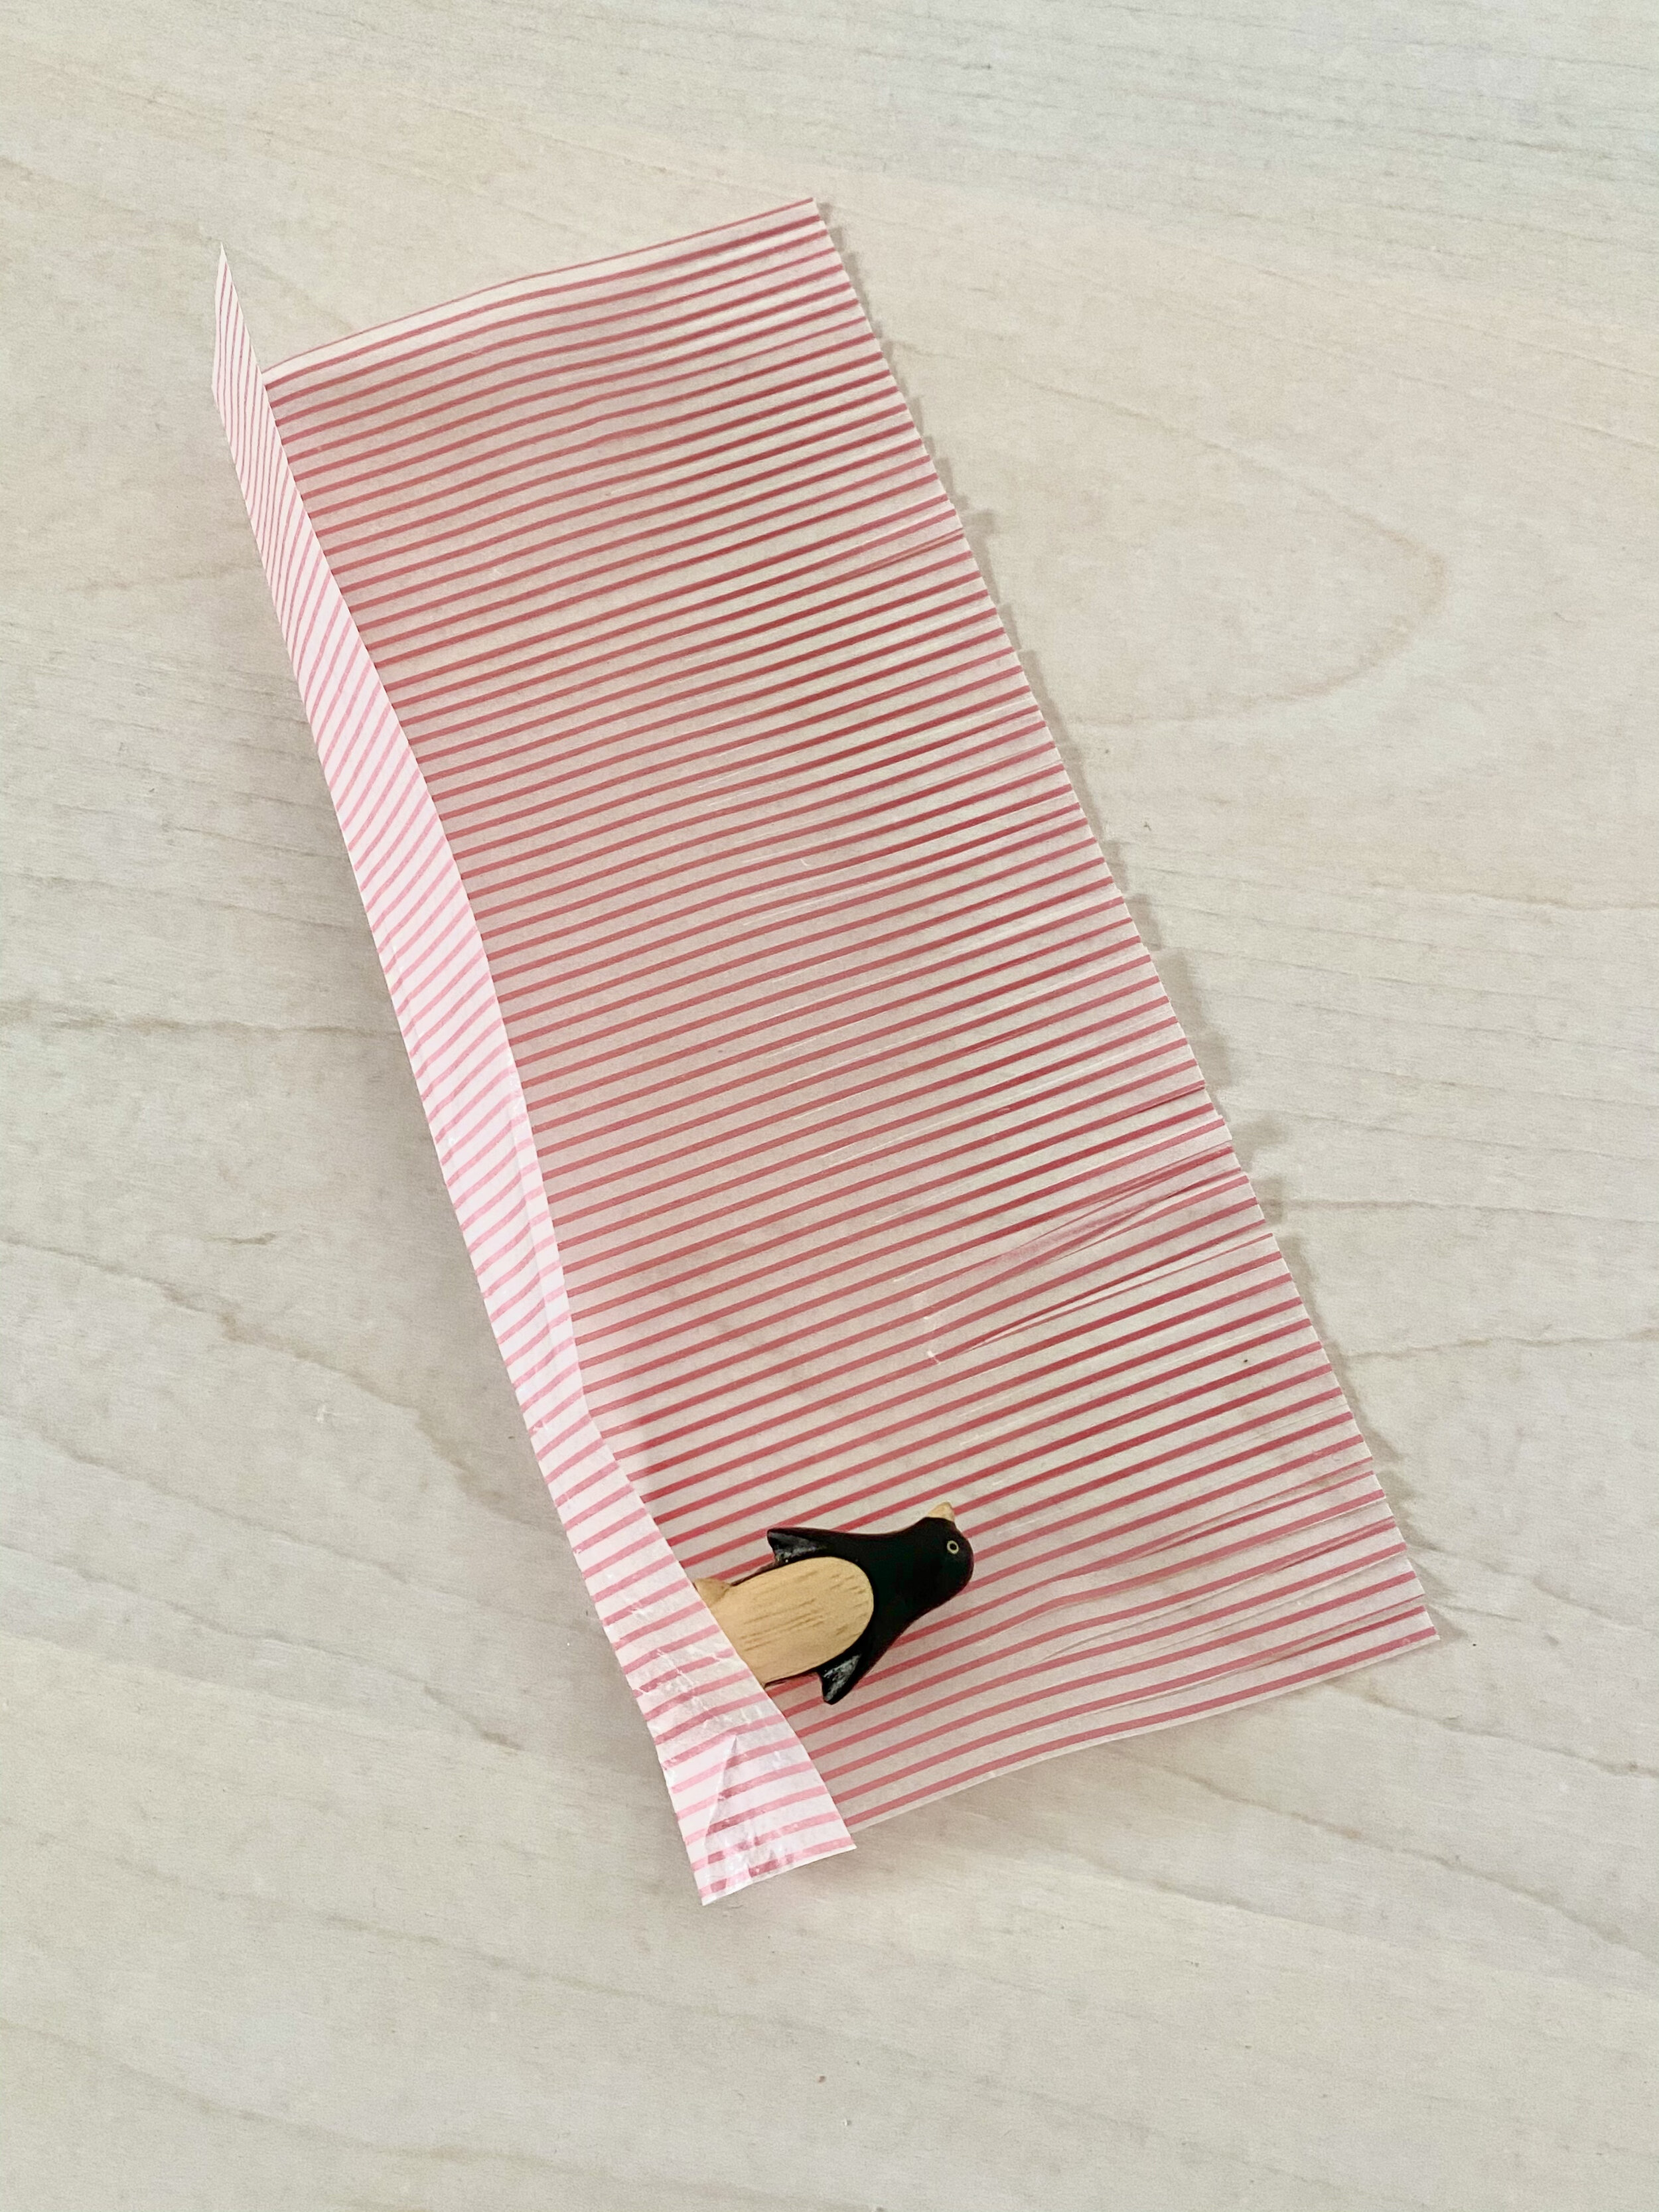
STEP 6: Cut fringe in a piece of tissue or wax paper. The piece I included with my valentines is about the same size as the card, or about six inches wide and nine inches long. I cut the fringe about an inch and a half deep into the long side of the paper, and keep them about an eighth of an inch wide. Fringing scissors also work great here!
You can just roll the tissue into a tail, or you can wrap a teeny tiny gift inside. Here’s a selection of some items I own that definitely will fit inside, including some dollhouse miniatures I’ve collected, jewelry, candy, an iron-on patch, and when all else fails some office supplies.
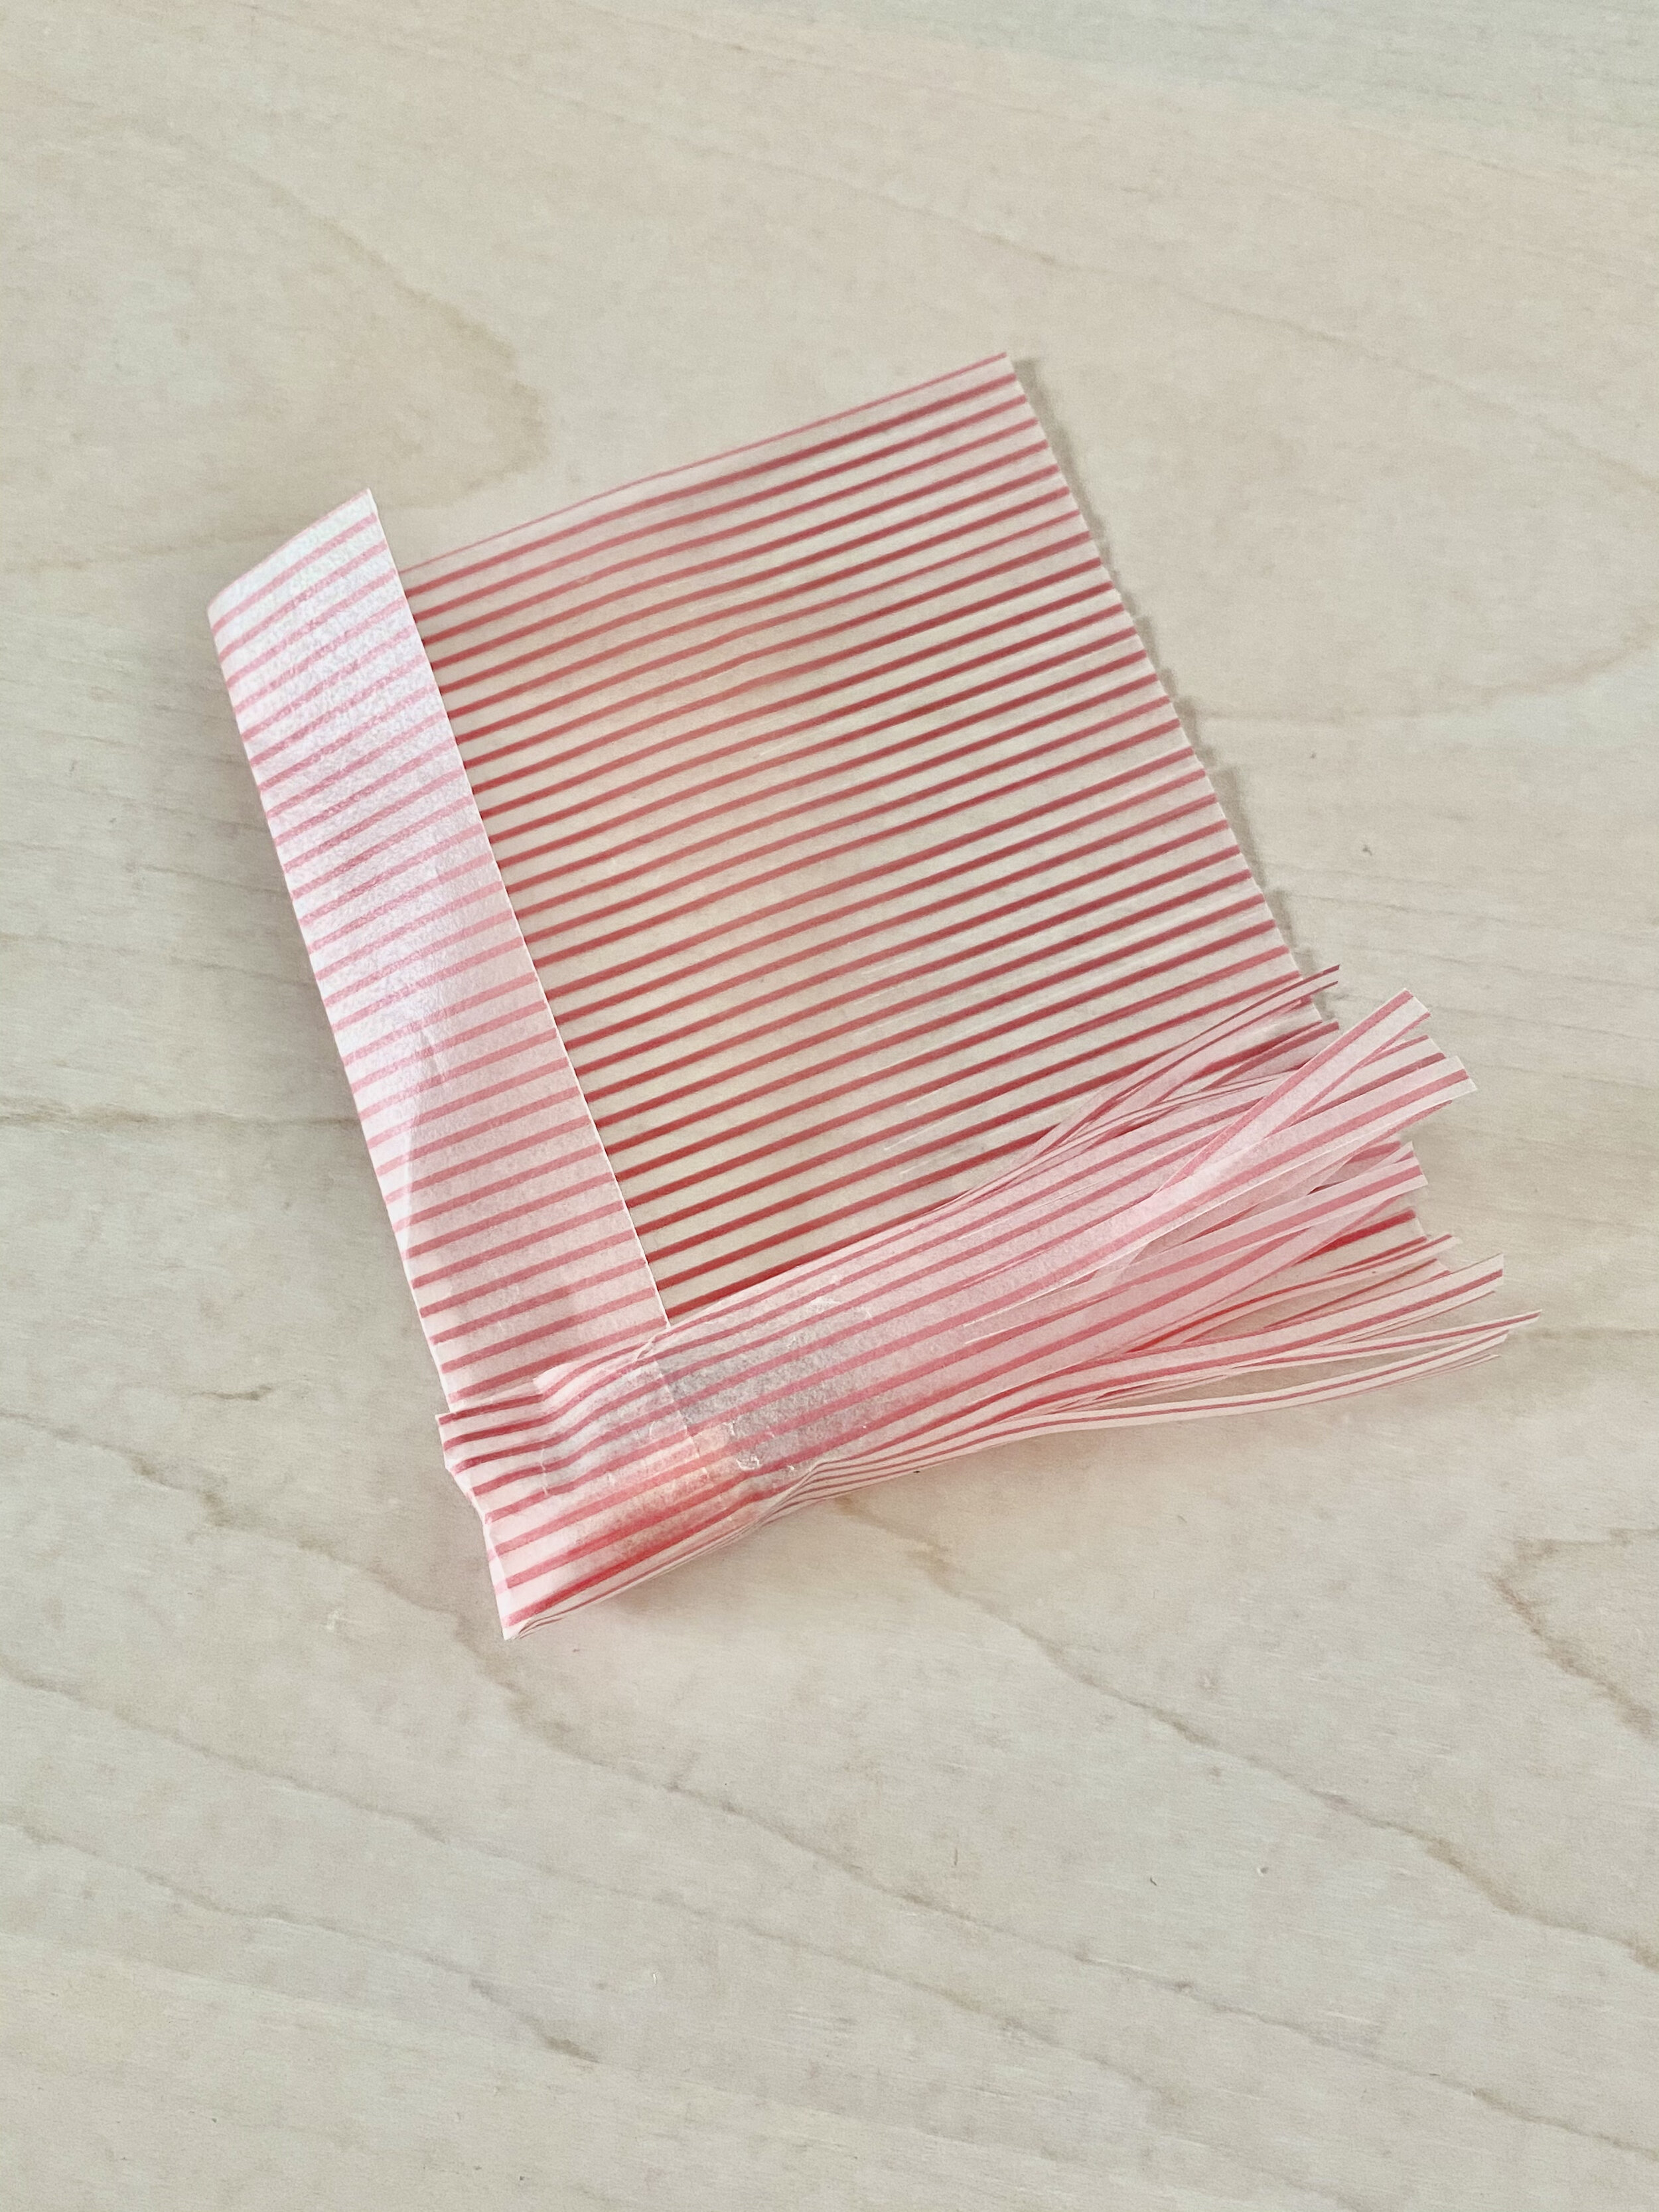
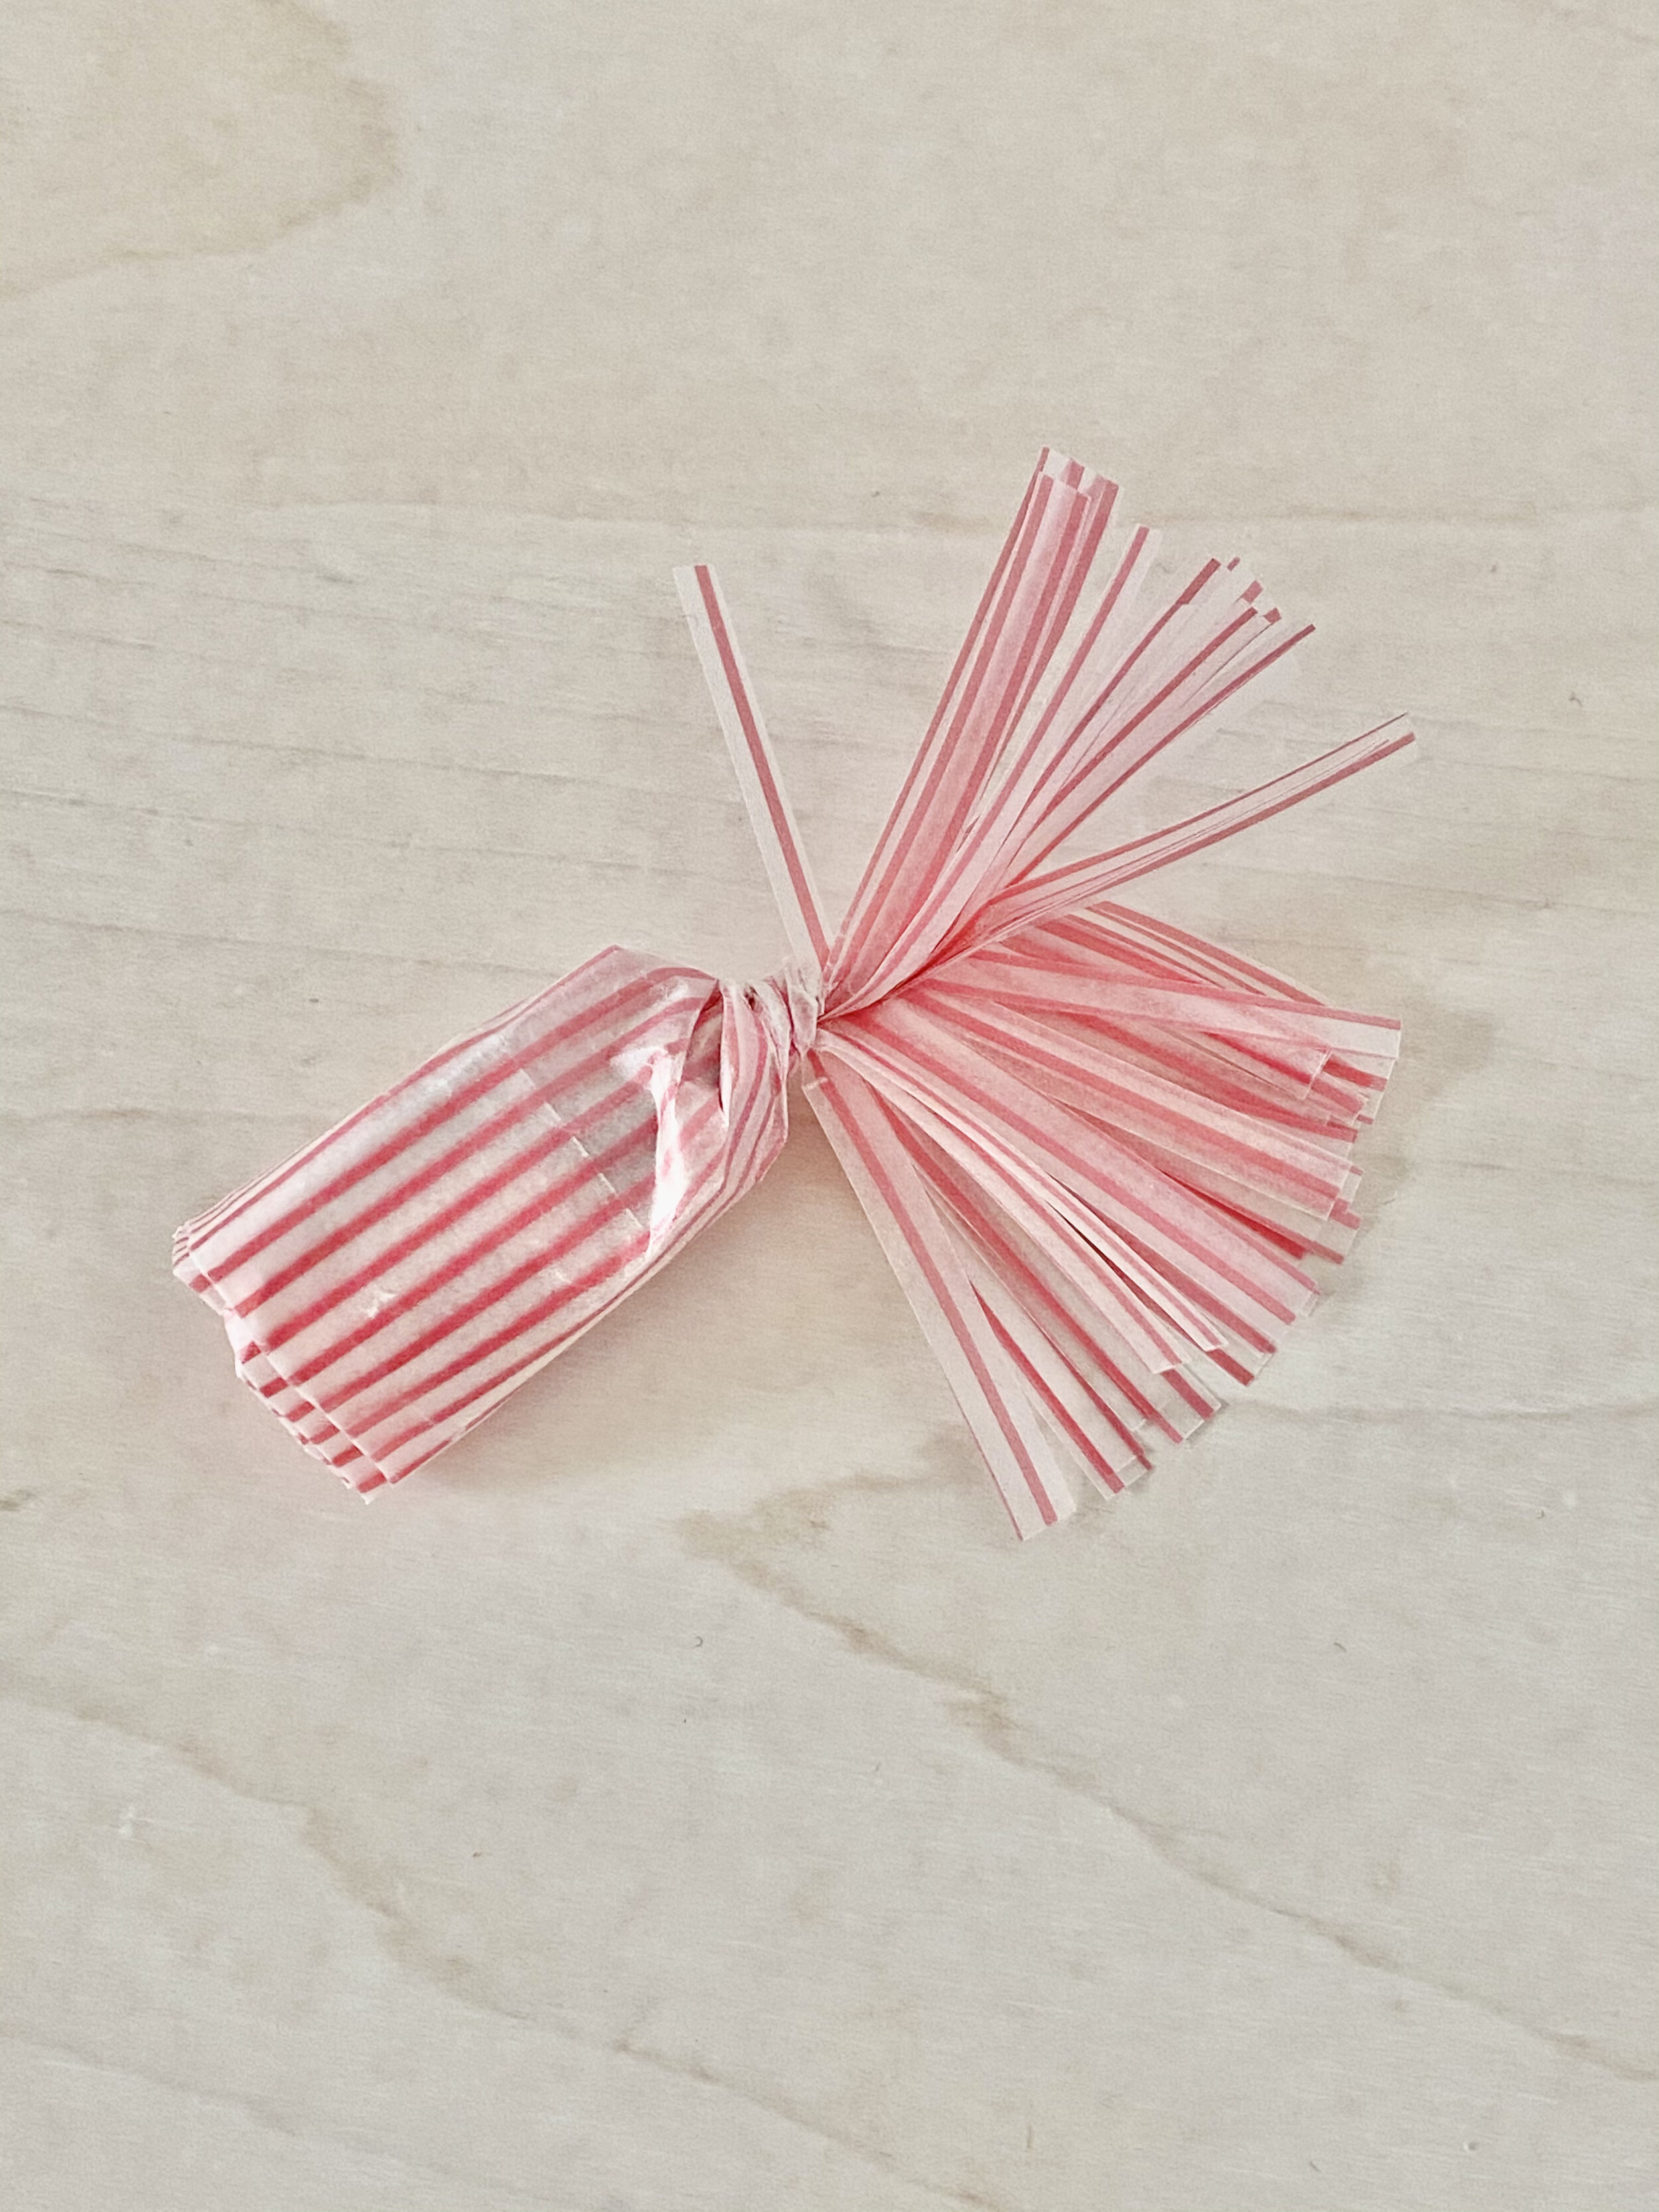
STEP 7: Wrap and roll! Here is how to wrap a tiny penguin stamp I got at Muji. Fold up about an inch of the non-fringe side over your teeny gift and then roll. Twist the end so the tail fans out. You could also tie with a little string.
And finished! Now all that’s left to do is celebrate valentine’s day or just play with your paper horses.


